
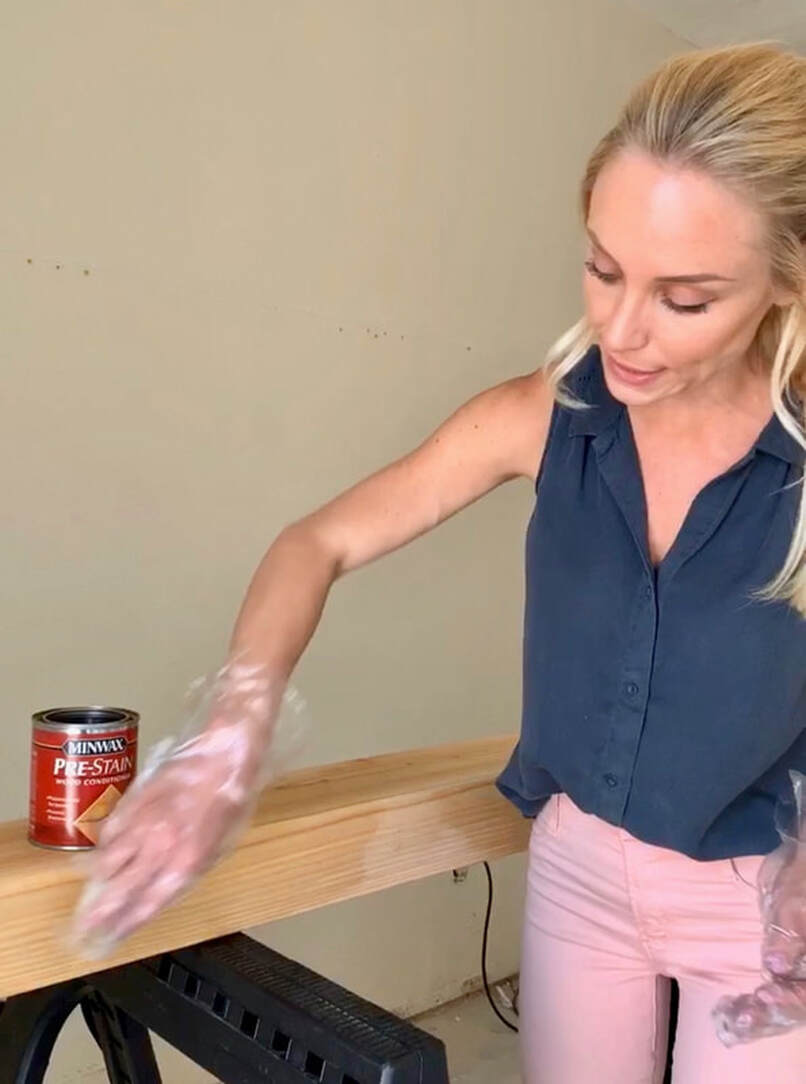
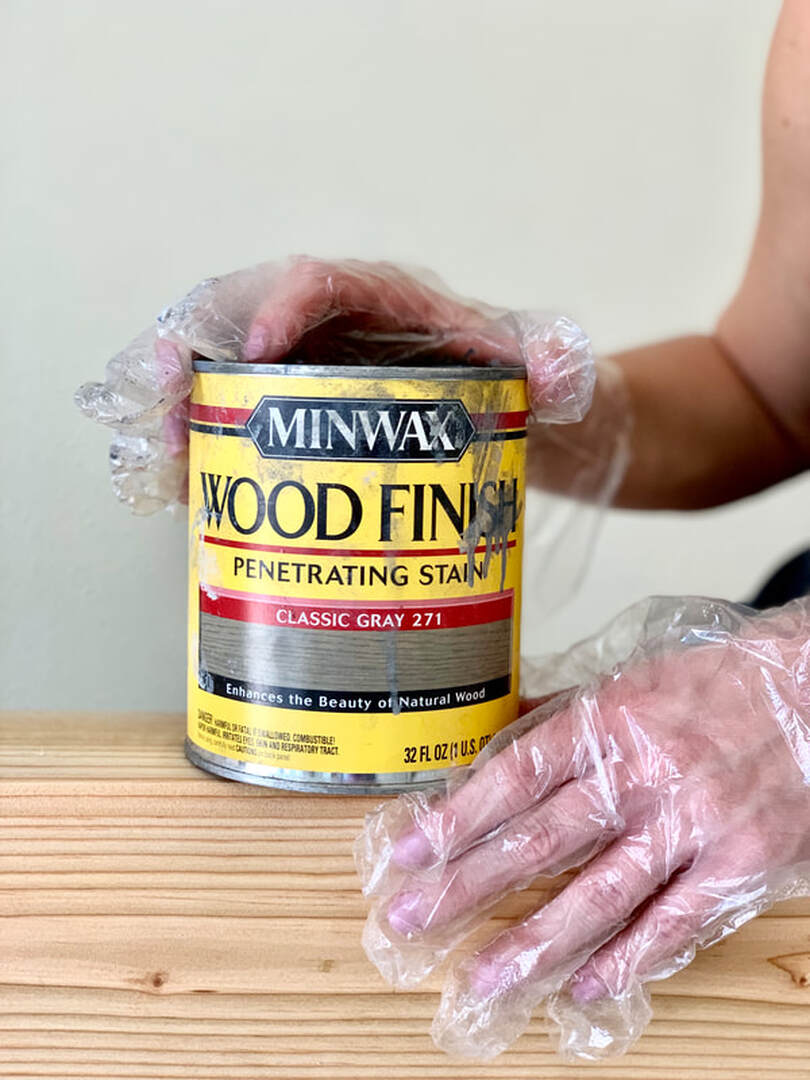
 Sometimes no matter how hard we look, we just cannot find that perfect something to add to our home! Price, finish, and size are always factors that can keep us from finding our vision, so why not just MAKE exactly what you dreamt up? With our latest project, that is exactly what we did. We were looking for a 7' long wood mantel that was the perfect grey but also wasn't over stained. Those were our non-negotiables and it made a lot more sense to just do it ourselves! Below are four easy steps to follow to create your dream mantel. 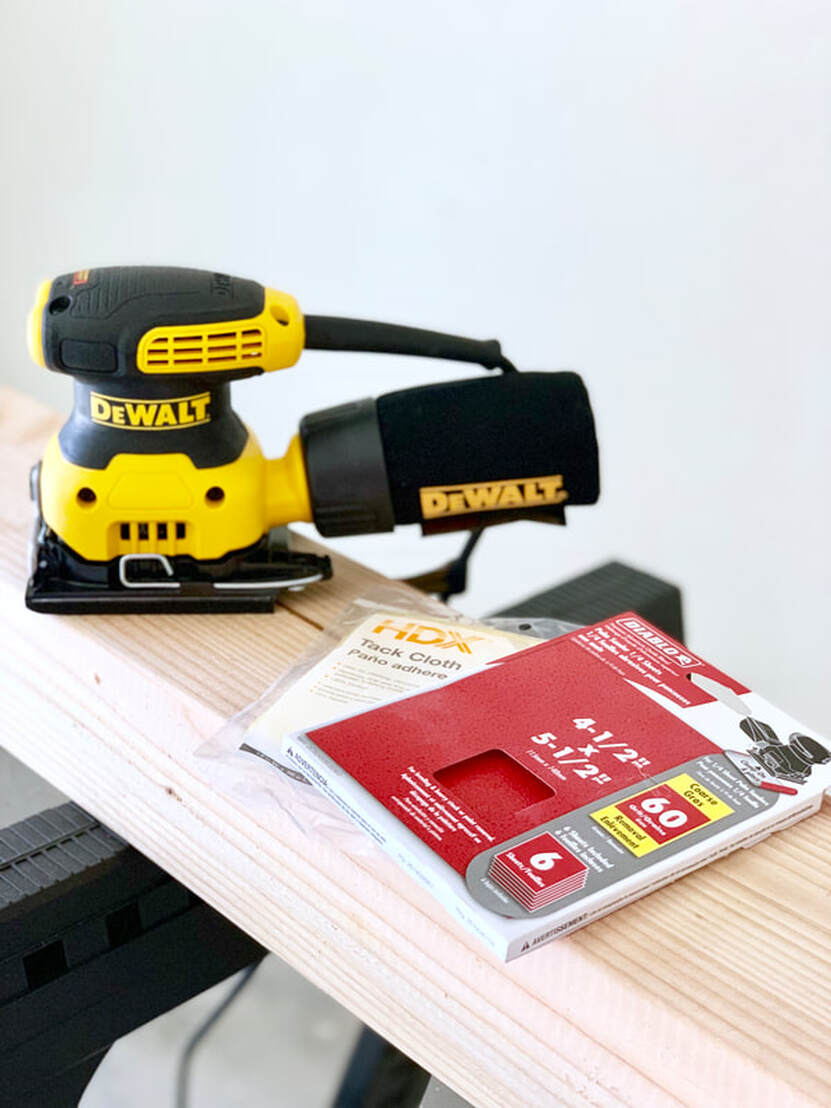 What You'll Need: |

 | 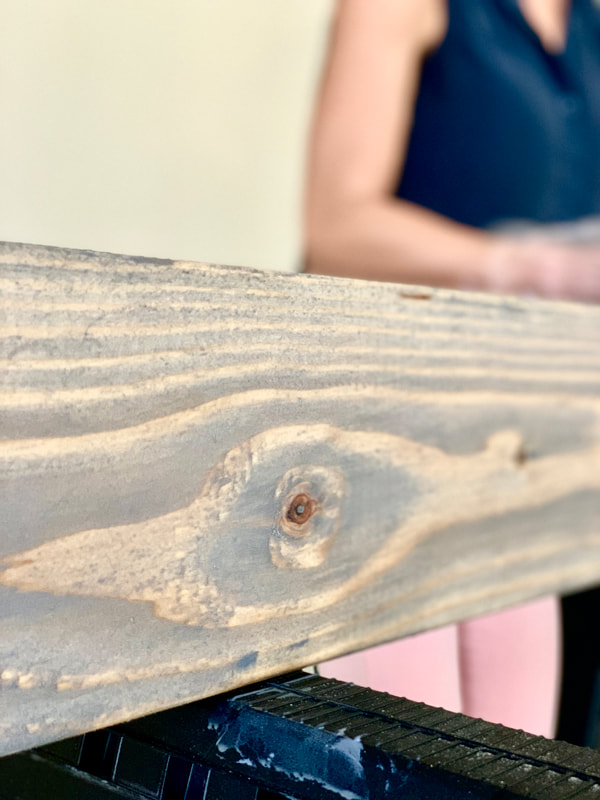 |
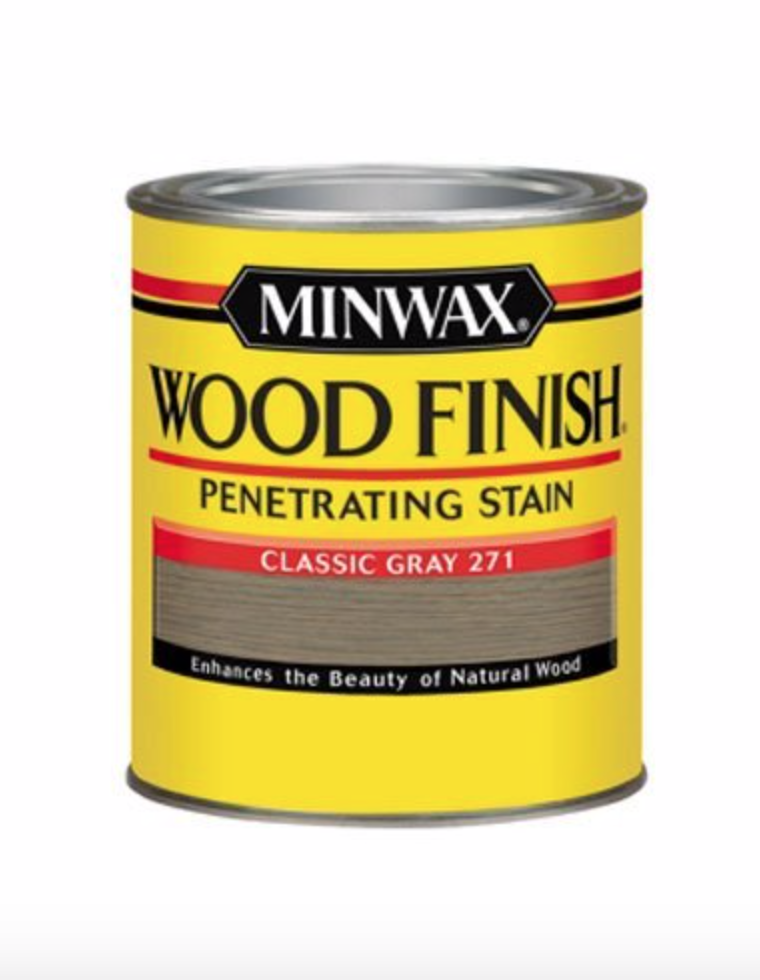
TA - DA ~ You have stained your own mantel!
After allowing it to dry for several hours, you are ready to hang that beauty. This project is a great way to save money and create a one-of-a kind focal point for your home. Enjoy your custom addition to your fireplace friend, tag us on Instagram so we can see your take on this DIY mantel stain tutorial!
Stay tuned to see the finished fireplace and how we stage our new mantel!


4 Comments
9/21/2021 01:19:57 am
I really love your work of the DIY art and that is really stunning. I hope through the help here the number of people get motivate and try to make their house batter. Thumbs up with your work here that would be recommending.
10/1/2022 07:16:27 am
I remember the first time I saw a DIY MANTEL STAIN. It was on Pinterest, and I found it intriguing. I couldn't help but wonder how this would look on my own fireplace mantle. So I searched for a tutorial and found one on YouTube, but it was too complicated for me. Instead, I opted for a less complicated solution that still turned out to be beautiful.
Leave a Reply.
Categories
KITCHEN
BATHROOM
ALL
Archives
November 2020
December 2019
November 2019
October 2019
August 2019
June 2019
May 2019
April 2019
March 2019
February 2019
 RSS Feed