Beckmann House
  • HOME PAGE
  • STAY WITH US
    • The Desert Beauty Airbnb
  • PROJECTS
    • WORK WITH US >
      • FAQ's
    • INVESTMENTS
    • CLIENT PROJECTS
  • ABOUT US
  • Free Business Expense Tracker
Picture

Holiday Home Decor & Gift Guide

11/30/2020

4 Comments

 
Picture

Picture
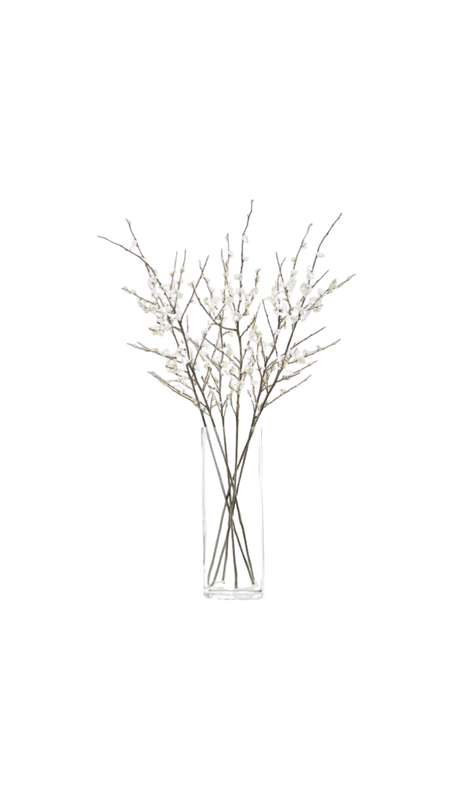
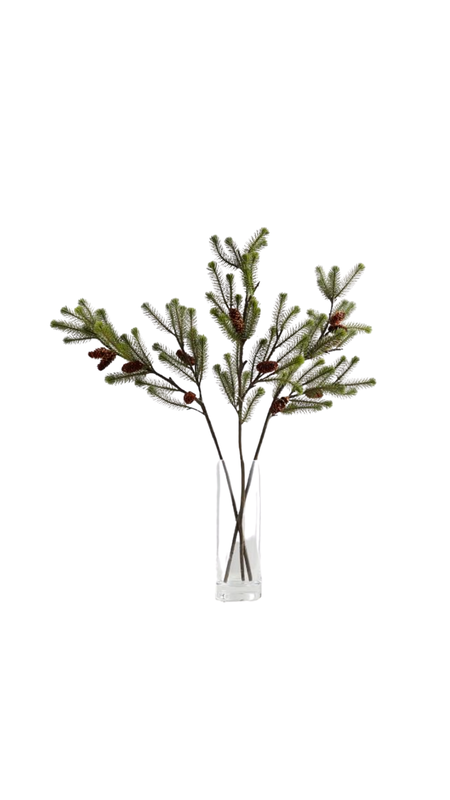
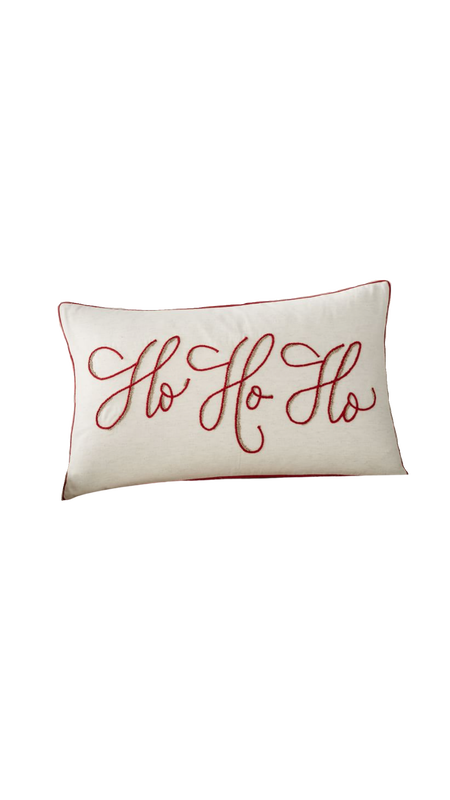
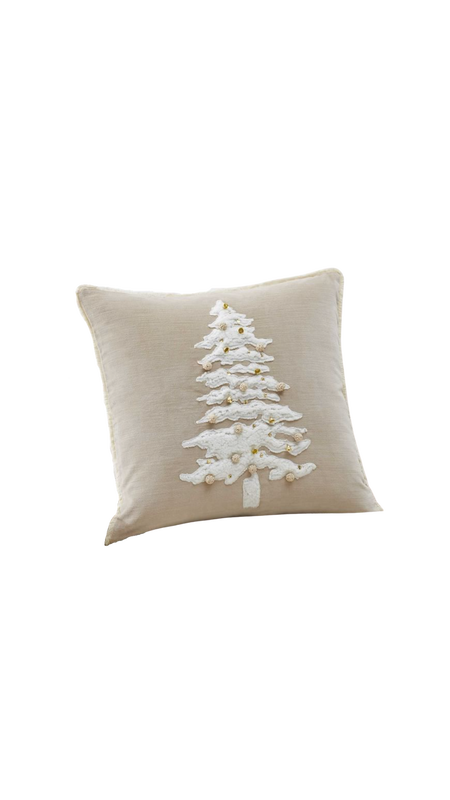
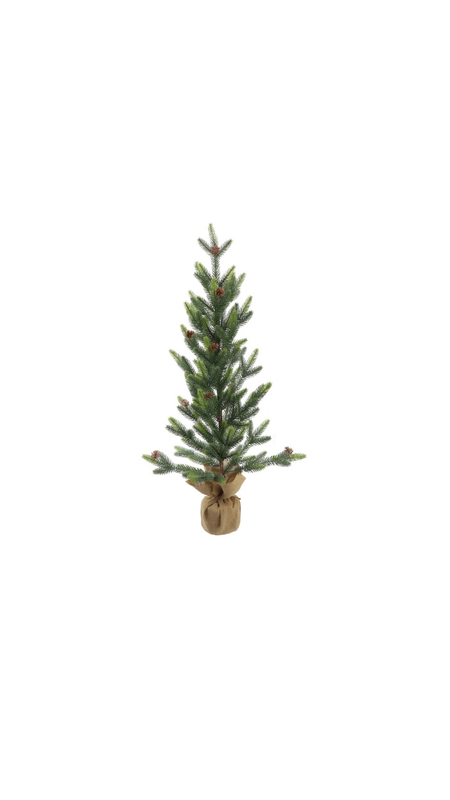
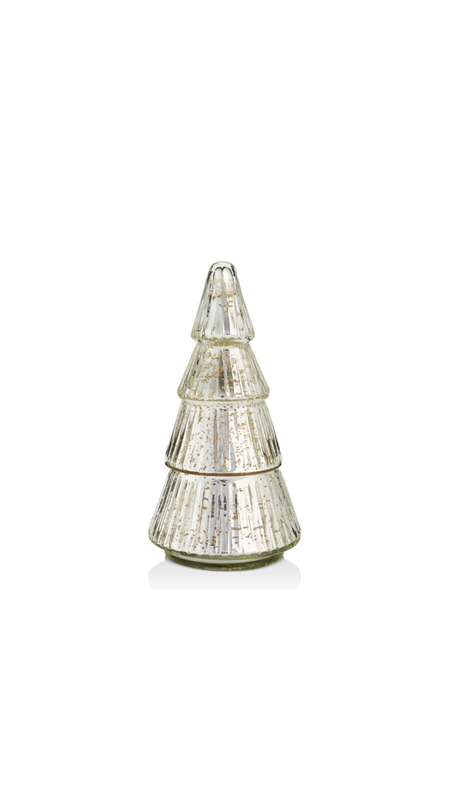
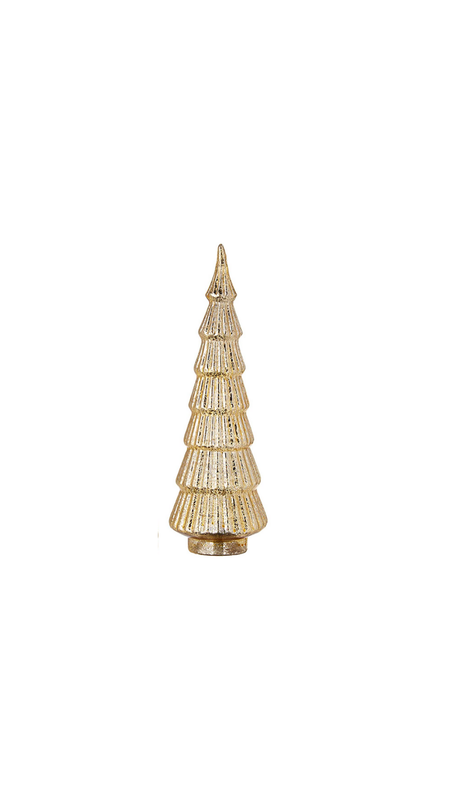
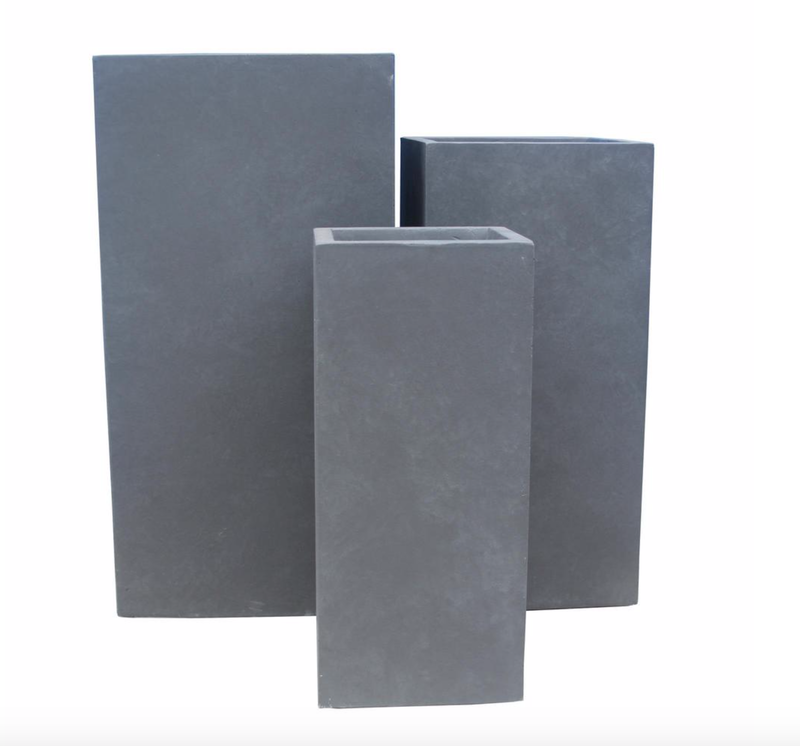
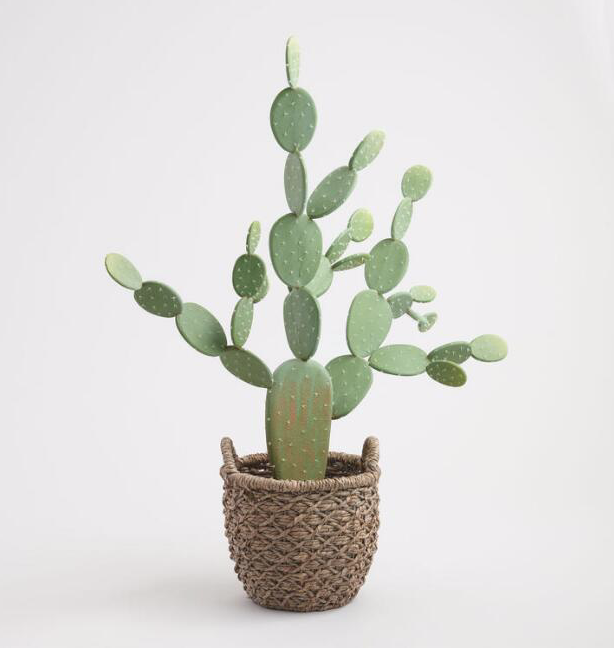
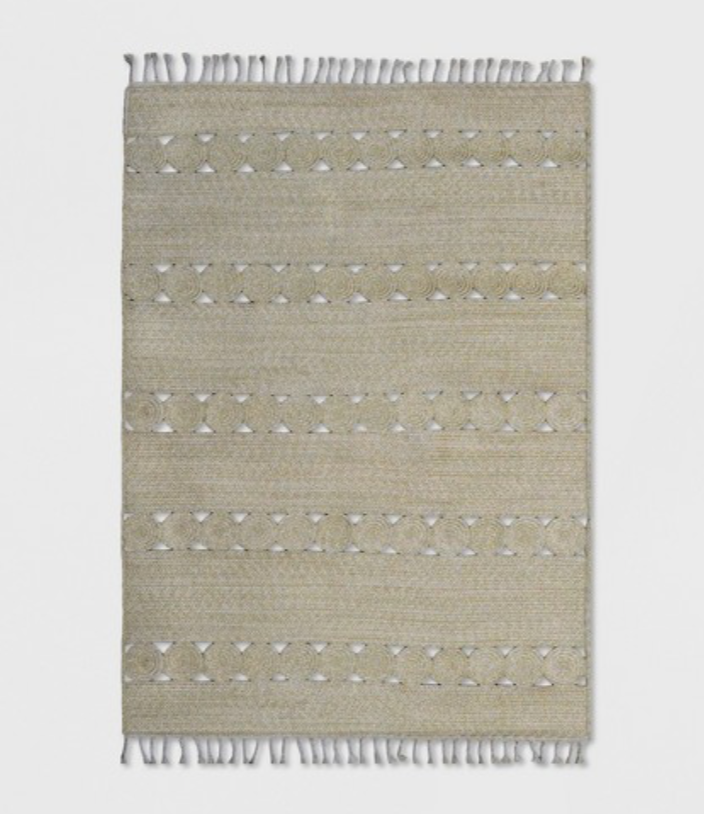
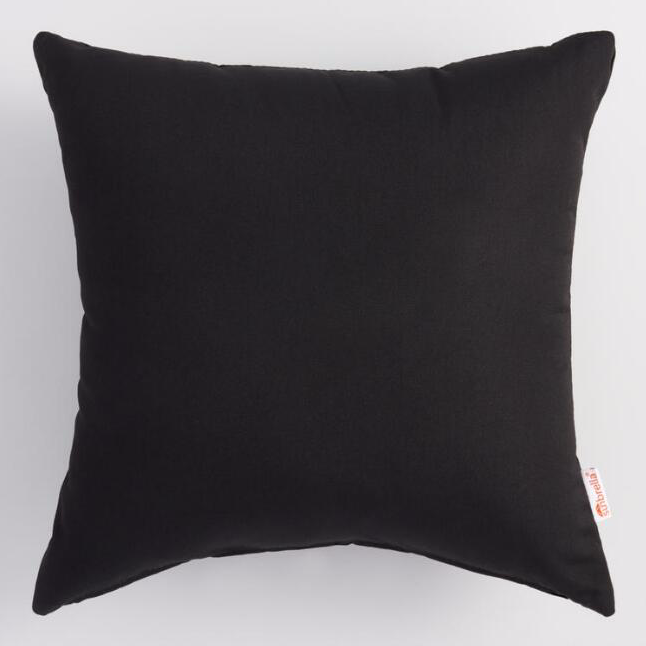
Hello Holiday season, FINALLY! Is it just me or has this year been the longest year of our lives?! 2020 threw us all the curveball of a lifetime, and while we all handled it in our own ways, I think one thing we can all agree on is that we need some holiday cheer. This year has been, well, tough to say the least but also extremely long.  To help get that going a little earlier this season, we have rounded up some of our favorite holiday decor options to brighten up your home this Christmas!


Picture
​Santa Claus Doormat
Merry Doormat

Picture
Cedar & Ornaments Garland
Christmas Berry Garland with Lights
​Faux Berry Branches
Faux Mini Pinecone Branches
Mackenzie Childs Check Deer Countdown Calendar 
Mackenzie Childs Check Small Moose


Picture
Ho Ho Ho Embroidered Pillow Cover
Velvet Sherpa Tree Applique Pillow Cover
 Round Metal Cocktail Table
Faux Ivory Shagreen Decorative Tray

Picture
St. Jude Bell Shaped Candle
Nutcracker Set

Picture
Yuletide Nutcracker Mug
 Holiday Christmas Tree Serving Platter
 Botanical Salad Servers
 Pomegranate Salt & Pepper Shakers

Picture
Mackenzie Childs  Check Gift Wrap
Gold Gift Wrap Set of Three
Mackenzie Childs Check Ribbon 2"
Christmas Gift Tags

Picture
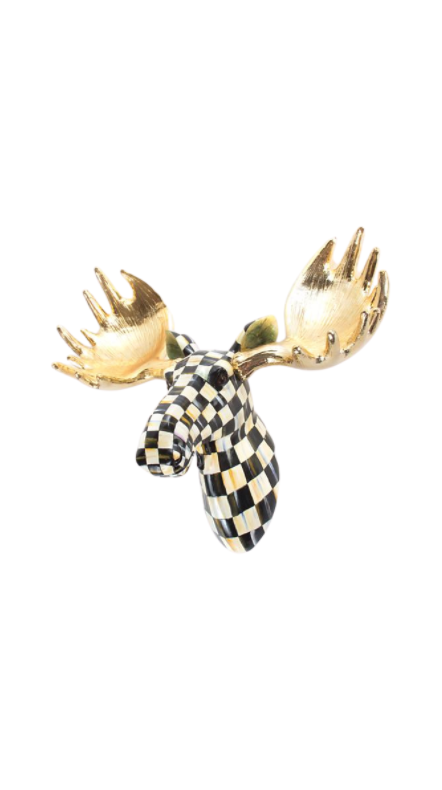
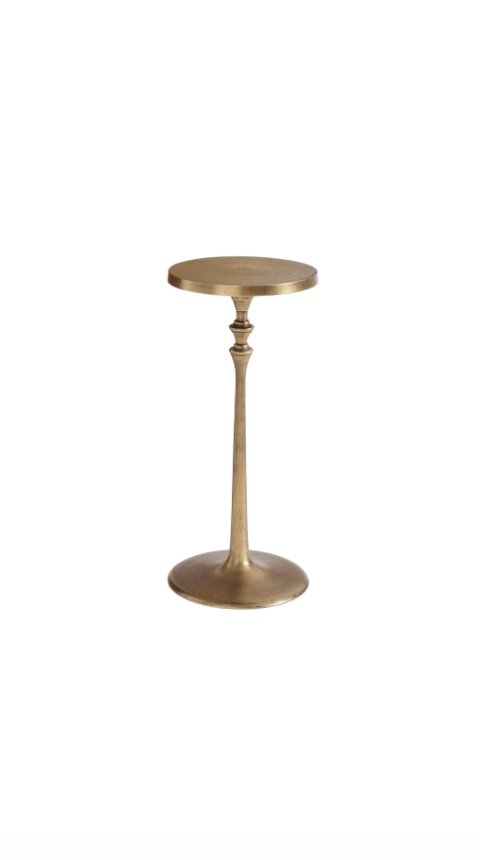
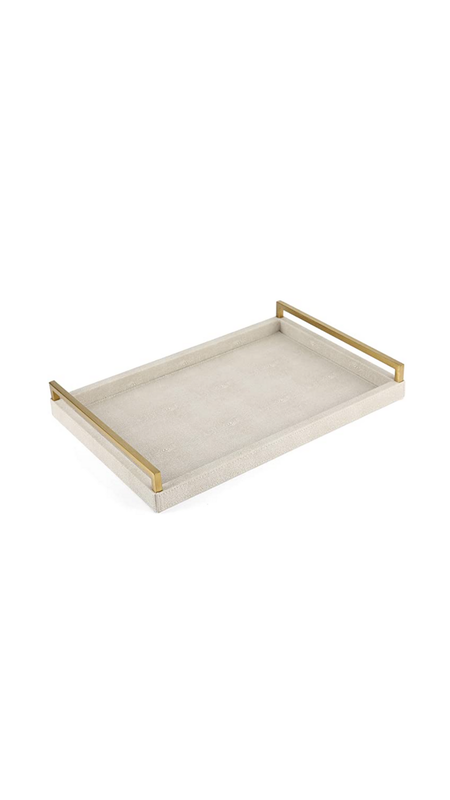
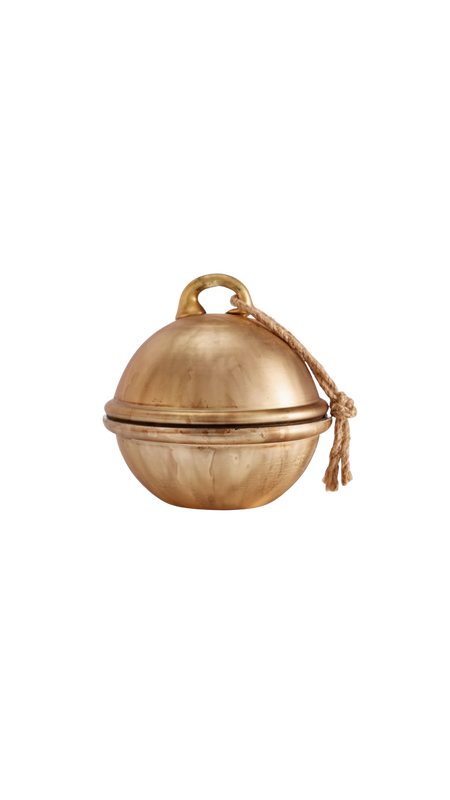
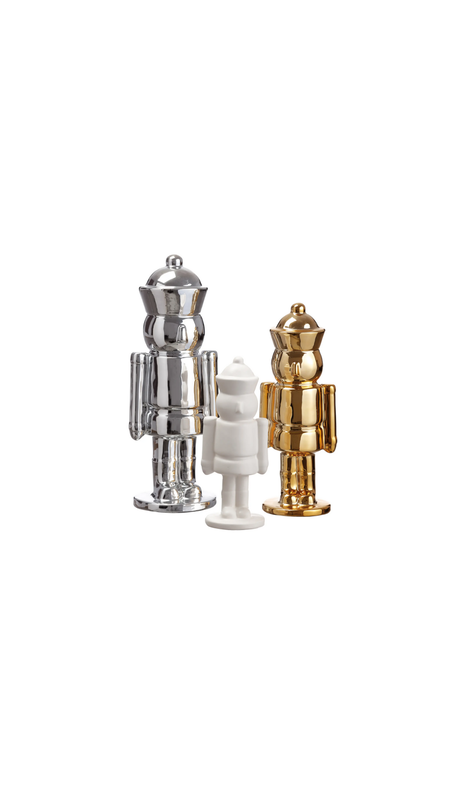
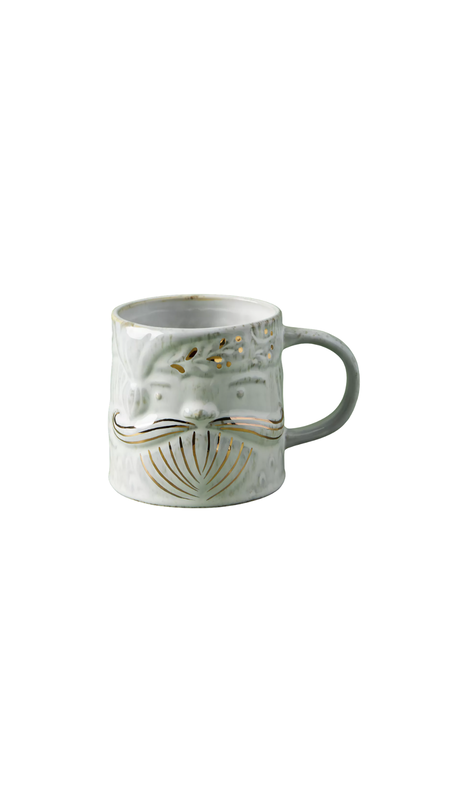
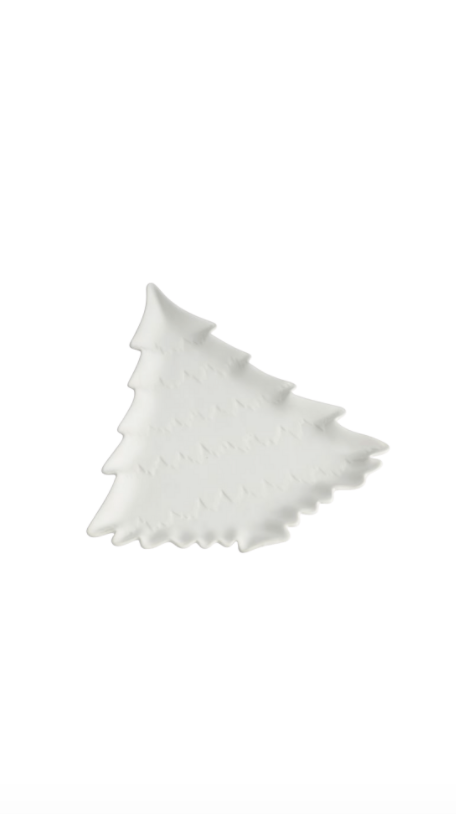
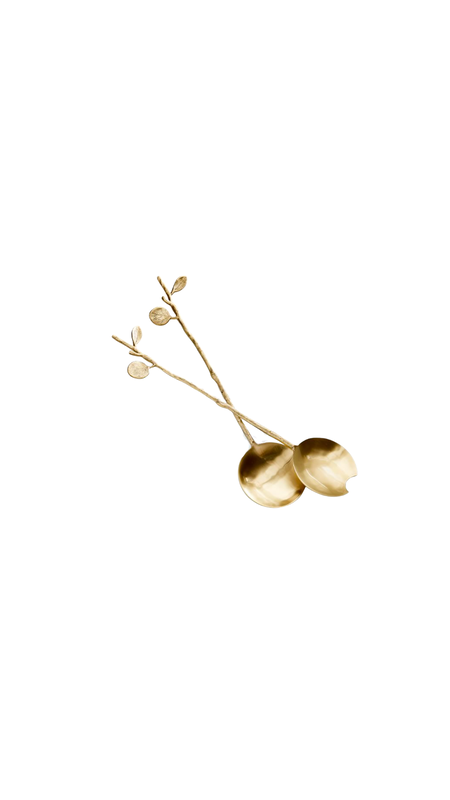
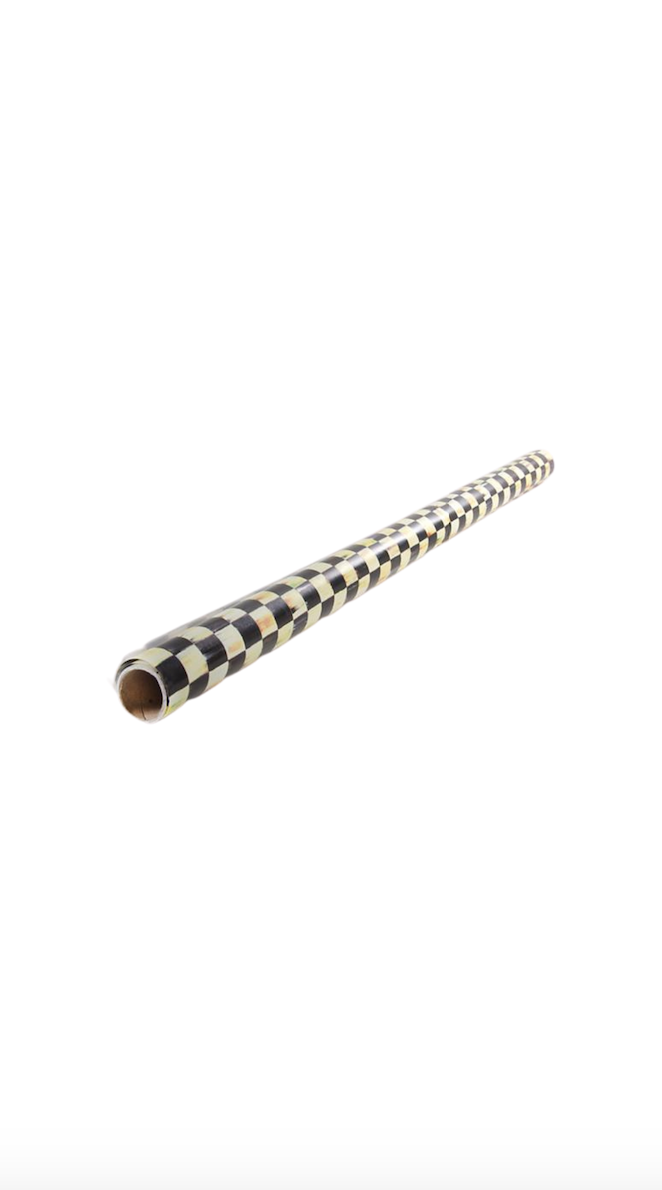
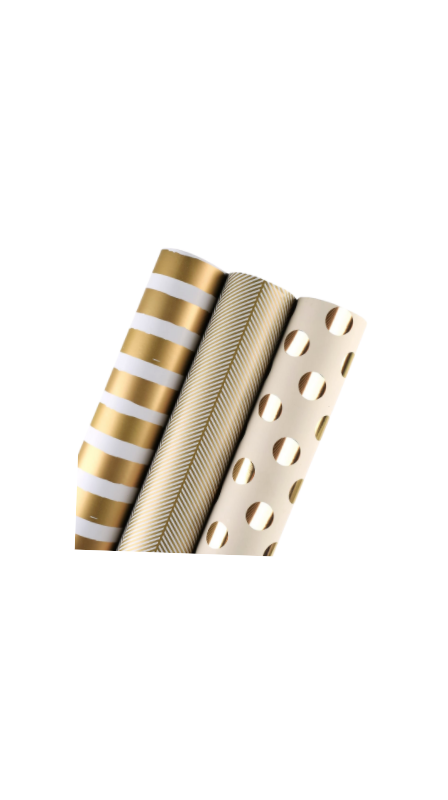
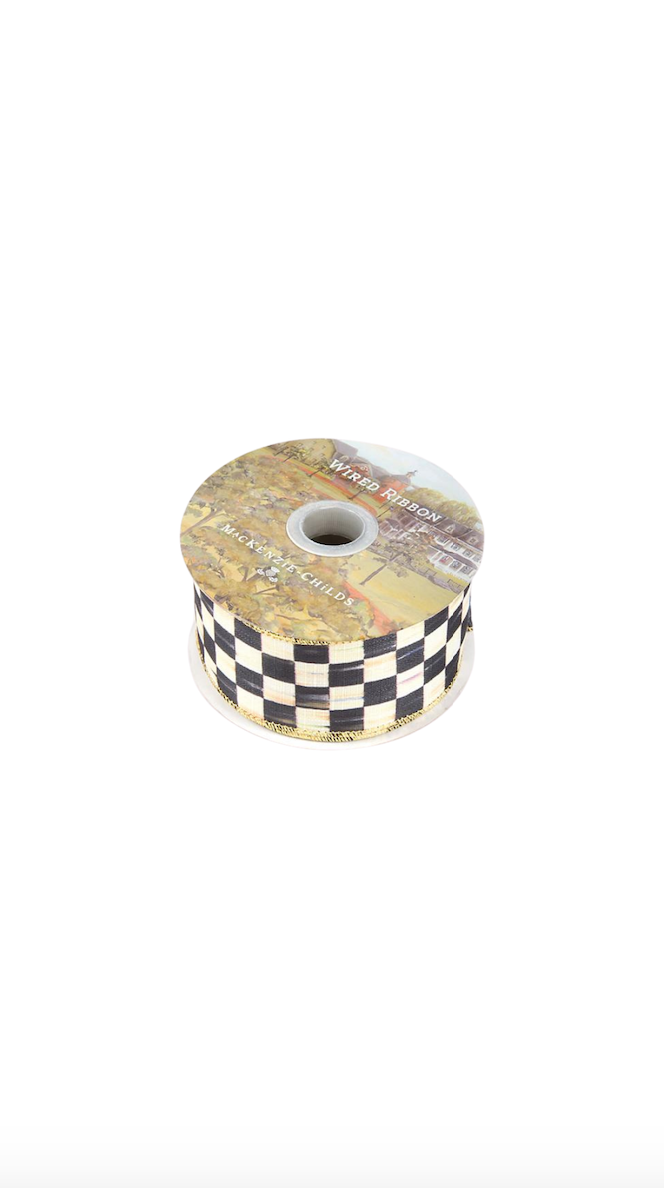
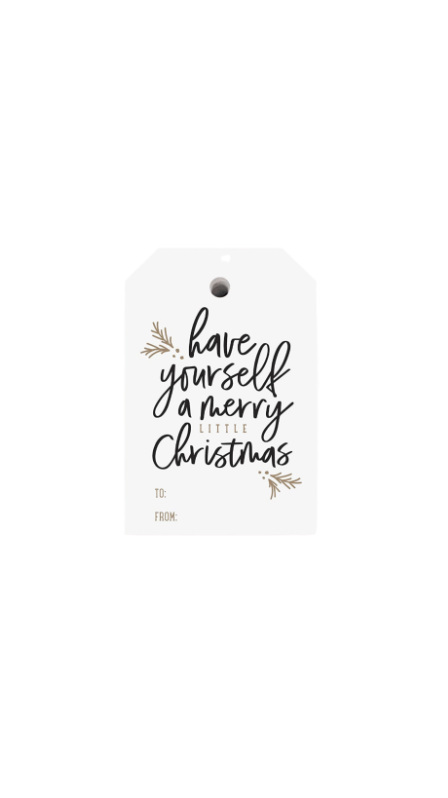
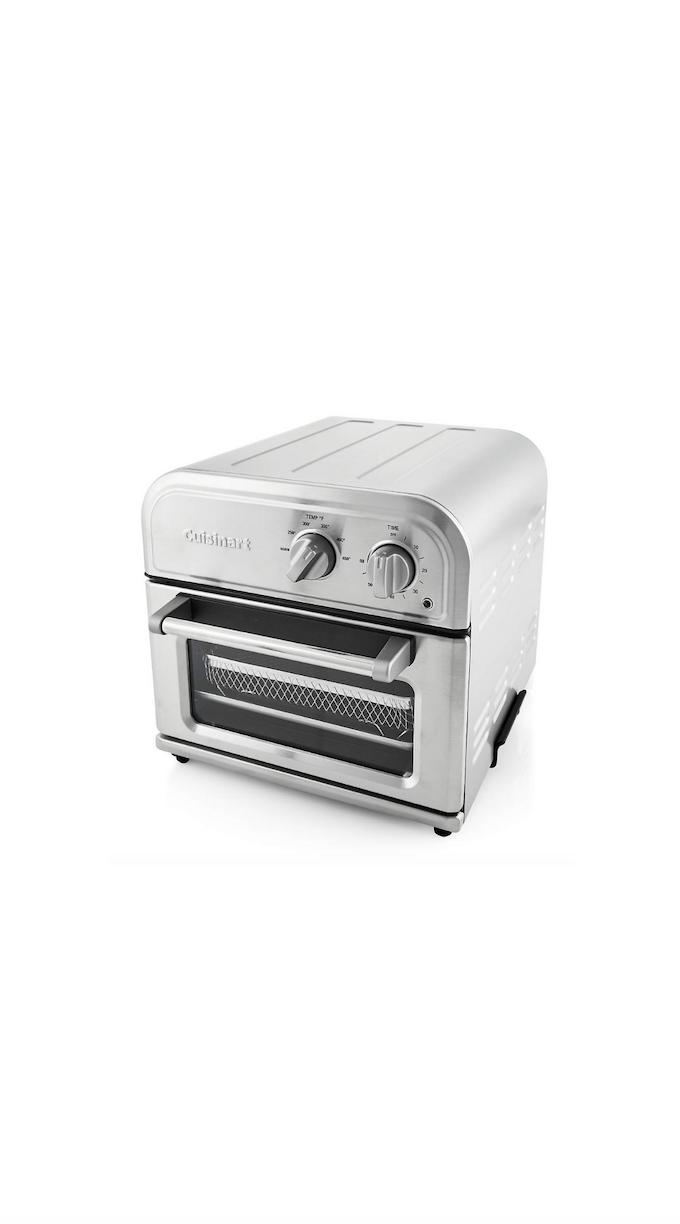
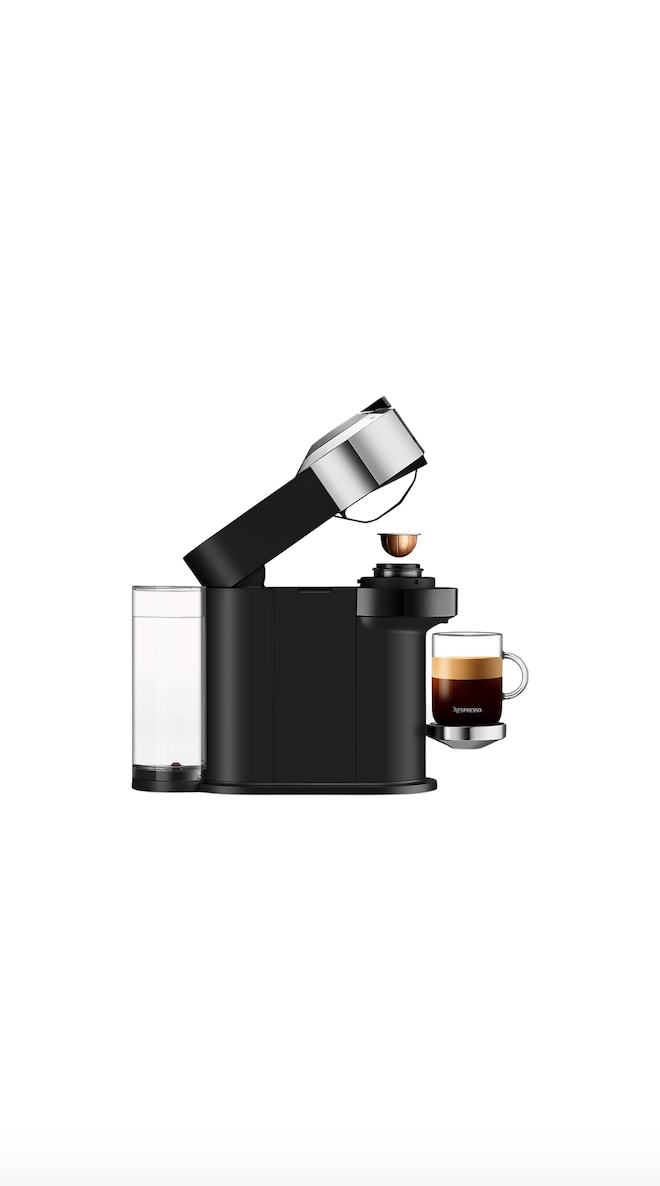
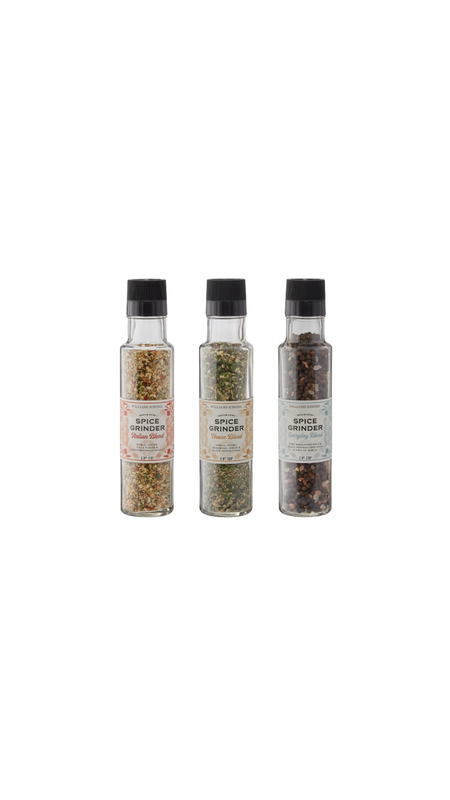
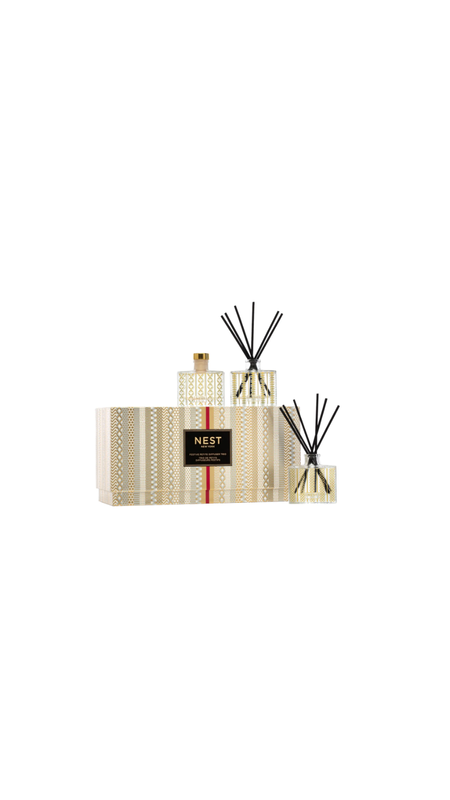
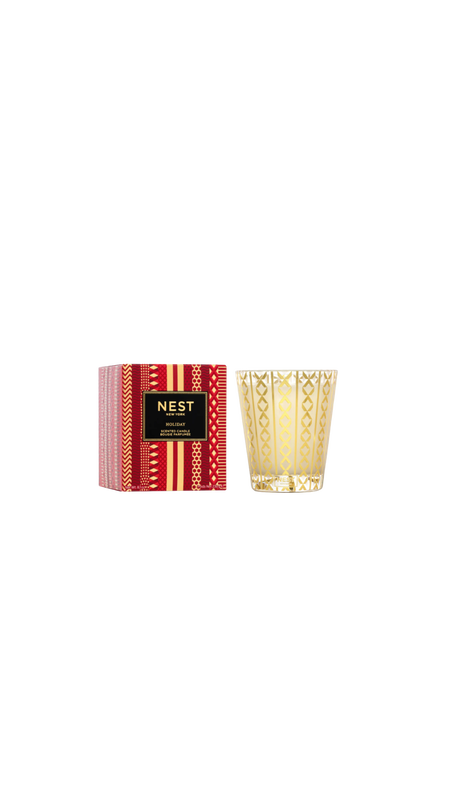
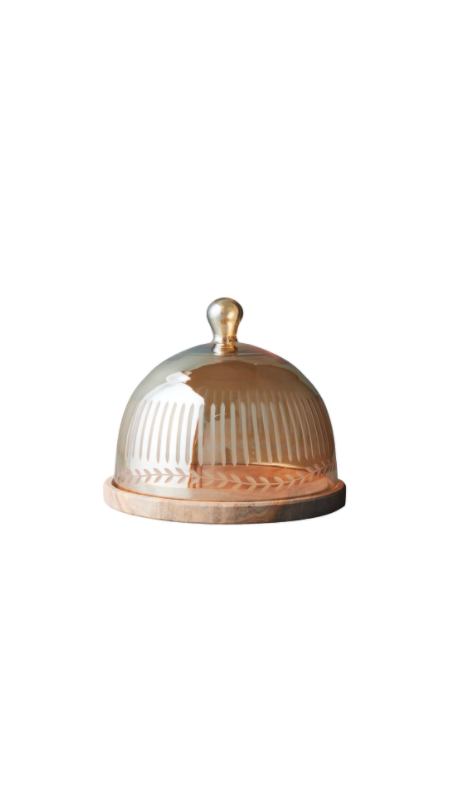
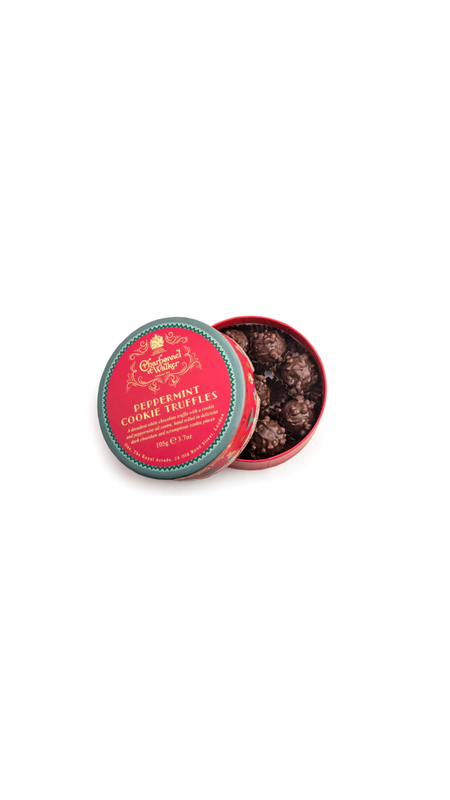
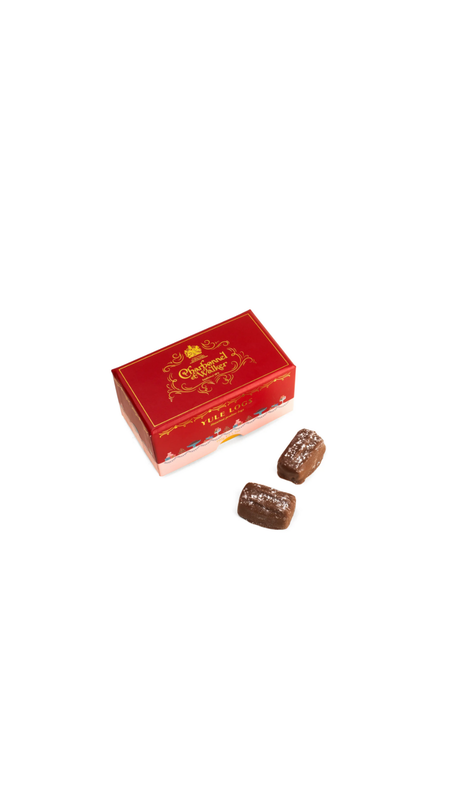
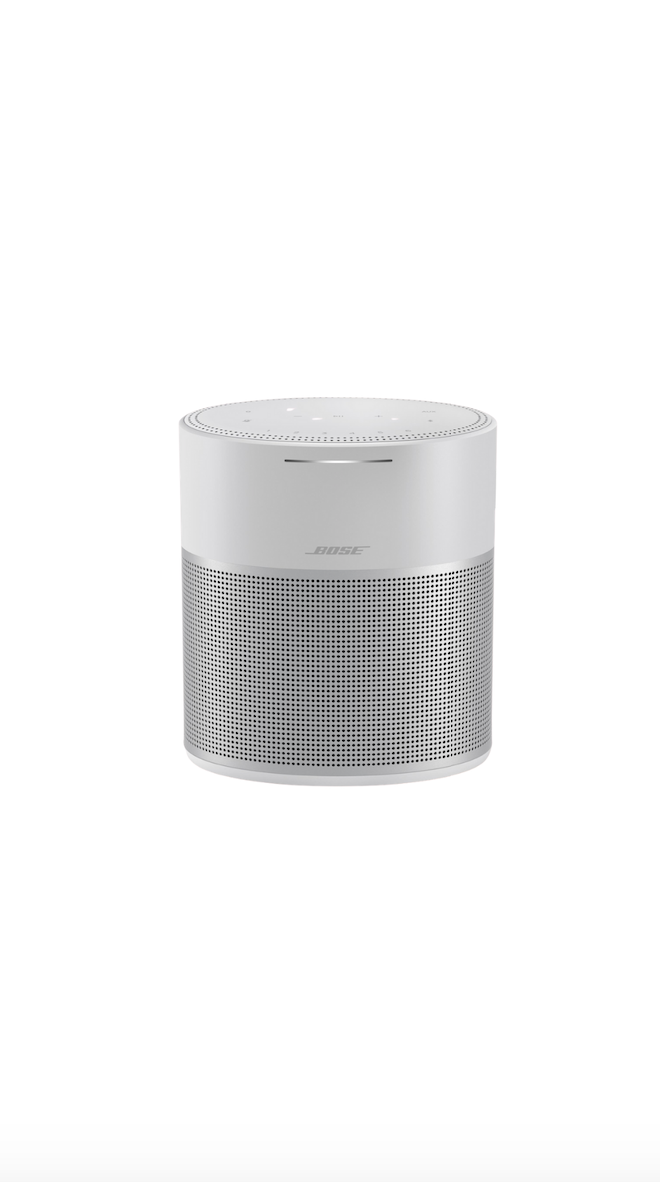
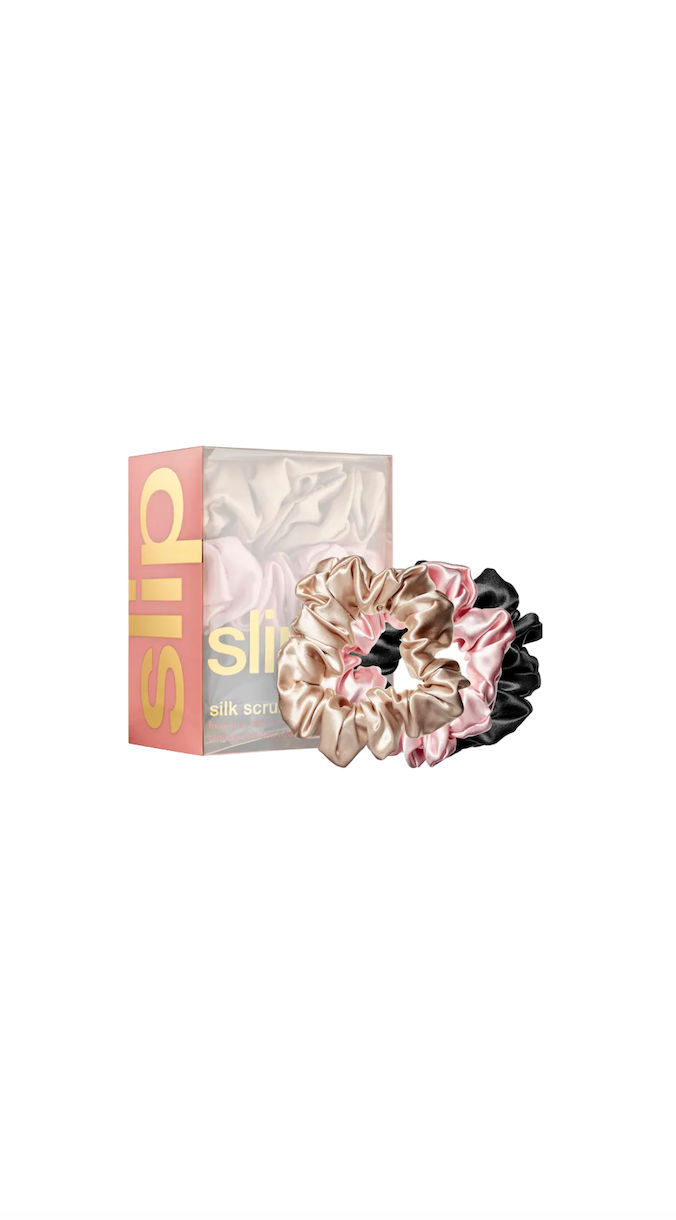
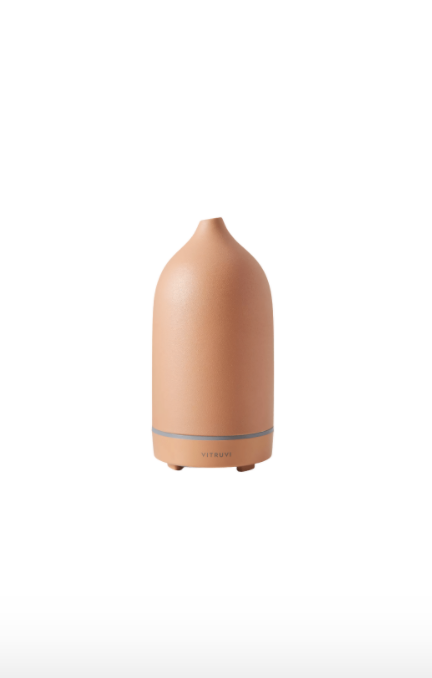
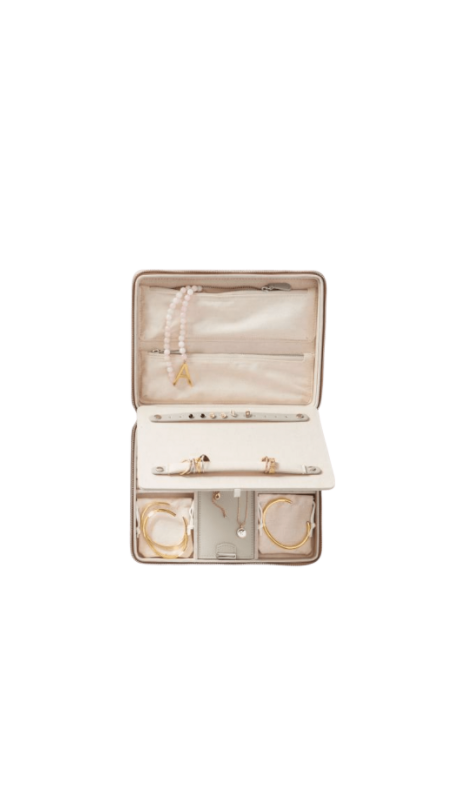
Holiday shopping may look a little different this year but that doesn't mean your gift giving has to! I have rounded up some of my most favorite gift ideas for all the different types of people in your life. From your entertainer mother in law, to your lounger of a best friend, this gift guide has got you covered! 

Picture
Caraway Cookware Set 
Cuisinart AirFryer
Nespresso Vertuo 
Williams Sonoma ​Spice Grinder Set

Picture
NEST Holiday Reed Diffuser Set
NEST Holiday Candle
Rabbit Electric Wine Opener and Preserver
Fiona Cloche

Picture
Slip Silk Sleep Mask
Barefoot Dreams Ribbed Throw Blanket
Peppermint Cookie Truffles​
Chocolate Yule Logs

Picture
UGG Scuff Slipper
Hershel Duffle Bag 
Bose Home Speaker 300
Theragun Prime Percussive Therapy Device

Picture
Dyson Supersonic Hair Dryer
Slip Silk Scrunchies
Vitruvi Diffuser
Mark & Graham Travel Jewelry Case

Picture
Picture
4 Comments

Kara's Homemade Apple Pie Recipe

11/17/2020

2 Comments

 
Picture
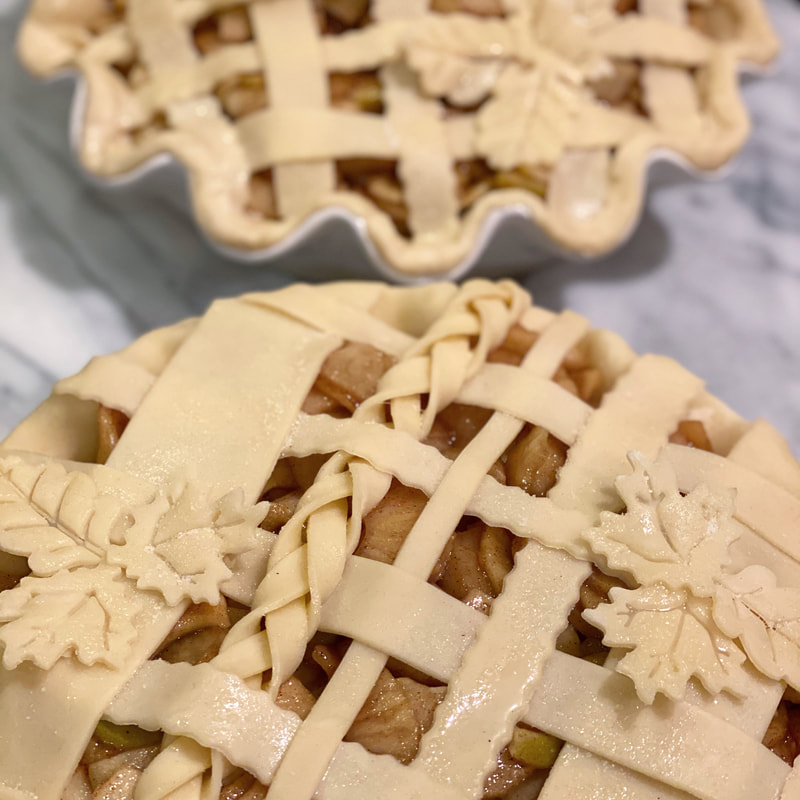
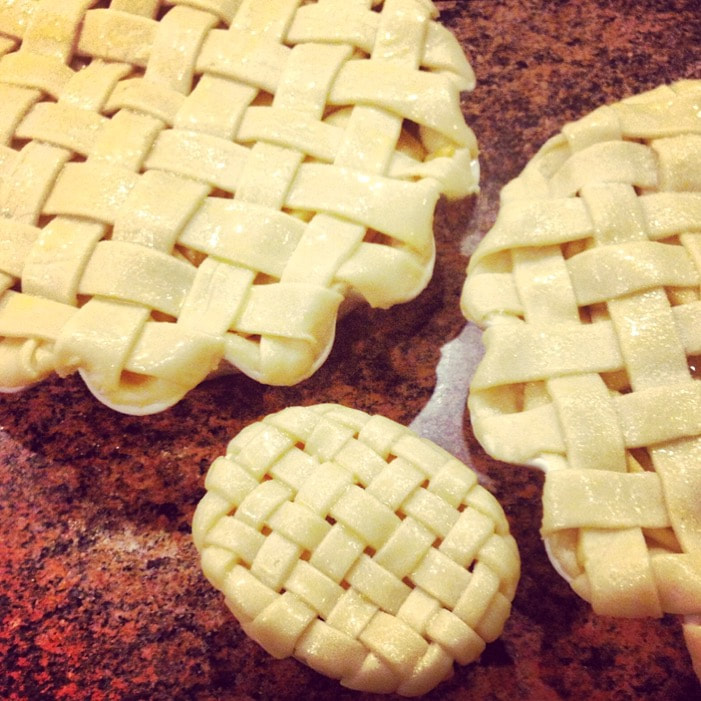
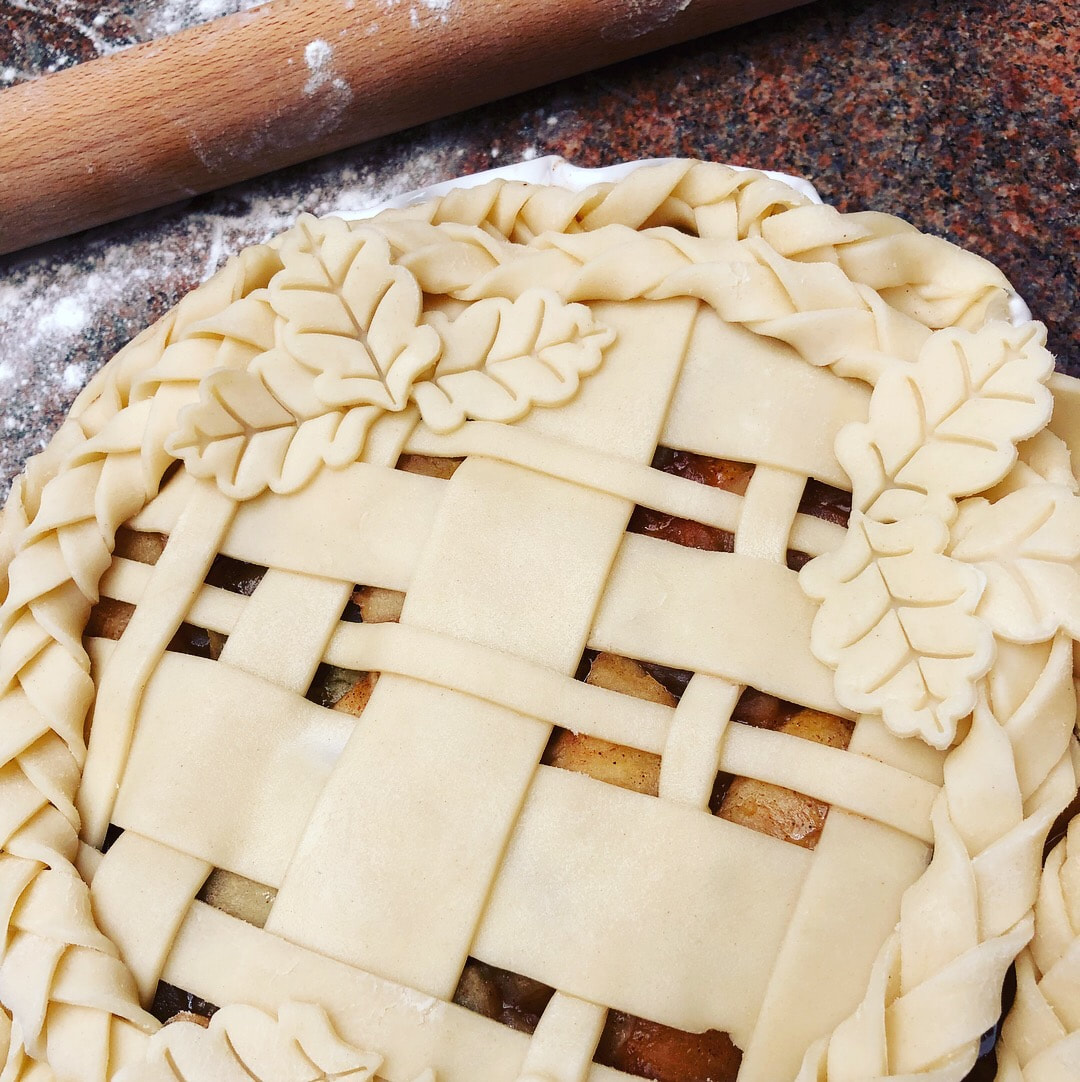
PIE TIME!! The very best part of Thanksgiving dinner. With so many delicious options it's hard to pick a favorite holiday favorite, but I promise you no other flavor comes close to a homemade apple pie and I want you to try my recipe for yourself! Impress your family this holiday with hand made crust, sweet apple filling, and stunning top crust designs!  
Picture
Picture
Kara’s Homemade Apple Pie Recipe  
​
  • 4 pounds apples, peeled, cored and cut into slices (I like to mix red and green Granny Smith and Honeycrsip) 
  • 1/2 cup firmly packed brown sugar
  • 1/4 cup granulated sugar
  • 1 tablespoon ground cinnamon 
  • 1/4 teaspoon salt
  • 1/4 teaspoon freshly grated nutmeg
  • 4 teaspoons cornstarch 
  • 1 Tablespoon fresh lemon juice
  • 2 tablespoons cold butter cut into 1/2 inch  pieces 
  • 1 egg white, beaten with 1 teaspoon water (this is your egg-wash)
  • 2 teaspoons granulated sugar

​Directions:
  • In a large pot stir together apples, brown sugar, granulated sugar, cinnamon, salt nutmeg and cornstarch. 
  • Set apple mixture over medium heat, cover and cook, stirring occasionally until the apples are tender but not mushy - about 15 minutes. Uncover and look until the liquid has thickened 5-7 minutes more. Remove from heat, stir In lemon juice and let cool for 30 minutes. 
  • Heat oven to 400 degrees
  • Transfer filling to your lines pie dish, scatter butter pieces on top and gently start your  top design.

Top Design Ideas: 
  • cut various sizes of pie crust strips and create a basketweave design
  • braid smaller strips of dough to weave with flat pieces of dough
  • cut out shapes with pie cutters 
  • have fun and get creative here!
 
  • Once you complete your top design, brush the entire top crust with egg wash and sprinkle with granulated sugar
  • Place the pie dish on a baking sheet (the filling will sometimes bubble over). Bake for 1 hour and cover the edges with aluminum foil if they become too dark before your 1 hour cook time. 
  • Transfer the pie to a wire rack and let cool for at least an 1-2 hours before serving. You can make this 1-2 days in advance. 
  • Ps. don't forget to try my homemade pie crust recipe below for the yummiest results!

Homemade Butter Pie Crust  

  • 2 cups all purpose flour 
  • 1/3 teaspoons salt
  • 1 1/2 sticks cold butter, cut into 1/2 inch cubes
  • 7 tablespoons cold water

Directions:
  • Mix the flour and salt in a medium bowl
  • Add the butter using a pastry blender (or two forks) until the mixture has a crumbly consistency 
  • Mix in Ice water a few teaspoons at a time
  • Gently kneed the dough into a ball
  • refrigerate for at least 2 hours. 
  • Leave at room temperature for 30 minutes before using. flour your countertop and rolling pin before rolling out your dough

Picture
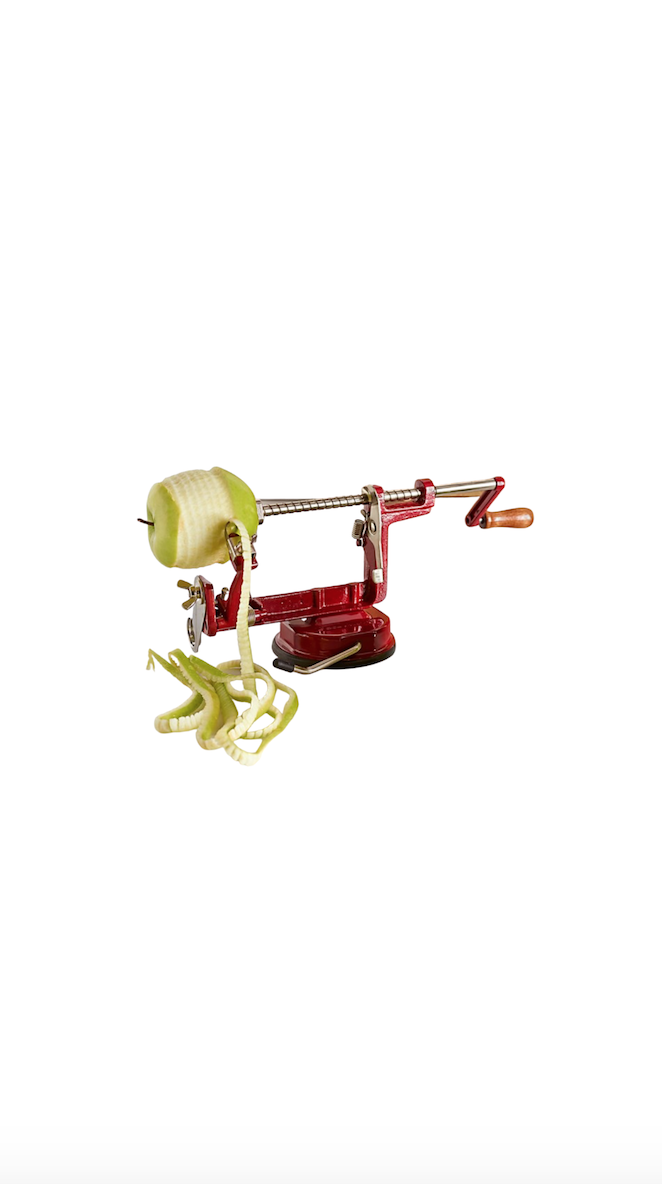
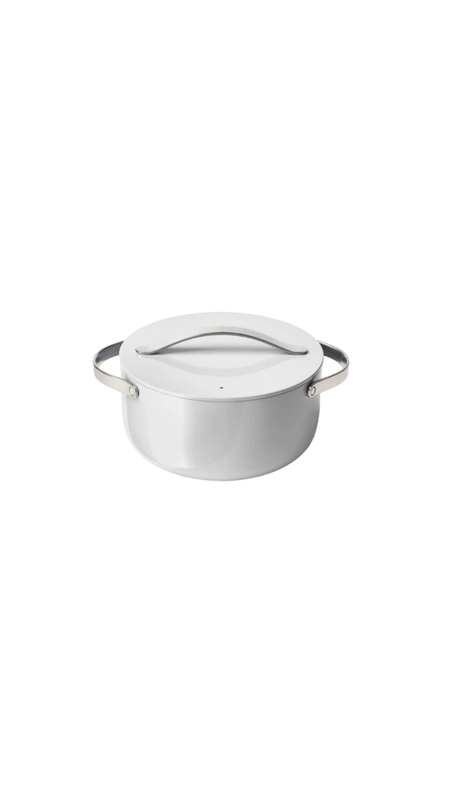
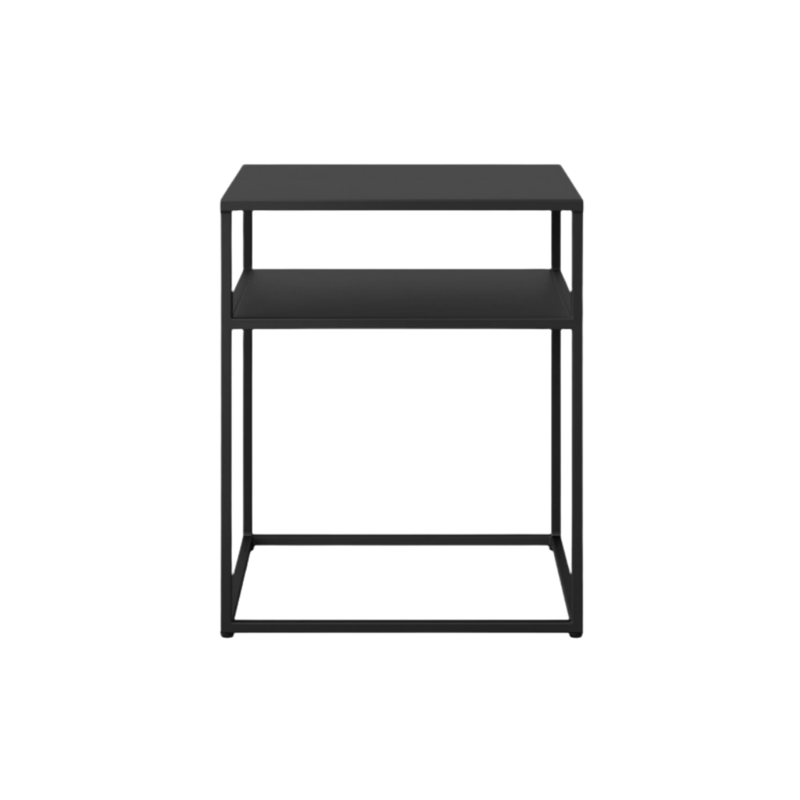
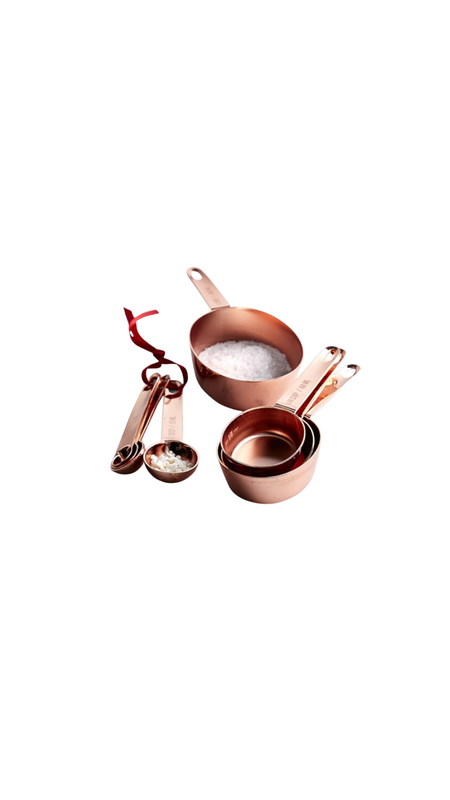
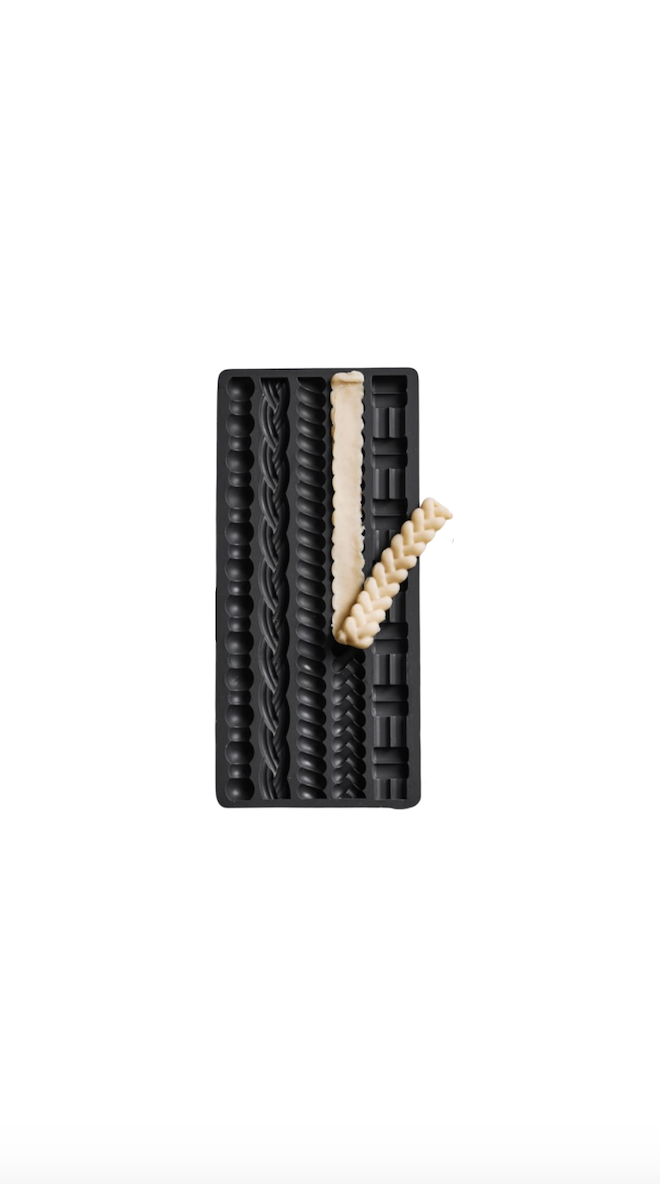
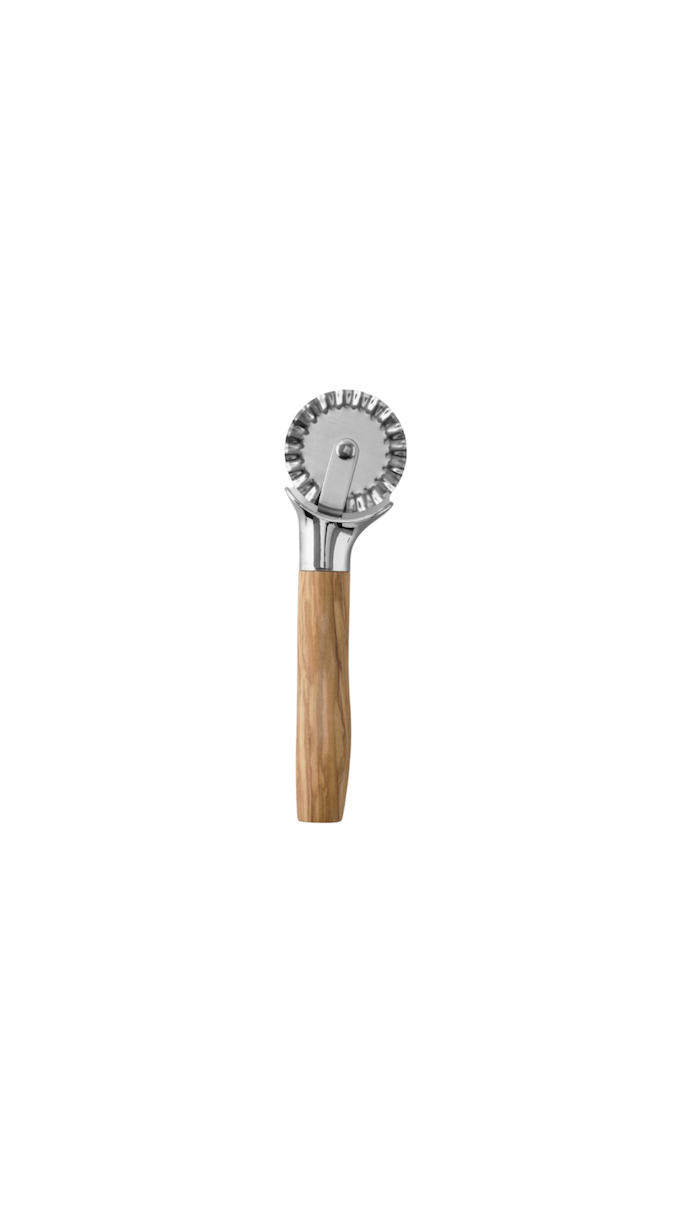
Weather you're making a basic pie or creating intricate crust art, every great pie begins with great tools!
Click the item to shop my personal favorite baking tools that I can't live without in the kitchen.
Ruffled Pie Dish
Bistro Tile A La Mode Pie Dish
Apple Corer
Dutch Pot
Copper Measuring Spoons
Copper Nesting Measuring Cups & Spoons
Silicone Brush
Mini Silicone Spatula with Copper Handle
Silicone Perfect Pie Crust Mold
Olivewood Fluted Pastry Cutter
Wooden Pie Box Pie Carrier
Courtly Check Bent Pie Server

Picture
Picture
2 Comments

Holiday Mantel Styling

12/10/2019

4 Comments

 
Picture
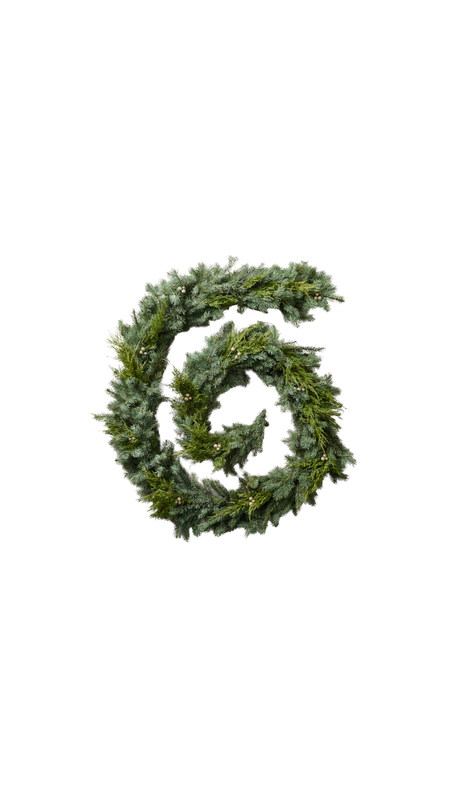
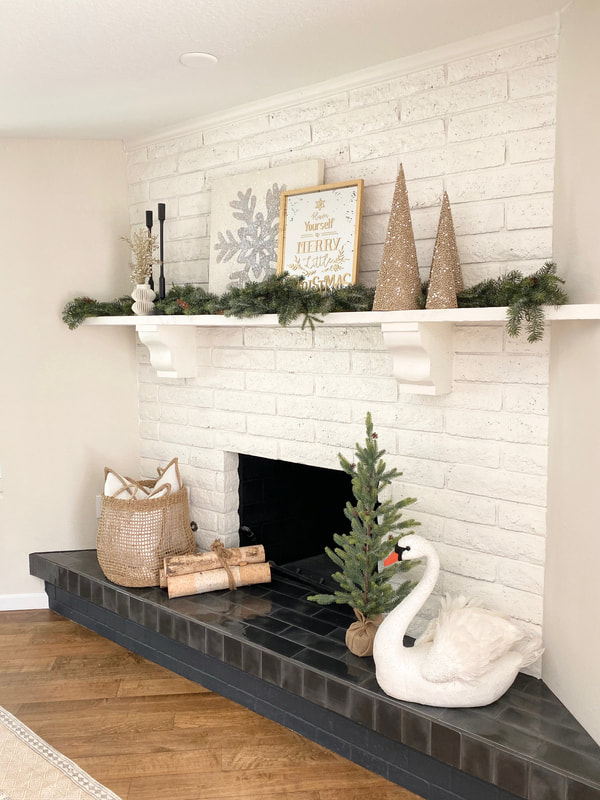
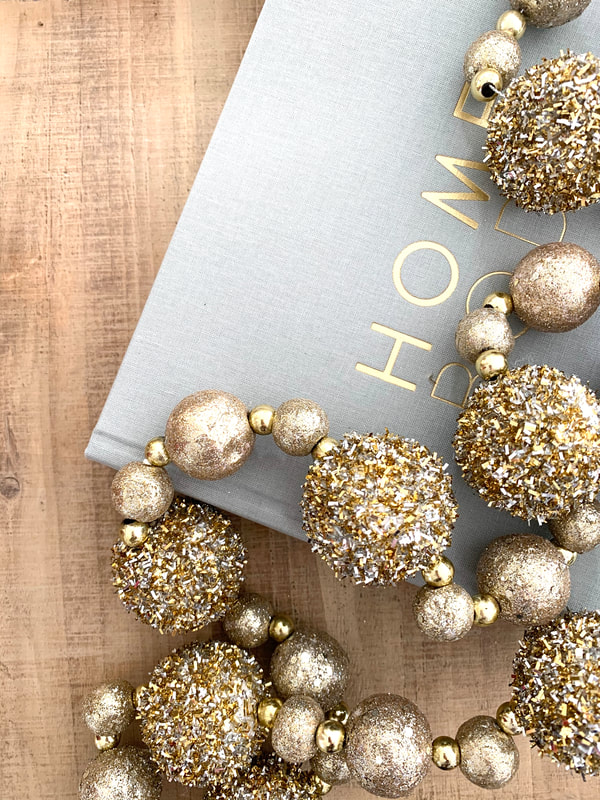
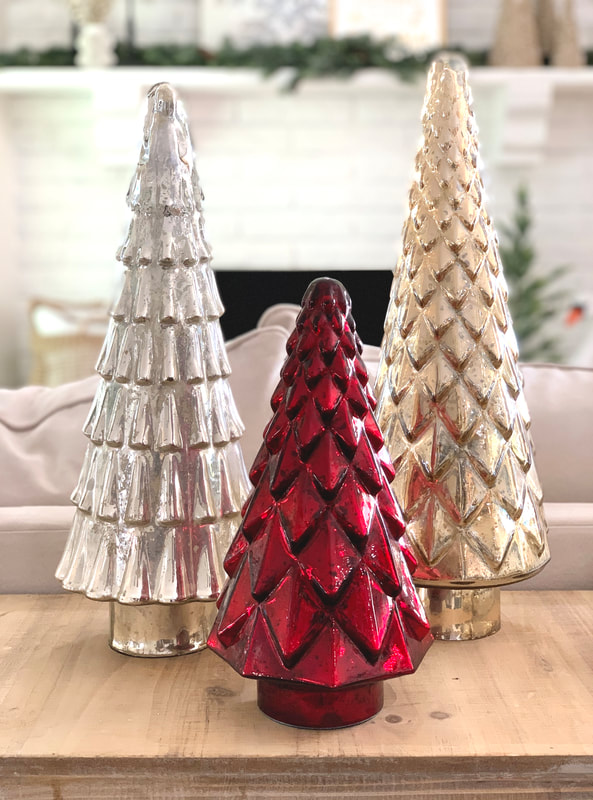
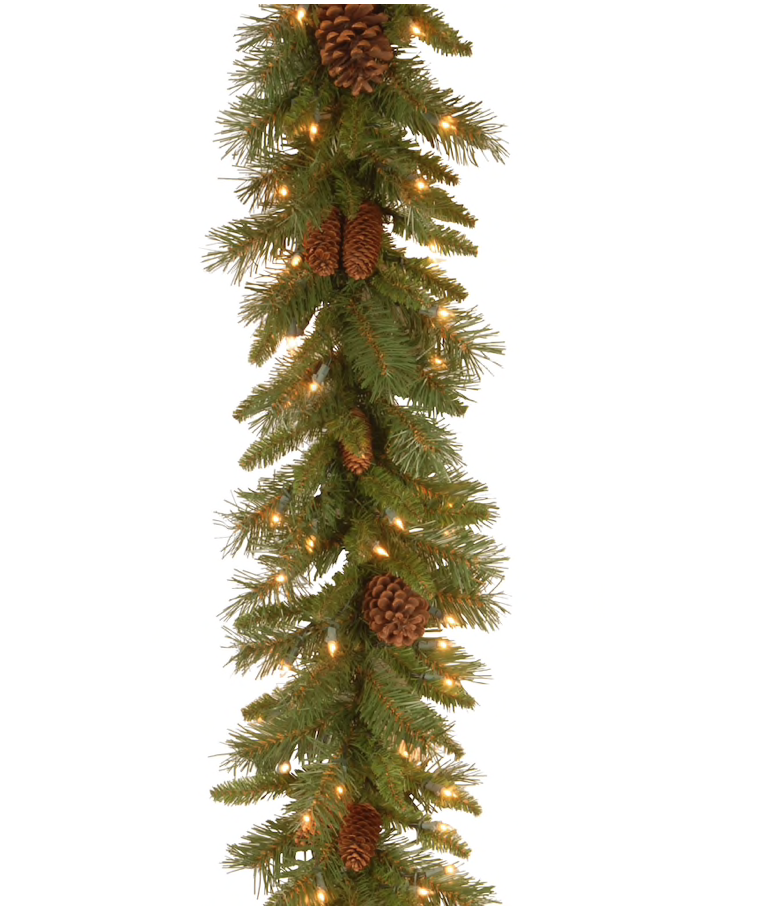
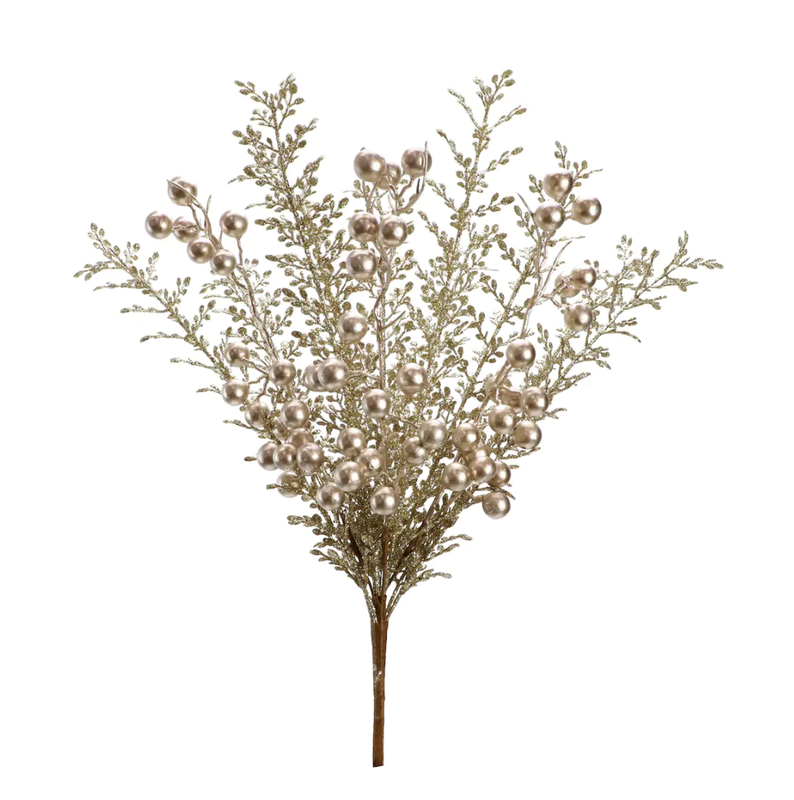
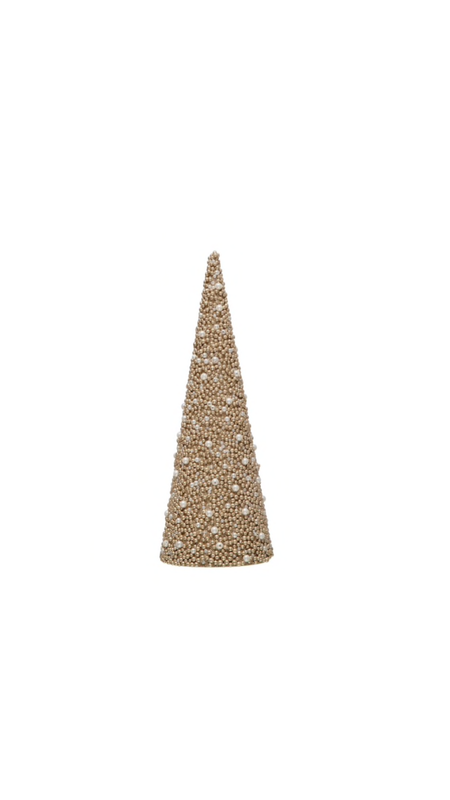
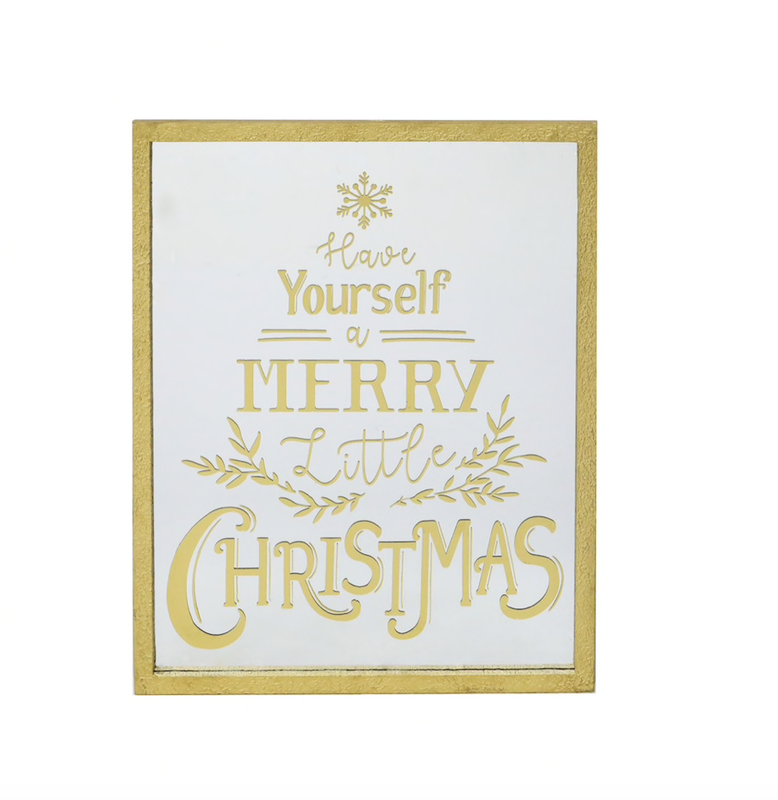
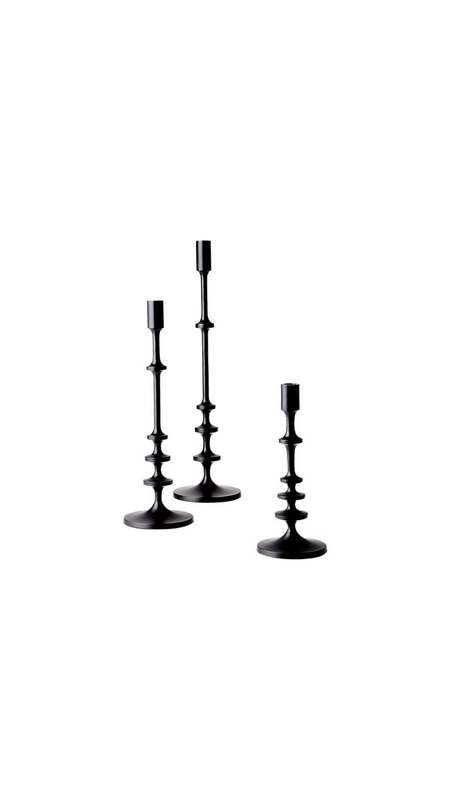
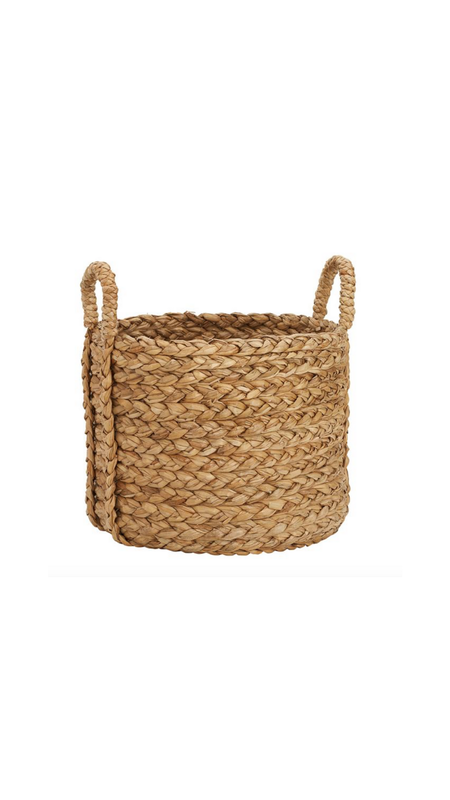
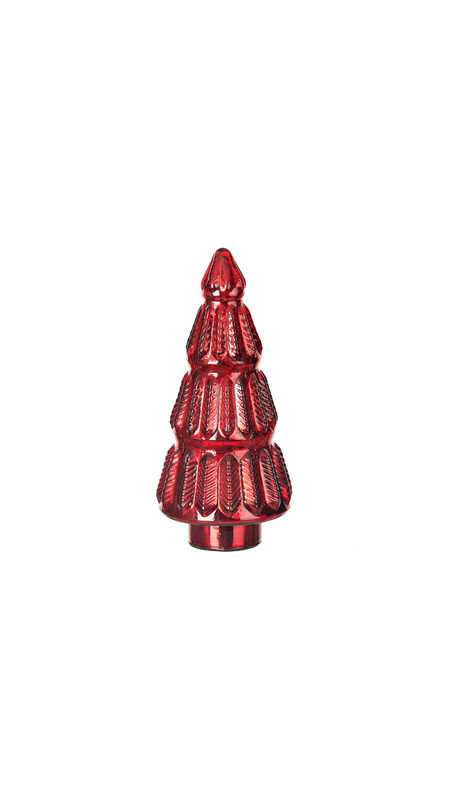
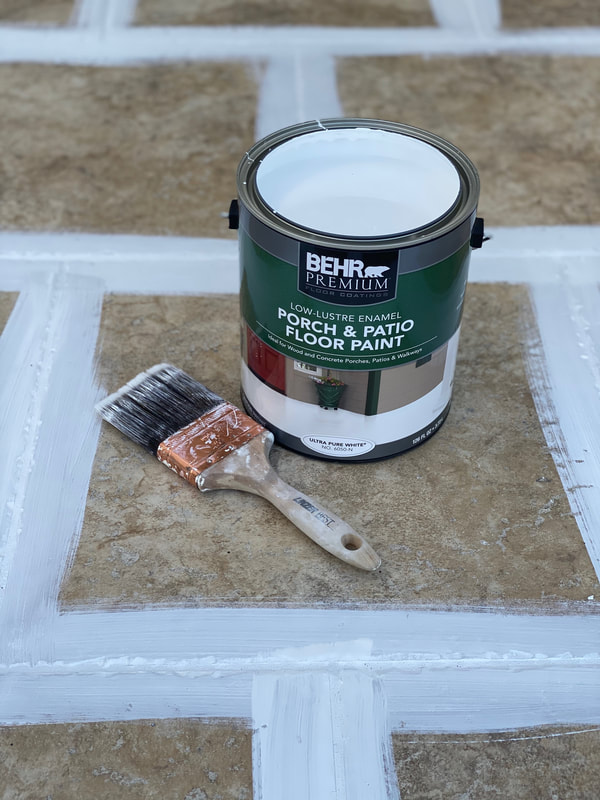
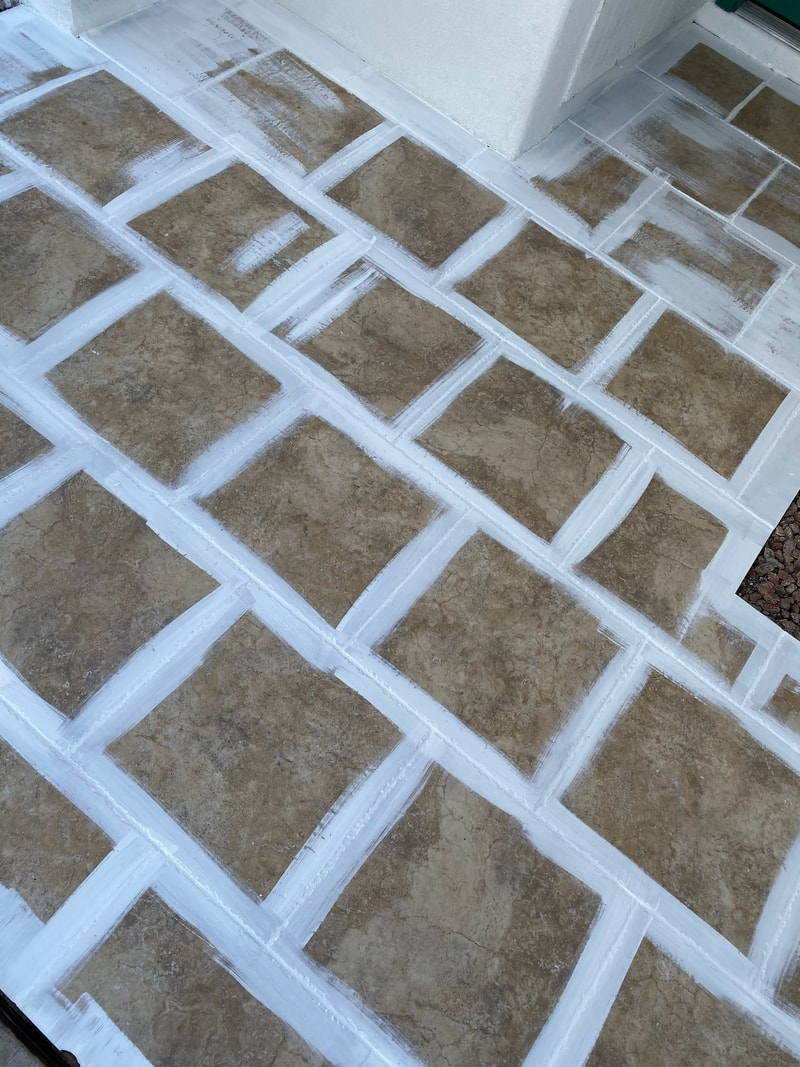
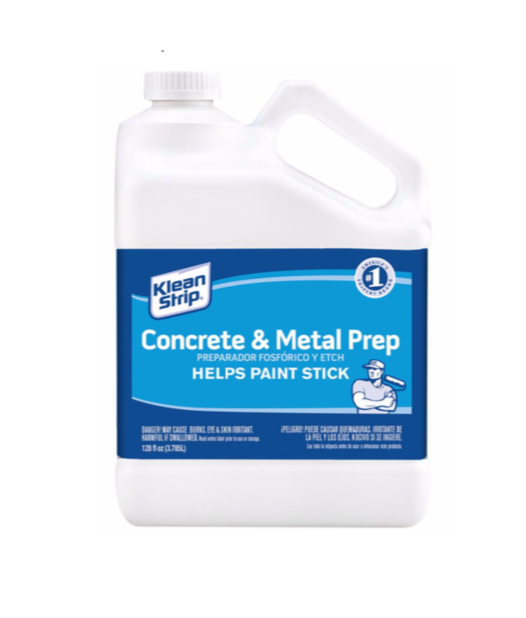
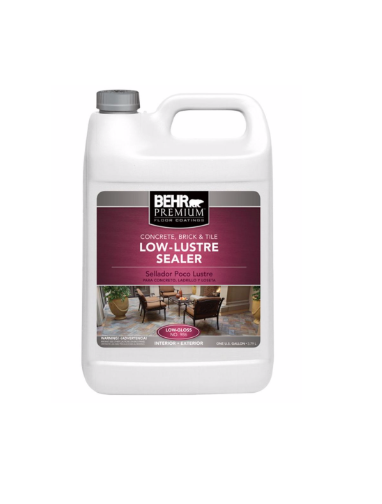
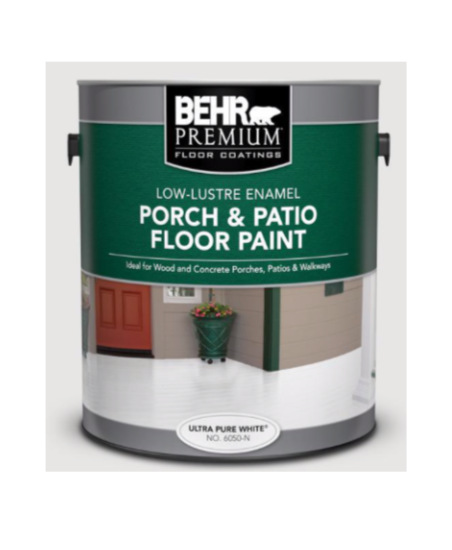
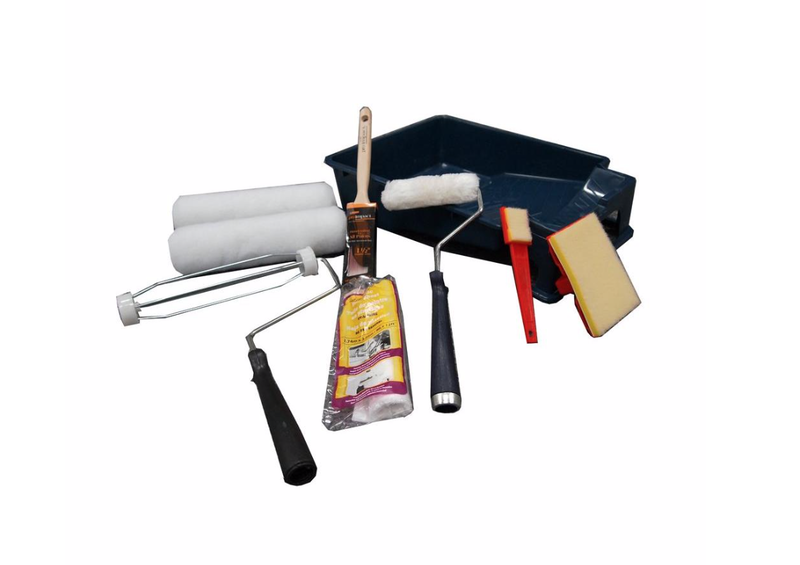
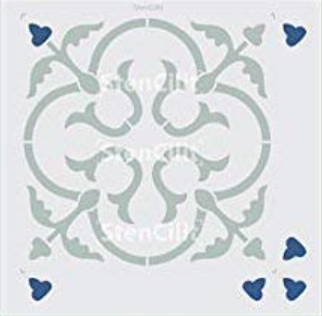
Holiday decor is easily our favorite kind of decor. What other season allows a little glitter of every shape, size, and color?! We want to show you how easy and inexpensive it can be to add a little holiday spirit to your home, and what better part of your house to play with than your fireplace mantel?
Well, Christmas is right around the corner so let's get decorating!
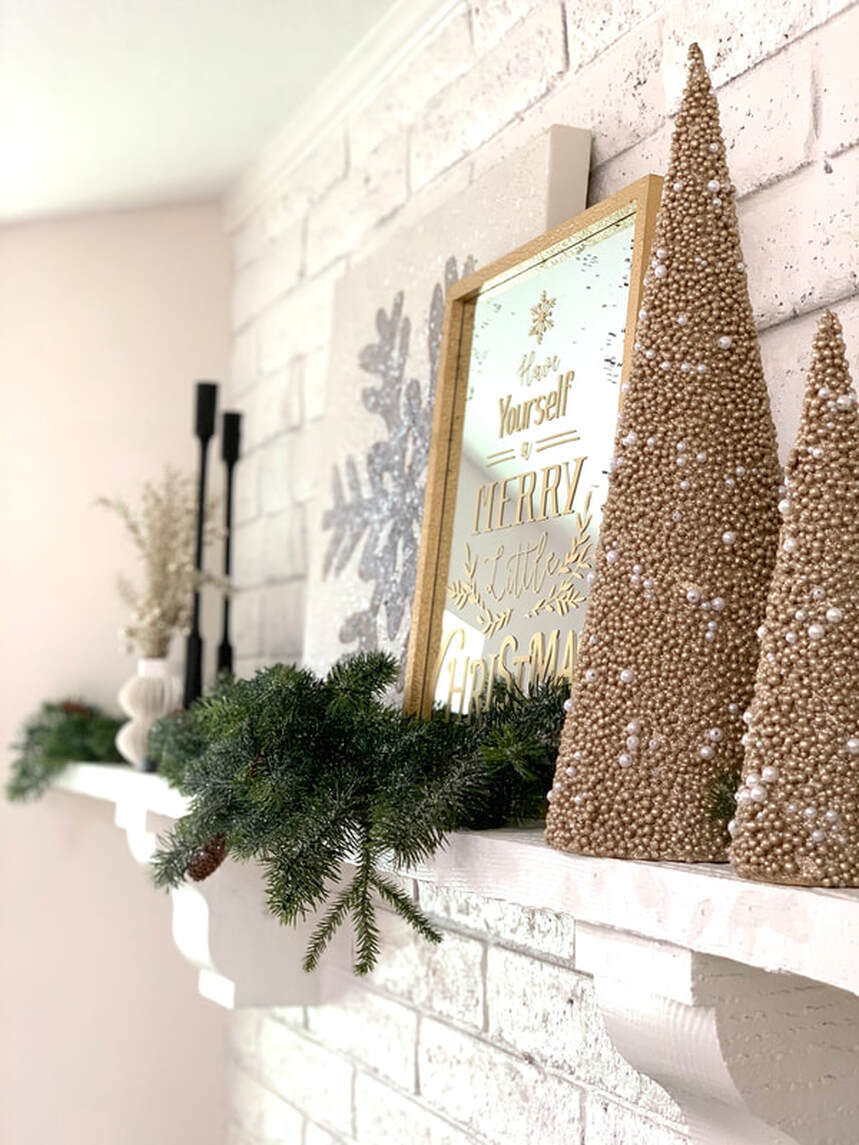
Picture
A F T E R
B E F O R E

CHOOSE A THEME

First things first, you must decide your color scheme and theme of your decor. One of the many ways holiday decorating is so fun is because you can make it whatever you want. From classic red and green, to glitzy gold and silver, all the way to crazy neon colors, your decor can be as wild or simple as you want it to be. We chose to go with a little glam this season, using green, with, gold, and silver. 
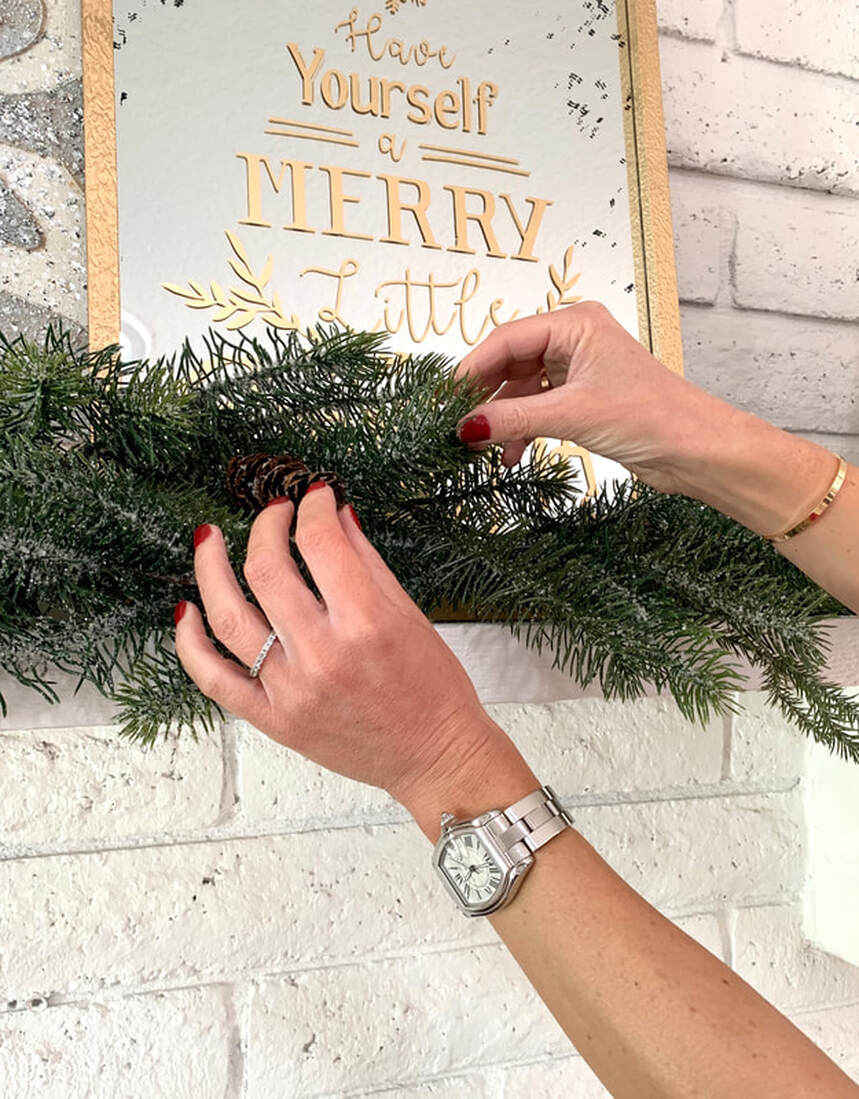
Picture

GREENERY

Depending on the size of your mantel, find a few pieces of large garlands to be the base for your styling. Garland can be simple and green or it can be wild with crazy colors and glitter, what ever you choose, make sure it is a good base that compliments your other elements incorporated throughout.
​We went with a classic pine garland with a sprinkle of snow on the leaves and some pinecones as accents. We purchased  two of the same 6ft garland and overlapped them to appear fuller and to eliminate any seams between the two separate pieces. Make sure you fluff as needed to make the garland more realistic and full.

Picture

STATEMENT PIECE(S)

A statement piece is a must when it comes to mantles, it immediately draws the eye to your special piece and sets the tone for the rest of your decor.  We decided to go with artwork with lots of glitz to dress up our simple garland and begin our glam theme. Having a larger piece in the middle, like artwork or a sign, allows you to add smaller pieces around it, we suggest stacking like items of different sizes on top of each other for added depth as shown.
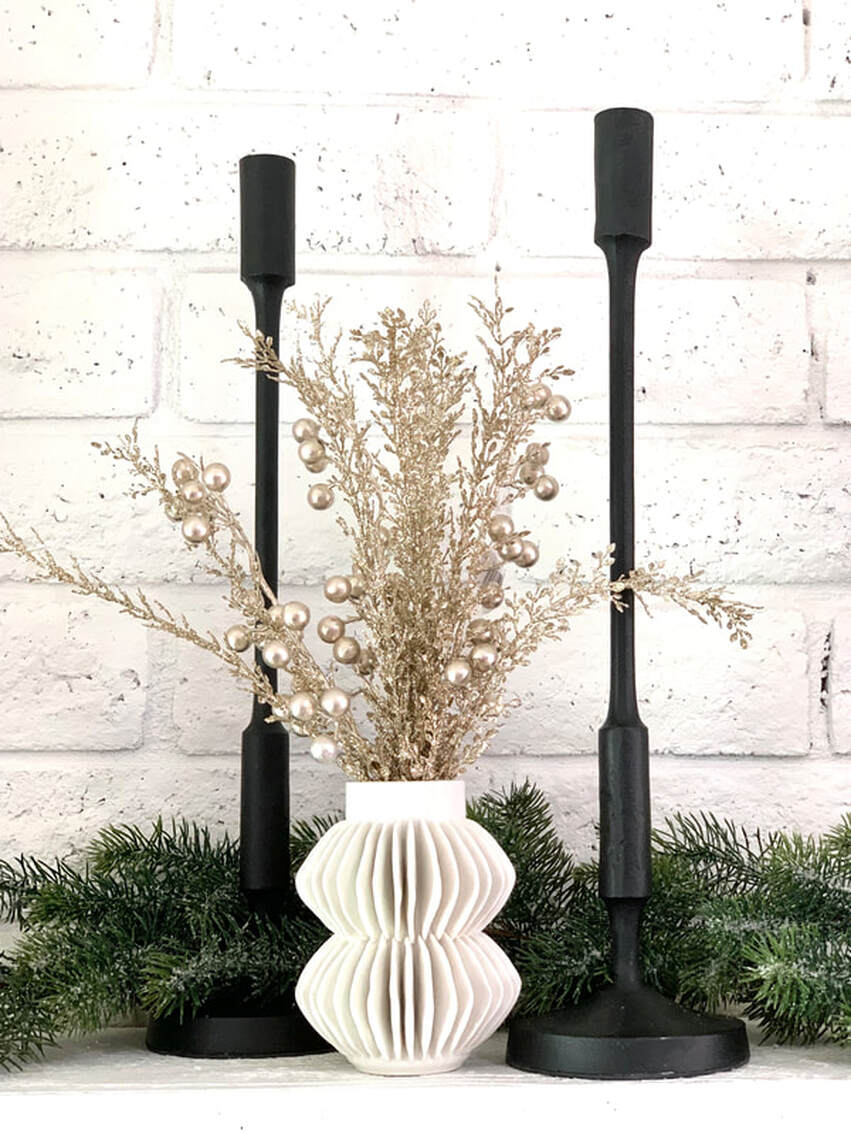
Picture
Picture

GROUPS OF THREE

On each end of the mantel, we chose items with different  heights in groups of three to add dimension on the sides without going overboard. We kept it simple, sticking with neutral colors and even adding in some decor elements we use year-round like candlesticks, white vase, and jute basket. Repurposing decor not only fun to give items a different feel and purpose, it is also very cost effective!

Picture
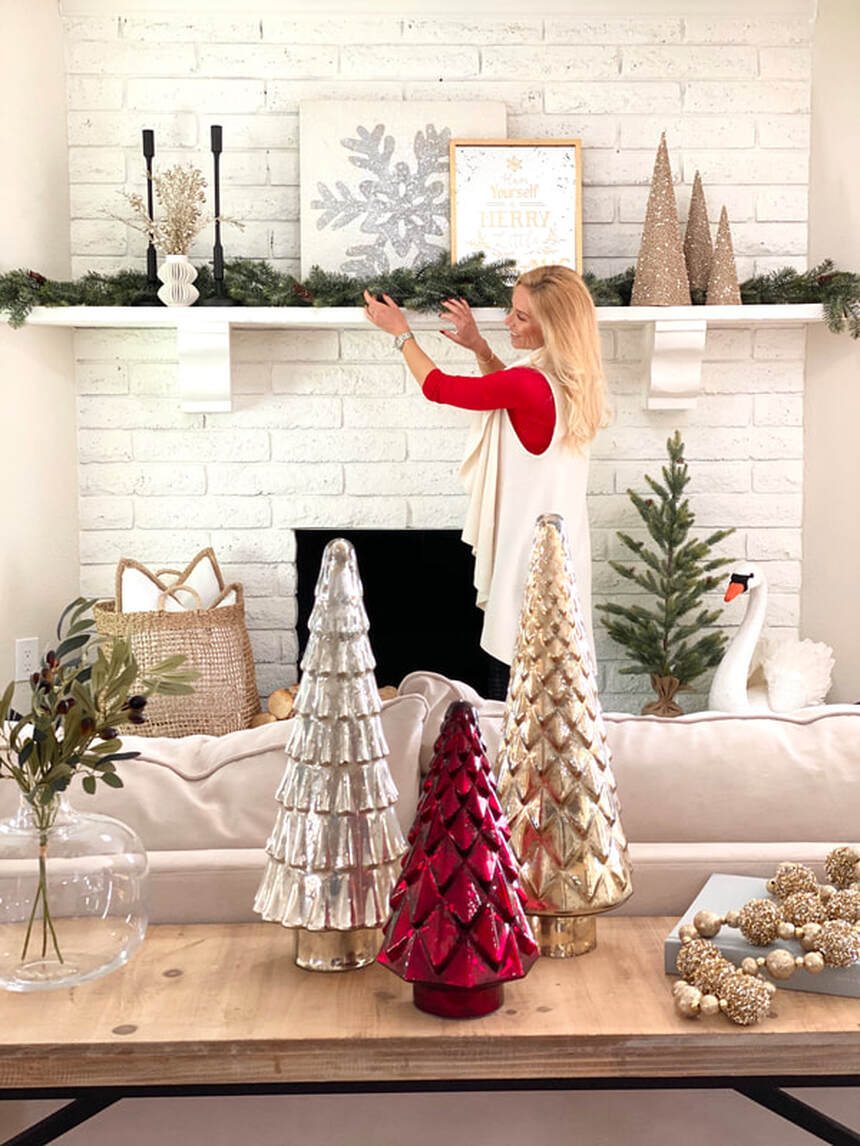
We had so much fun styling this beautiful space, there is something about the holidays that just puts a smile on our face and we wanted to bring that to everyone's home by giving simple decorating tips!

For more ideas and tips, follow along on Instagram @beckmannhouse and tag us in your projects.
Happy Holidays!

Picture

Picture
Picture
4 Comments

DIY Tile Stencil

11/21/2019

5 Comments

 
Picture
In a world of muted colors and clean, bright white spaces, we aren't afraid of a little boldness.
This easy DIY tile stencil project was not only so satisfying to see come to life, but it gave the entry way the POP it needed! 
​

Follow along as we break down each step for you to tackle this proejct on your own!
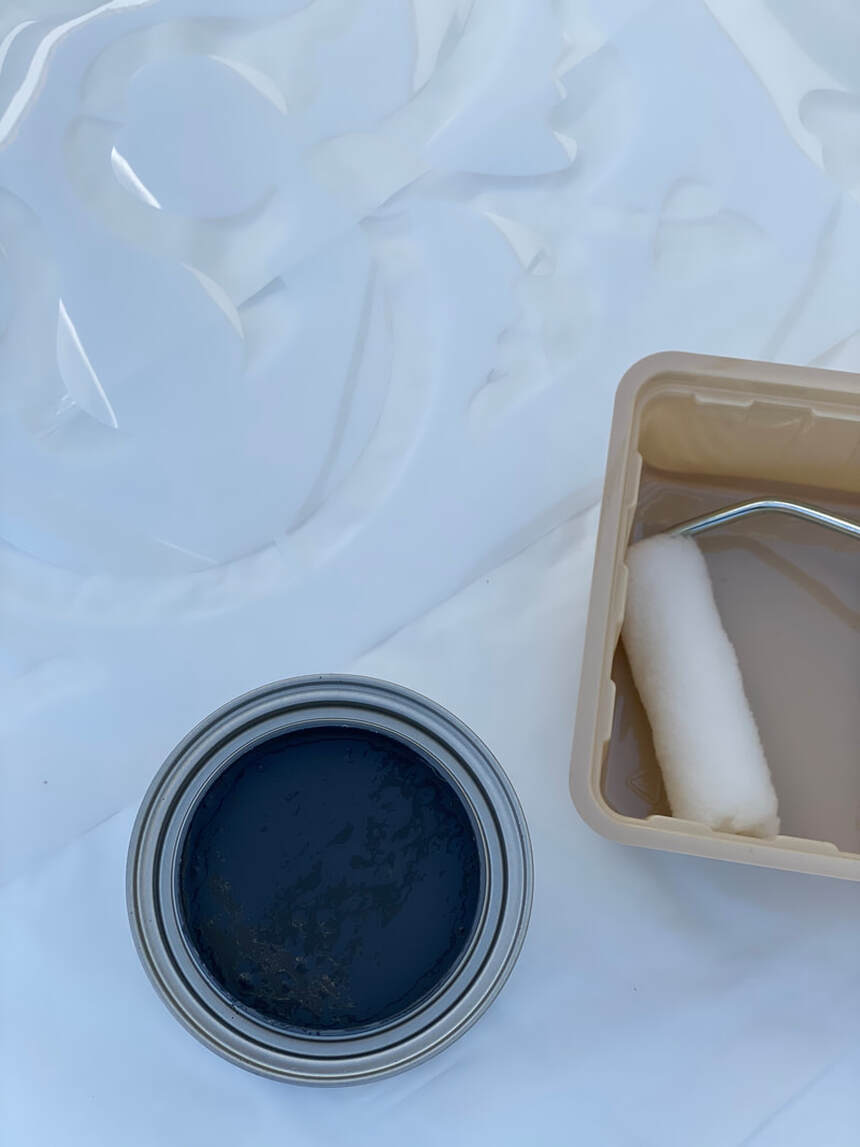
B E F O R E
Picture

What You'll Need

Stencil
​Concrete prep
Concrete sealer
Behr (or any brand) exterior paint
Painting set (roller, small roller, paint pan)
Paint brush extender
Deck brush
Tape
 ​

Step 1: Prep Surface

To prep your surface, use a deck brush and a concrete prep solution, depending on the surface you are working on, the solution needed may vary. I used 1 part solution to 3 parts water and then let the solution sit for about 10 minutes for best results. Now it's time to brush away any old residue (dirt, rocks, etc.). 
​Put some muscle into it to ensure a clean and smooth surface to work with!

​*Let the tile completely dry before moving on to step two!
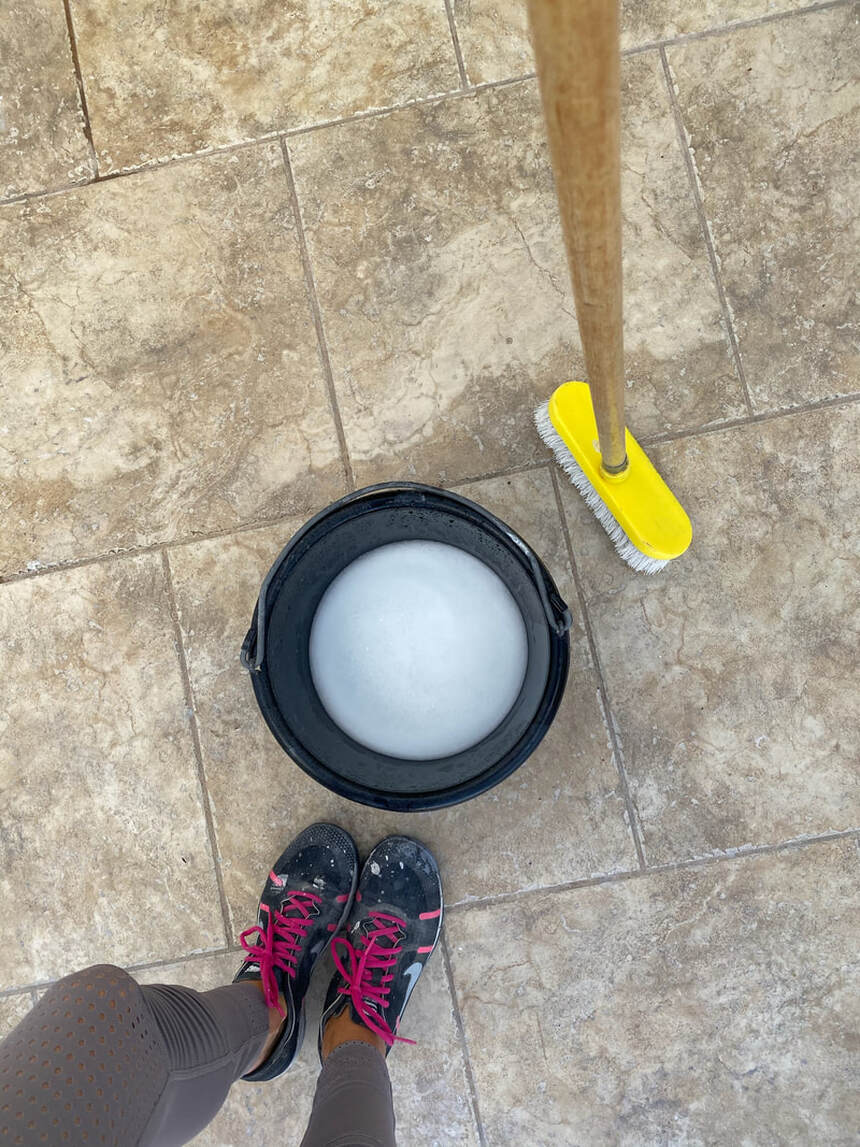
Picture

Step 2: Paint Grout Lines

Paint all of the grout lines with your exterior paint using a thick paint brush to map out the squares for your template. It is easier to get the grout lines with a paintbrush than the large roller. 
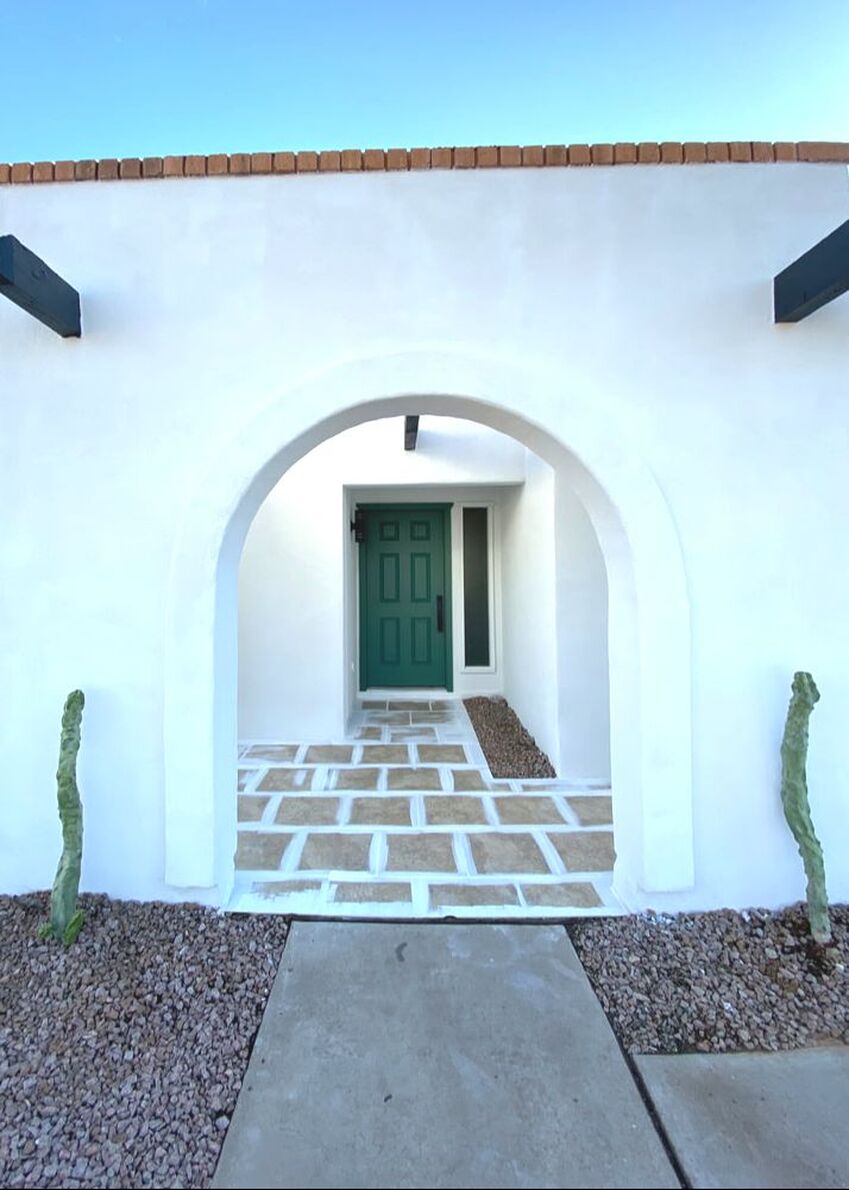
Picture

Step 3: Paint Concrete

With your paint pan, roller, and extender, start applying the concrete paint to all of the tiles. Make sure to start from the back and move your way towards the front, this is so you don’t get stuck!
 Depending on your coverage, you may need to apply 2 to 3 coats to your surface letting the paint dry for about 30 minutes between each coat.

​*Let the final coat of paint dry for several hours or overnight before applying the stencil.
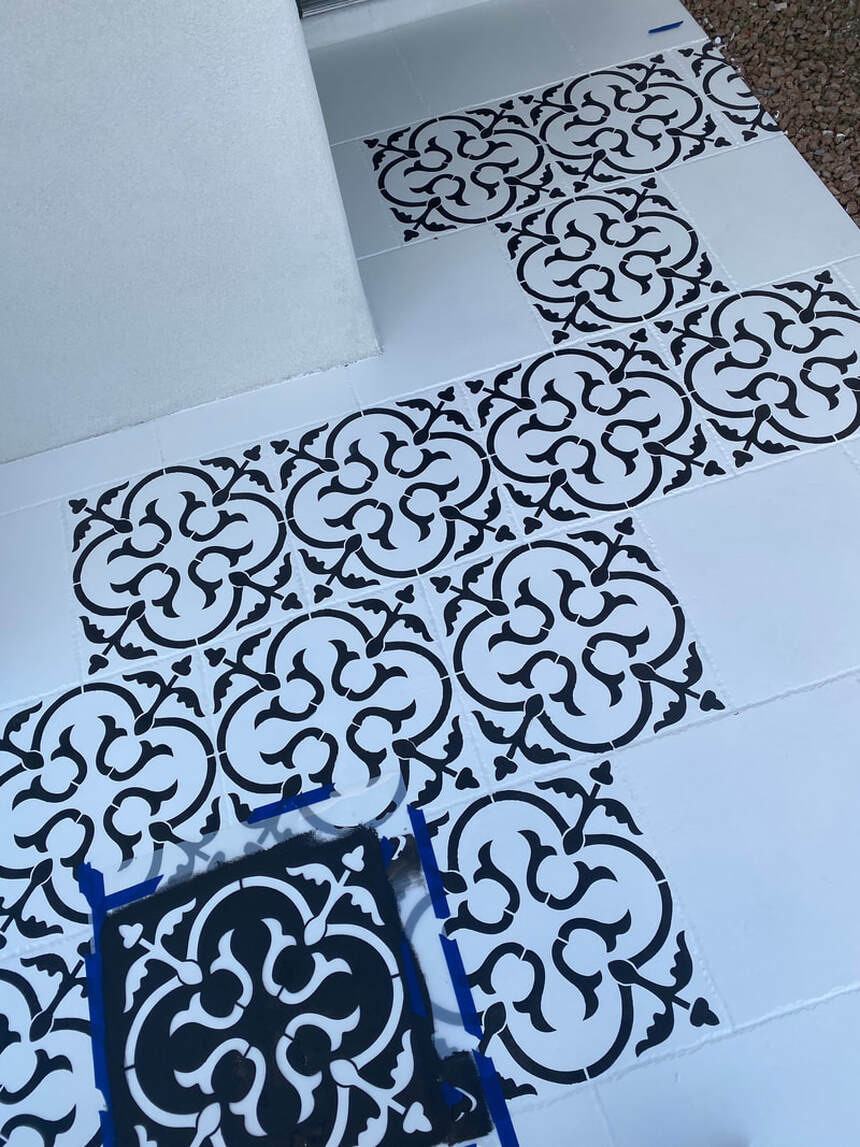
Picture

Step 4: Stencil Concrete

Tape the stencil down onto one square of tile at a time, making sure the stencil is straight and centered. The key to good stenciling is applying very little paint over the stencil, this prevents the paint from seeping under the stencil and bleeding onto the tile. A small foam roller works best for this.
After rolling your roller into the paint pan, be sure to roll off any excess paint onto a piece of paper before applying it to your stencil. The great thing about concrete paint is if you happen to mess up your stencil, you most likely will be able to wipe it off right away so keep a damp paper towel or cloth nearby!

*Once you have completed stenciling, allow the paint to dry for several hours.

​Pro Tip: 
make sure you do not tape your stencil onto the very next tile adjacent to where you just painted, otherwise your paint may still be wet and could mess up your design! I found it helped to jump around in a pattern giving myself plenty of room while I was letting the stenciled tiles dry.
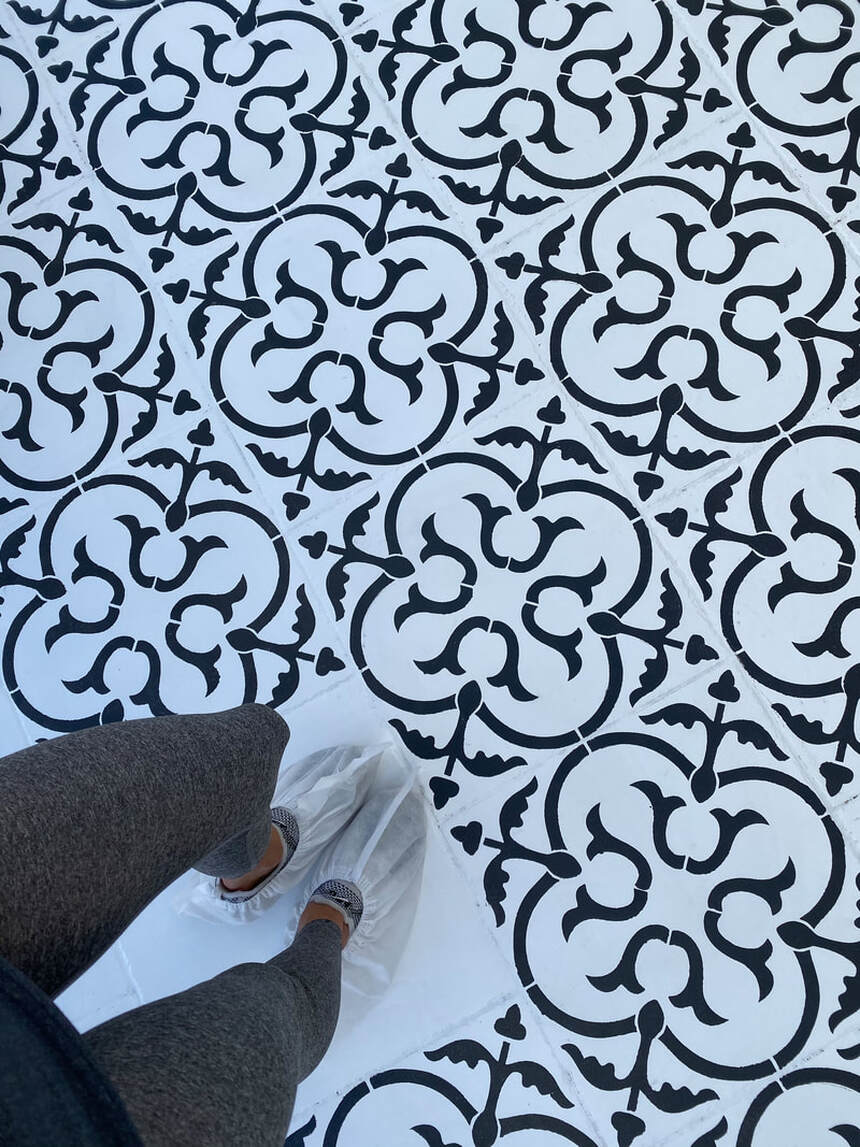
Picture

Step 5: Seal Concrete

With a new paint pan and roller, apply the concrete sealer. This will seal in the color and eliminate chipping, peeling, and overall wear and tear.


Voila! Your hard work and patience has left you with a unique and bold statement to enjoy
for years on end! We hope you love your finished product and would love to see your new addition!
Tag us on Instagram @beckmannhouse to share your results with us.

​Happy Stenciling friends!
Picture
Picture
Picture


Picture
5 Comments

Real Estate Investment Strategies: An Easy Way to Understand Different Ways of Investing

10/29/2019

9 Comments


Real Estate Investment Strategies: An Easy Way to Understand Different Ways of Investing 

I have found such a passion for real estate investing, and if you are reading this, I am sure that you have an interest in it as well! There are a number of different ways that you can start investing in real estate and many different strategies or types of investments that work for your personal end goal.
In this blog post, I am sharing what financing and investment strategies that I personally do.
I hope you enjoy reading more about some of the basics of real estate investing!


​Different Ways That I Finance A Deal:

​Traditional Mortgage: ​I was able to qualify for a traditional mortgage when I was still working full time (side note- I used my day job to fund my side hustle).  I then had to hold these properties for a minimum of 4 months.  I was able to purchase 3 flips along with my first rental with this type of financing. If you are not able to qualify for a traditional mortgage, the next examples for financing might be for you.  

Private Money: This is one of my favorite ways to finance. I can have little to no money in the deal and bring in family or friends who know my track record and will let me use their money to invest. I then pay them back with interest when the deal sells, if I choose to refinance. With private money, you are able to negotiate your own terms with these lenders, they are usually significantly lower than hard money loans. I have purchased 4 flips and my second rental property with this type of financing. 

Hard Money: Hard money can scare some people because it can be expensive and you usually have to pay the loan back, in full, in under a year (my lender requires the loan to be paid back in 8 months). Your personal rate will largely depend on your experience and credit score. You will have to pay 1-2 "points" upfront (this is 1-2% of the amount borrowed) and then your interest rate can range from 8-18%. I have learned that, yes, although this is an expensive way to get money, it is cheaper than a 50/50 split partnership. I have purchased 2 flips and my third rental with this strategy.

Cash: Although this can take a while to build up, if you are consistently turning your profits into another flip and continuing this process, you will eventually build up enough cash to finance your own deals. Bringing cash to a deal allows you to have a quicker close, avoid lending fees, and investor terms. Whenever possible, I try to fund the rehab with cash.

Partners or Other Investors: Maybe you have the time and knowhow to run the job-site, manage the budgets, do the design and find the deals. There are investors who have money to invest, however they do not have the time to look for the deals and then execute the remodels. This would make for a great partnership. A partnership can look different for every deal depending on what each partner is bringing to the table. This usually results in a profit split. 

When I started investing, the only strategy that I knew was traditional funding. Learning and using different ways to finance deals allow you to have multiple projects at once or possibly larger projects that you would not be able to fund on your own. The type of funding that I structure my deals with now largely depends on how much of my own money I want to use, how risky the deal is, and how many properties I am currently working on at that moment.

​Different Types of Investments Strategies:

Fix & Flip: I use and love is the "Fix & Flip" model. This is how I was able to quit my day job, start my business, and have money to re-invest and continue the process. I enjoy the process of flipping, however this is time consuming and usually more involved. 

Buy & Hold: Rentals give you monthly cash-flow, allowing you to have some of the best tax benefits along with the added appreciation of the property over time. This can be a long term rental, a short term rental or even a vacation rental. There are turn-key properties that you can purchase that have already been renovated, however you are usually paying a premium for this. If you enjoy the remodeling process, you can purchase a home, rehab (or renovated) rent and the refinance! More detail on that on the next strategy. 
I currently have 3 rental properties in 3 different cities and used a different financing strategy to acquire each property - traditional mortgage, private money, and hard-money. 


BRRRRR: One of my favorite strategies is called the BRRRR strategy! I just completed this on my second rental. When you understand this process, you can see how you would be able to grow your portfolio quickly while still maintaining ownership of your property. 
B - buy
R - rehab
R - rent 
R - refinance (this is where you pull 75-80% out of the house after you finished the renovation. Ideally you will end up pulling all of the money that you invested into the deal out at this step, after you have created value with your rehab.
R - repeat! Take the money and repeat the process with your next rental! 


​The 3 Biggest Excuses That People Do Not Start Investing In Real Estate Are:

I don't have the money, I don't have the time, and I don't know how. 
I am proof that this CAN be done!

Excuse 1: I don't have time. I flipped 2 houses, purchased and renovated a rental and started on my 3rd flip all while working 40+hours a week at a full time retail job. If you want something bad enough, you will find ways to make the time. 

Excuse 2: I don't have money. I do suggest saving enough money for a down payment before you dive right in. I saved for many years before I was able to have enough for my down payment. With that being said, I now know that there are many different ways for you to get money if you do not have the money yourself to start (Private money and hard money are great examples of this.) There are also investors who might be willing to partner with you. They bring the money to the deal where you bring your time and expertise. 

Excuse 3: I don't know how. I didn't either! I knew nothing about real estate or flipping houses when I started. I went to the job site as much as I could and asked questions... a lot of questions! On my third flip, I hired all subcontractors to teach me how to do everything they were doing. I was still working full time so I would work at my job site before and after my full time job. I learned how to demo walls, demo tile, remove carpet and cabinets. I painted all of the baseboards throughout the house, installed all the light fixtures, learned how to wire can lights, and how to switch out receptacles just to name a few. Having this knowledge was so beneficial to my future projects.  We all start out not knowing how to do something knew, but you learn and grown throughout the process. One of the best ways that I learned was by doing the work, trying out new designs and by trial and error. 

​I hope you've enjoyed reading this and took away some valuable information that will help you start or continue your real estate investing journey. 

​"Don't be afraid of trying something new, because life gets boring when you stay within the limits of what you already know" 
​
Leave a comment on the most helpful tip that you took away!
Picture
Picture
9 Comments

Neutral Spaces With A Big Tile Impact from Floor & Decor

10/13/2019

9 Comments

 
Picture

This is a sponsored post written by me on behalf of Floor & Decor. All opinions are 100% mine.

Neutral Spaces With A Big Tile Impact From Floor & Decor 

Picture
Who says a neutral palette can't be fun and unique?! We love to play up simple color schemes by laying tiles in different patterns paired with a bold statement tile to really make a BIG impact.  Our client wanted a modern feel in their newly spacious master bathroom so we chose to these amazing tiles by Floor and Decor to give them a design truly unique to their home. We incorporated all matte black lighting and plumbing fixtures to pop against the white walls and gorgeous Quartz countertops. 

Bathroom Floor

We more than doubled the square footage of our client's bathroom so we needed a flooring that could handle the new length of the bathroom without taking away from the other design elements. A concrete-look porcelain tile set the tone of the modern design we were trying to incorporate in this space. We chose to lay the tile in a straight stack bond pattern, however this beautiful tile can be laid in a number of different ways to change the feel of the space and really make it your own!
B E F O R E

Find me at Floor & Decor here -

Picture

Shower Surround Tile

This simple yet beautiful shower consisted of 3 different tiles and 4 different patterns! Getting creative and having fun with your tiles, even if they are the same tile, will add so much character to your space.
The top of the shower featured a double herringbone created with the 3 x 12 Meringue Ceramic Tile from ​Floor & Decor, continued on the bottom half of the shower in a simple brick lay.
The matte black fixtures tie everything together and we could not be more happy with how this simple tile made such a big impact in this shower. 
Picture

​Find me at Floor & Decor here - 

Picture

Shower Decorative Band 

The best part of this baby is the absolutely stunning, black 2 x 8 straight lay tile we used as a decorative band along the perimeter of the shower. This simple addition adds so much character along with separating the Meringue tile allowing them to shine on their own in different patterns. 
Picture

Find me at Floor & Decor here - 

Picture

Shower Floor Pan

DRUM ROLL PLEASE!! This shower floor pan is to die for, pictures just do not do it justice people.
Soap niches and shower floors are both great options for more of a bold tile without going overboard or taking away from the rest of the design. We lined this black and white marble mosaic with the same black tile used in the decorative band to really tie it all together. 
Picture

Find me at Floor & Decor here -

Picture

Picture
In your next project, don't be afraid to try something new and spice up that neutral pallet.
Our partners at Floor and Decor have new, amazing tile options being added constantly at affordable price points for you to choose from sparking creativity project after project!

Picture
Picture
9 Comments

Exterior Updates

8/28/2019

9 Comments


E X T E R I O R  U P D A T E

It's cooling down a bit here in Arizona which means we are ready to finally get outside and work on some exterior projects! Whether it be revamping your exterior paint color, adding planters to your entryway, or sprucing up your outdoor furniture and decor, who doesn't love a little curb appeal update?! 
​Remember, you only get to make a first impression once!

Furniture

One of our newest completed projects required a little love on the outside and we couldn't wait to do so! Although we opted for a smooth stucco finish, changing the paint color from this dated beige to a crisp, clean white made all of the difference along with adding a little POP by painting the trim and front door black. Cleaning up the unruly vines added to the new, clean look of this front yard, and we topped off this exterior with an all-weather,
​​boho conversation set to welcome the new owners home. 
Check out some of our favorite pieces! ​​

Lighting 

Picture
Believe it or not, something as small as light fixtures can make a big impact to the exterior of your home. It's easy for fixtures to become dirty, damaged, and dated because we tend to look past them and focus on bigger pieces but trust us, you're gonna want to move those lights up on your priority list! 
See below to find your new fixtures!

Paint

There’s nothings a fresh new coat of paint can’t fix! Even better, try a pop of color on your front door. It creates a new focal point for the exterior of your home along with adding some fun color. Add some of the same color pillows to outdoor furniture or another accent piece to tie in your new color!
See our go to pop of colors here!
Picture

Accessories

Let's be honest, accessorizing is always the most fun when updating a space and unlike inside your home, these items get to be seen by everyone, so why not go all out!
Want something low maintenance and worry free? Faux plants are going to be your best friend, adding lots of color and organic goodness to your new space.  Accent lighting, rugs, and pillows will bring the comfort of indoors outside for you to enjoy during these upcoming Fall nights.
Treat yourself to some new decor, you deserve it!

We hope you have found some inspiration to get outside and love your exterior as much as the rest of your home. For more ideas and tips, follow along on Instagram @beckmannhouse and tag us in your projects! 
​

Don't forget the welcome mat!


Picture
Picture
9 Comments

Simple Tile, Big Impact

6/25/2019

6 Comments

 
Picture
Still not over subway tile? Good, we aren't either! Here are three different ways to lay a classic
​3 x 6 subway tile that will give your a space a whole new look! ​

Straight Herringbone

Picture
Picture
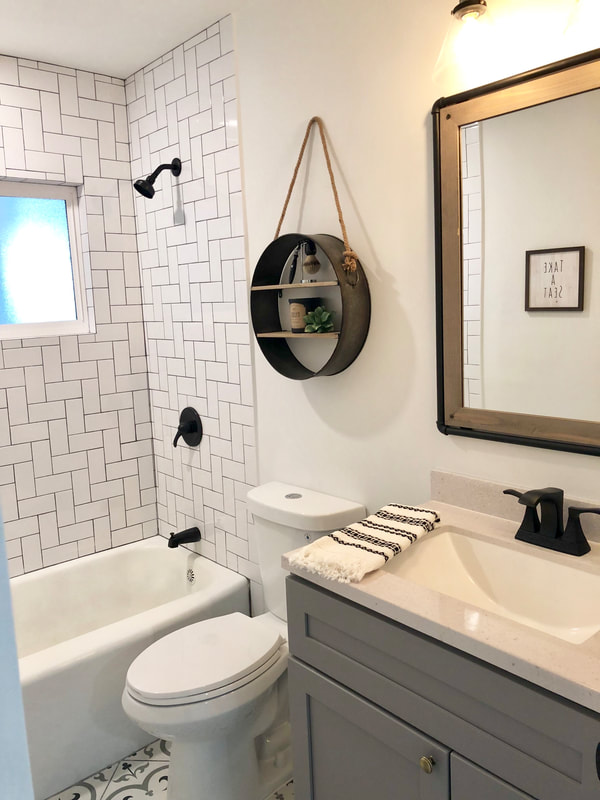
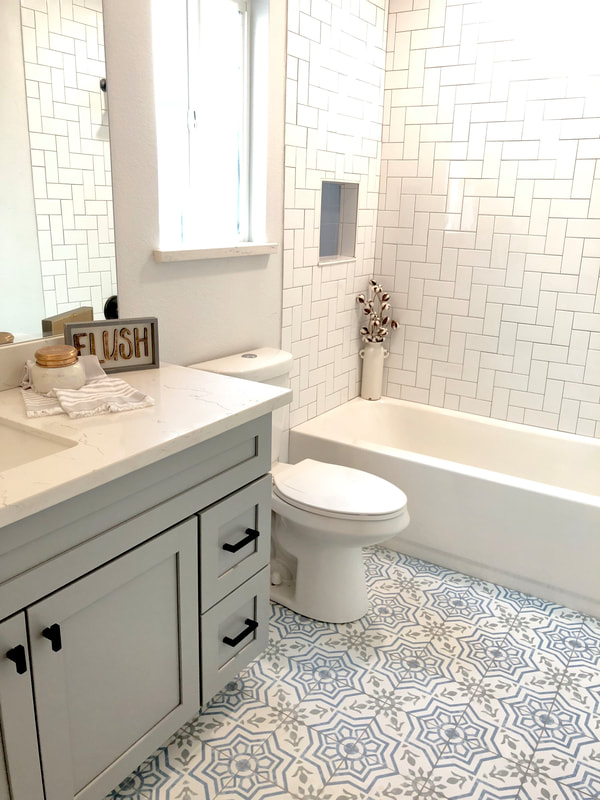
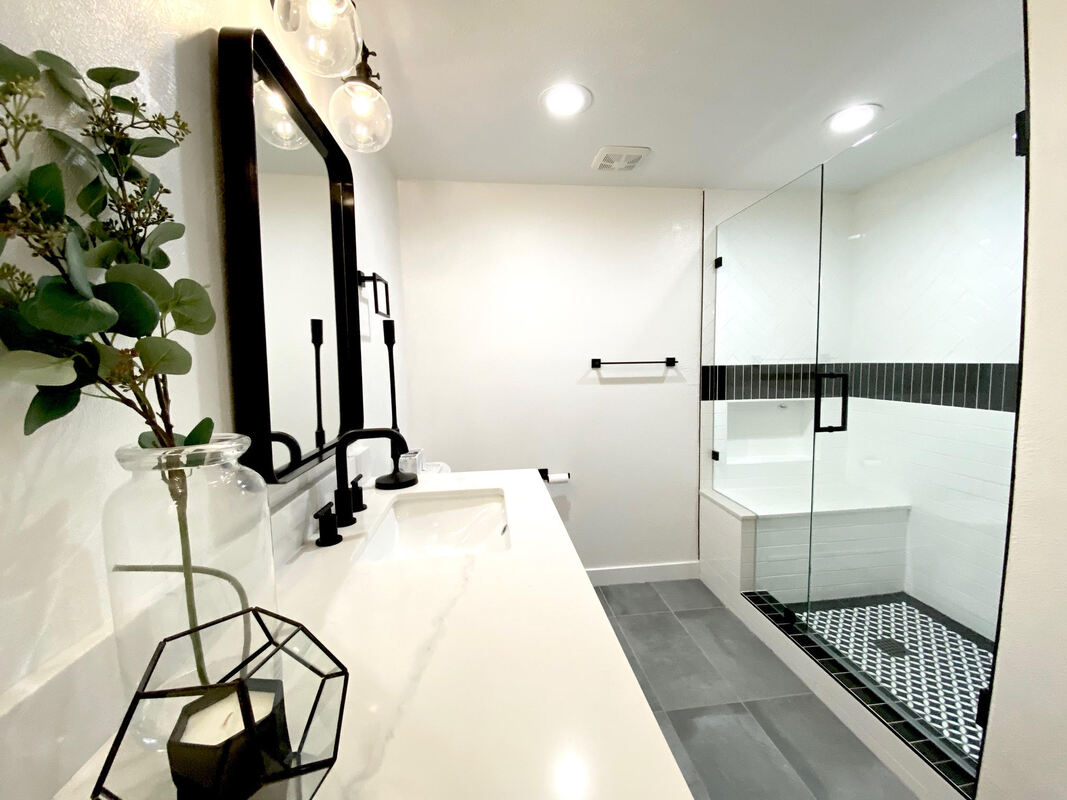
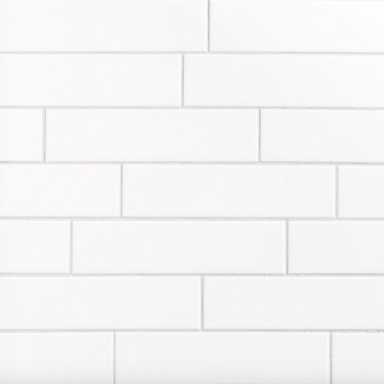
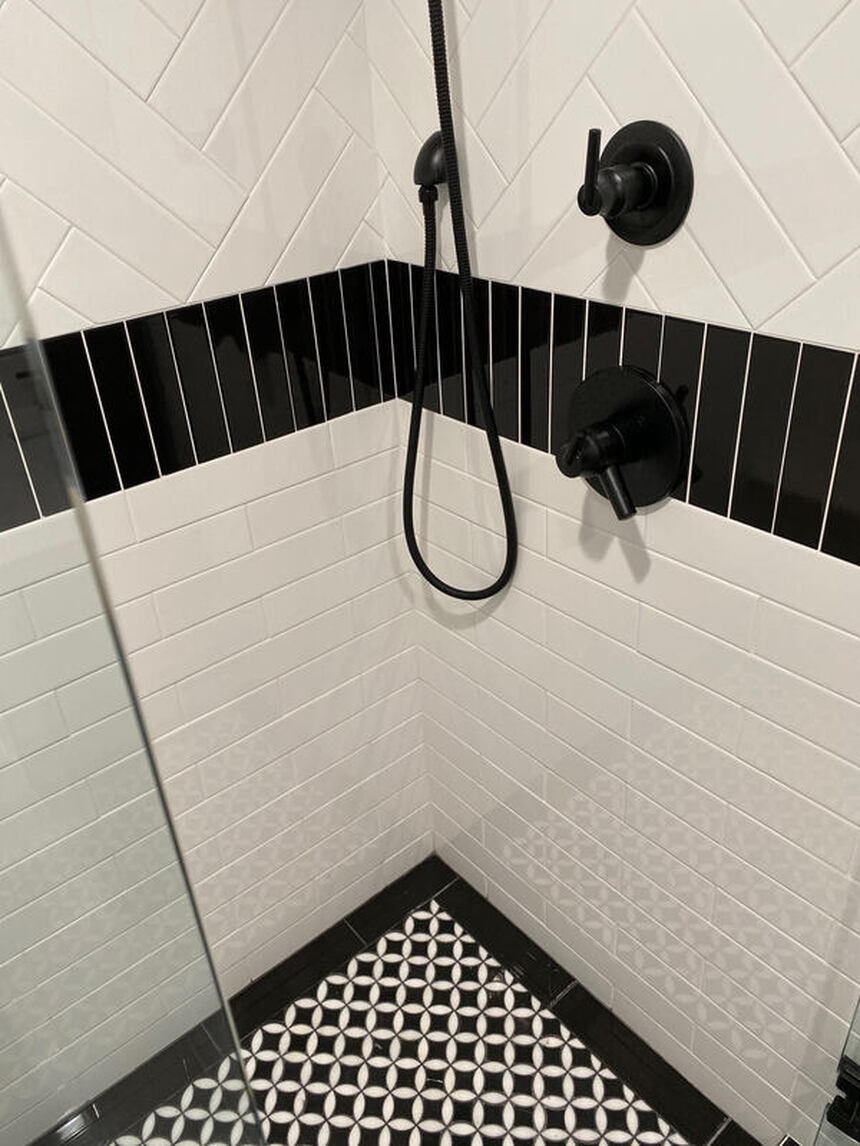
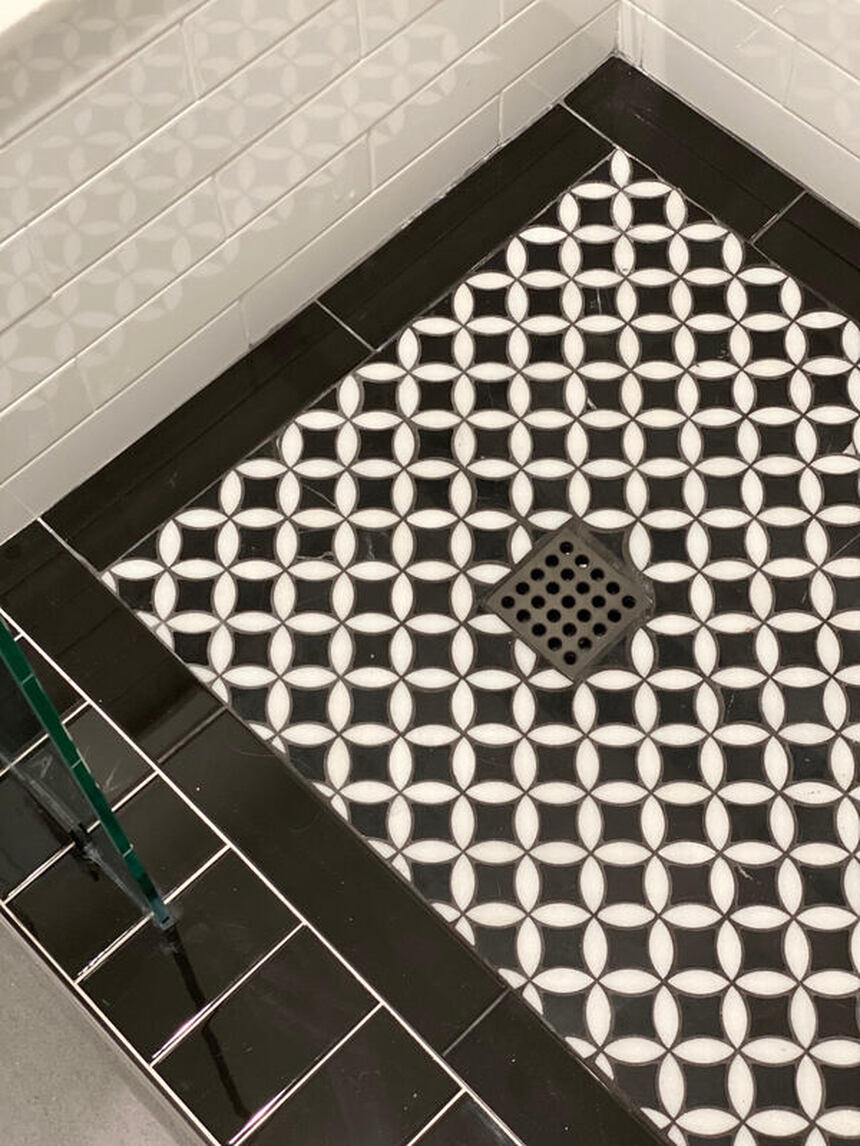
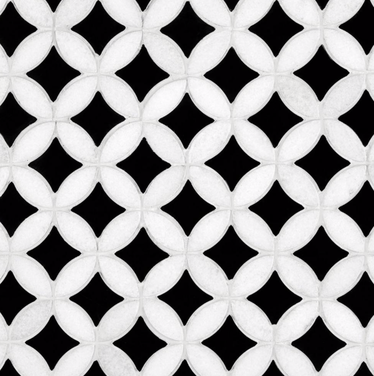
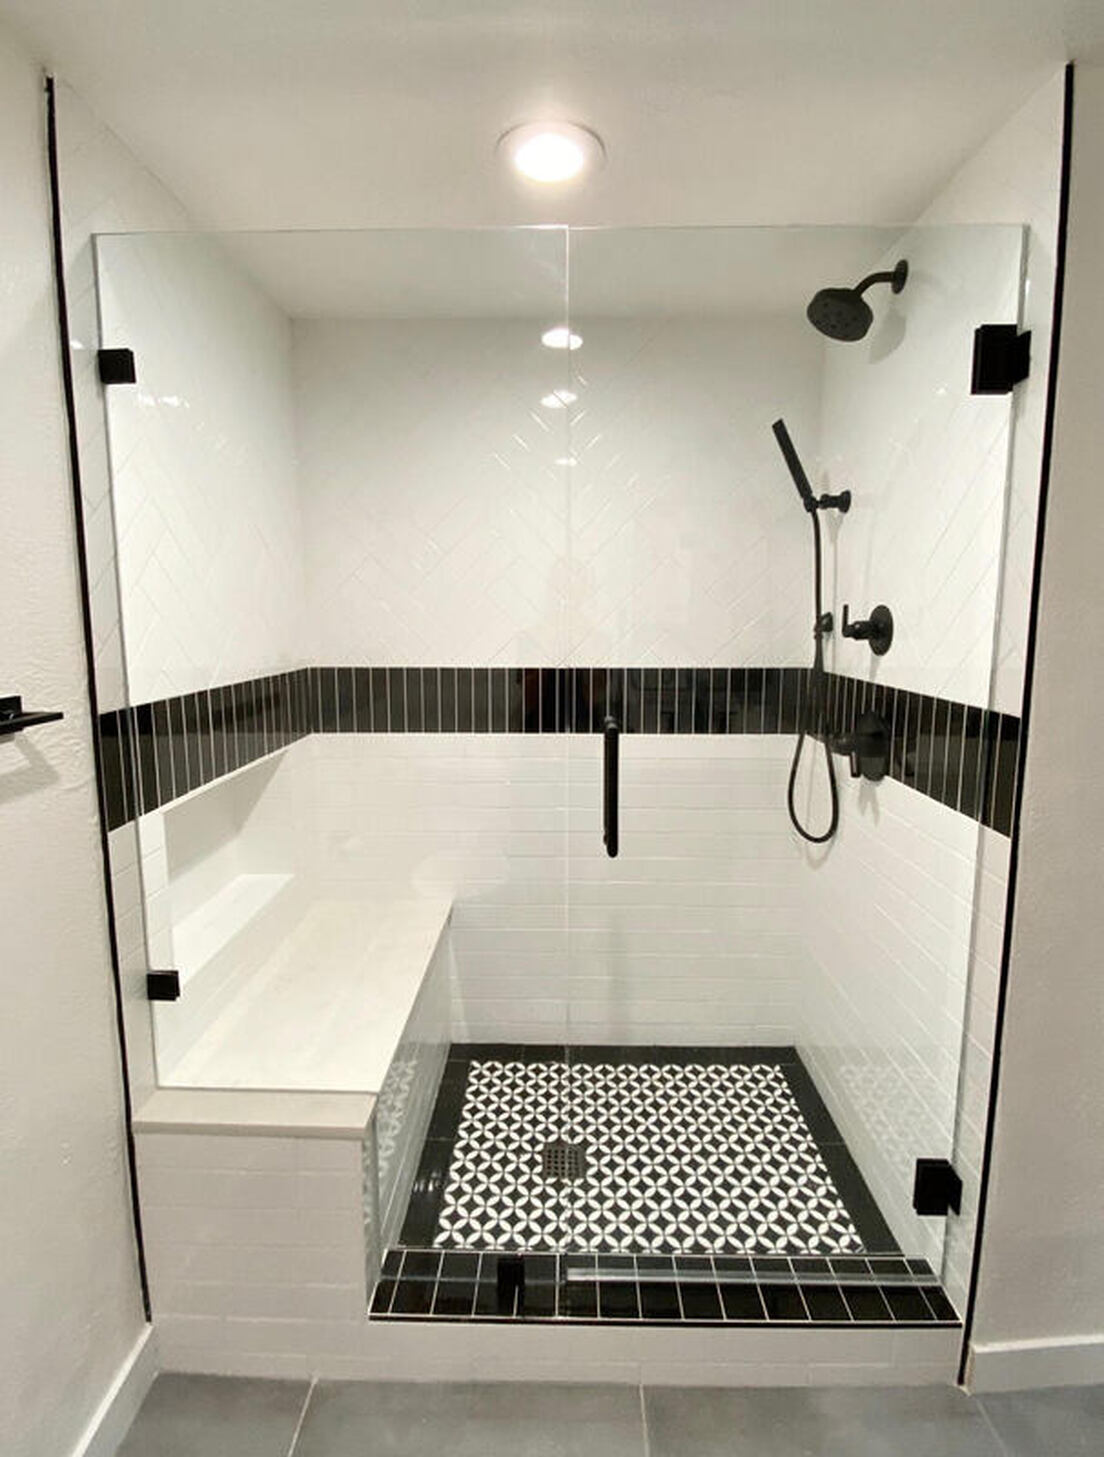
This is a fun twist on how to lay subway tile. It's called straight herringbone and we loved it so much we did it twice! Both of these guest bathrooms had pattern floors that we didn't want to compete with so we gave the showers a fun pattern with all white subway tile that complimented the space. 
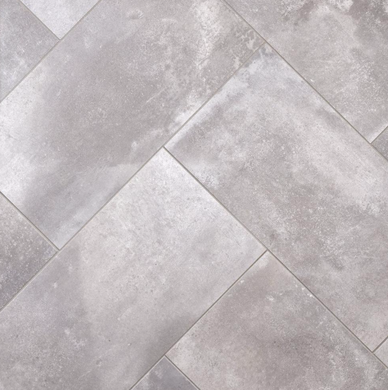
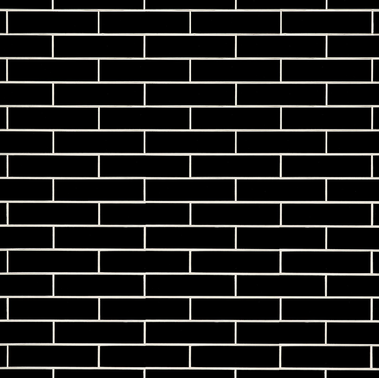
Stack Bond 

Picture
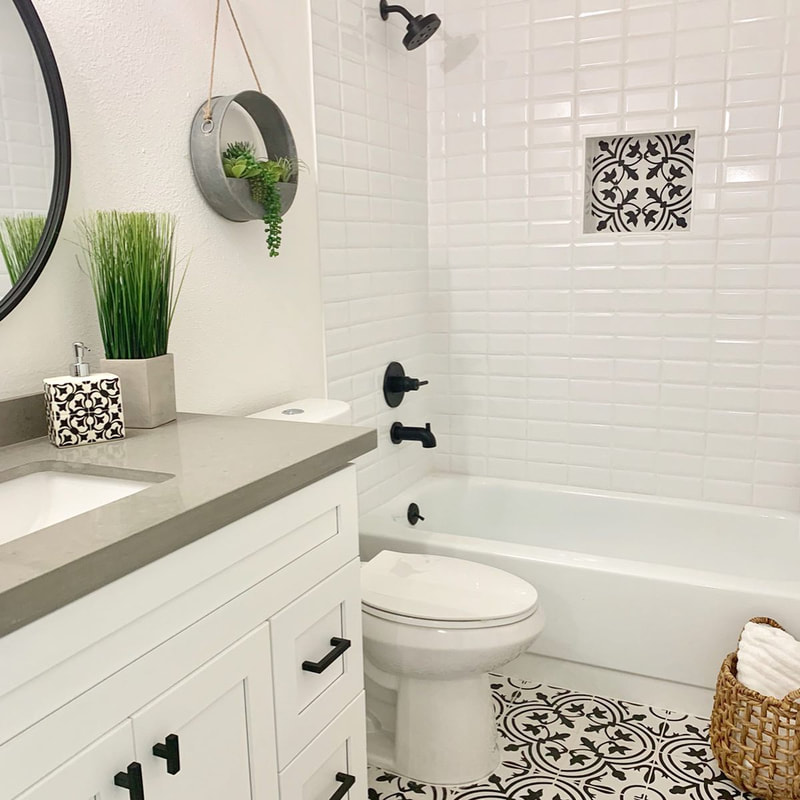
 A little more of a modern feel with clean lines in both directions. This pattern is called stack bond. We went with a beveled 3x6 subway tile for this design to give more dimension between each tile. 

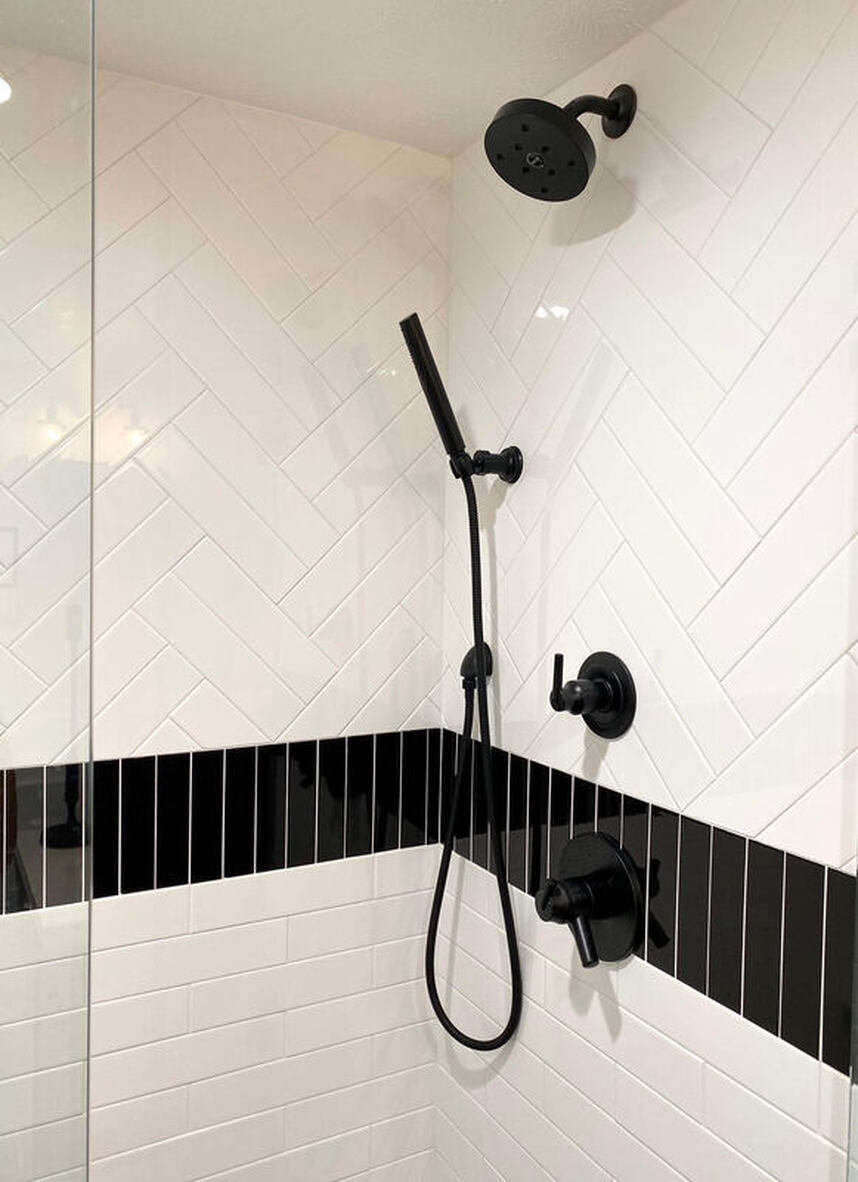
Brick Lay & Herringbone 

Picture
Picture
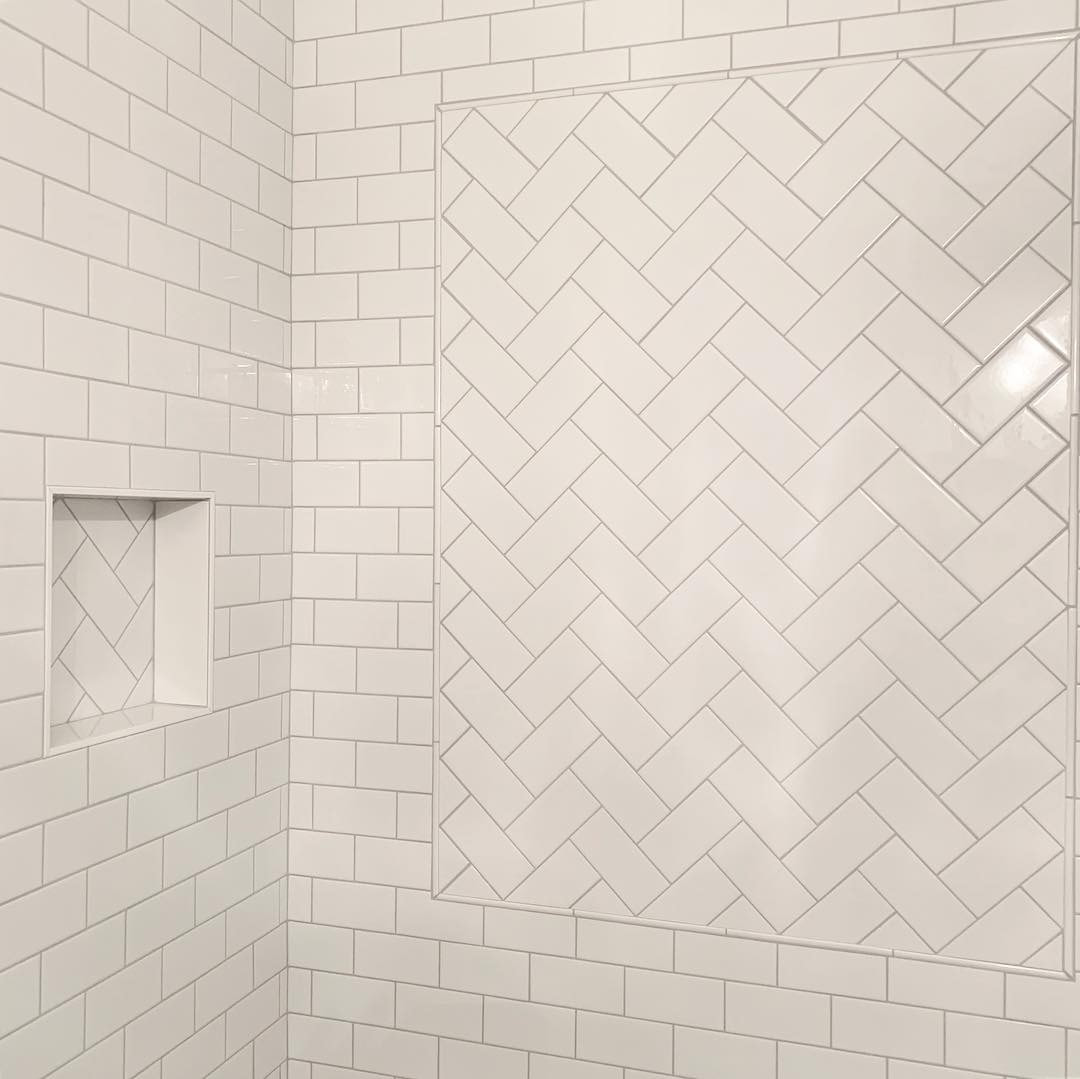
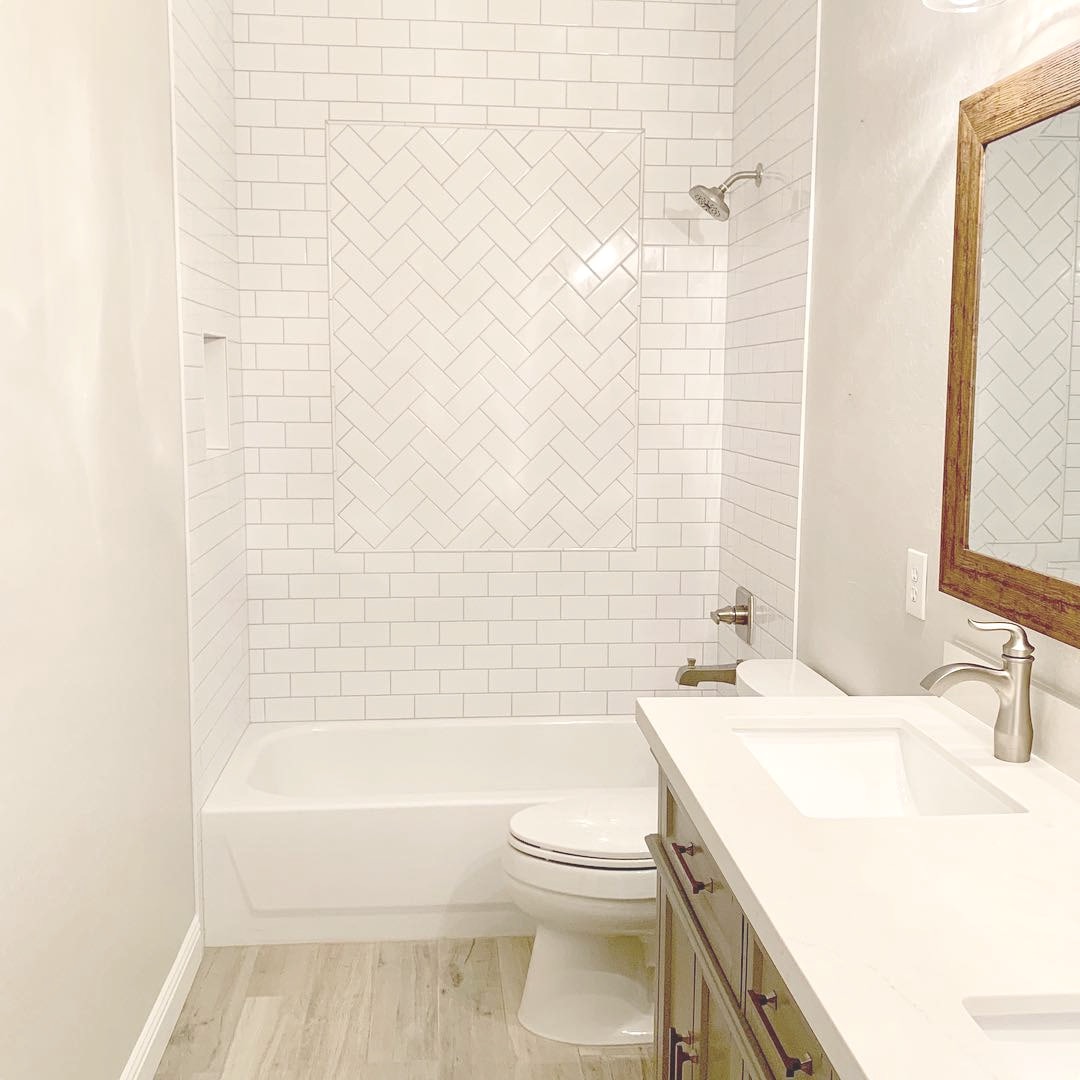
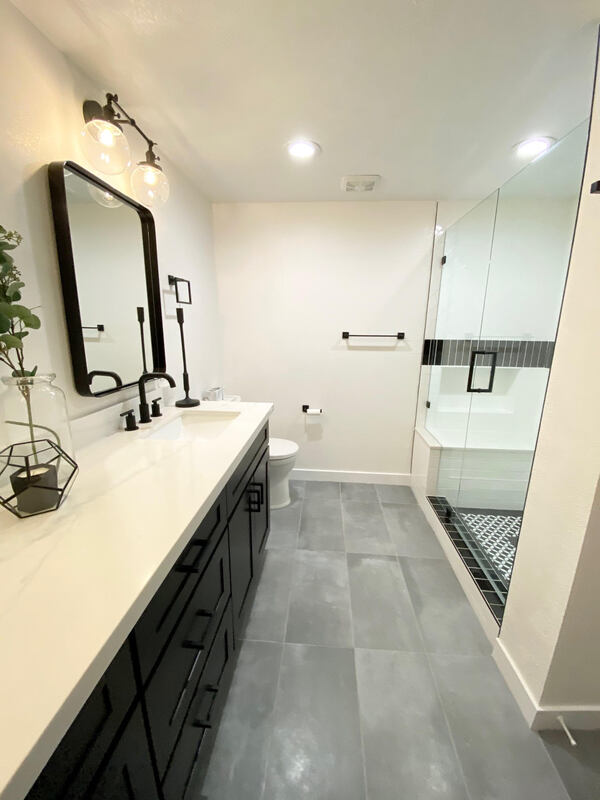
In this guest bathroom we combined two patterns to create a unique look. We laid the tile in a classic brick lay pattern for the shower surround and added a large focal point of subway tiles laid in a herringbone pattern. This is a great way to add a fun design to an all white shower. We also took the herringbone pattern into the shampoo niche... because it's all of the small details that matter!   

As you can see, each of the projects above feature simple, white subway tiles that made a big impact in these showers.
​Subway tiles also come in a variety of colors so don't limit yourself to white.
Whether you change up the pattern, tile color, or even grout color, there are multiple ways to make a simple tile POP. 
6 Comments

DIY MANTEL STAIN

6/10/2019

3 Comments

 
Picture
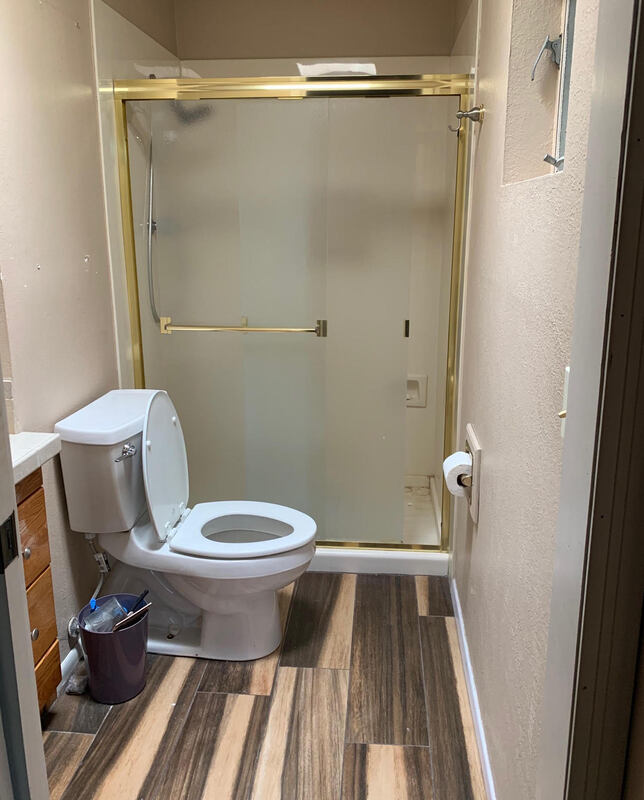
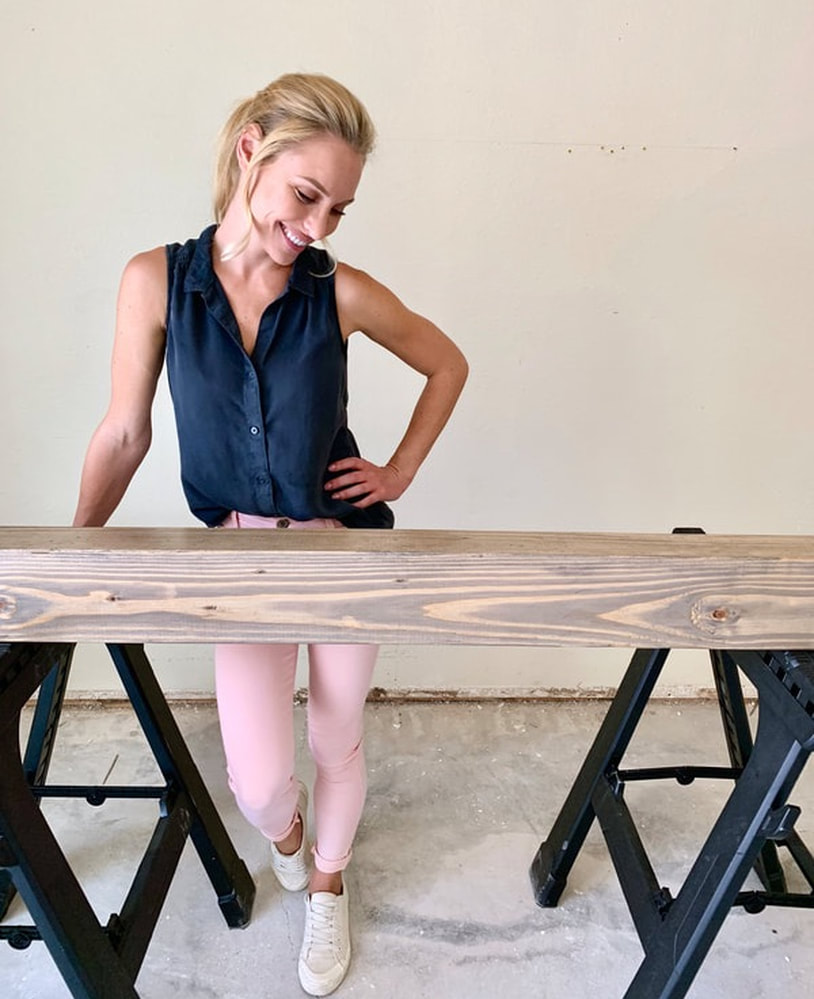
Sometimes no matter how hard we look, we just cannot find that perfect something to add to our home! Price, finish, and size are always factors that can keep us from finding our vision, so why not just MAKE exactly what you dreamt up?

With our latest project, that is exactly what we did. We were looking for a 7' long wood mantel that was the perfect grey but also wasn't over stained. Those were our non-negotiables and it made a lot more sense to just do it ourselves!
​
Below are four easy steps to follow to create your dream mantel. 
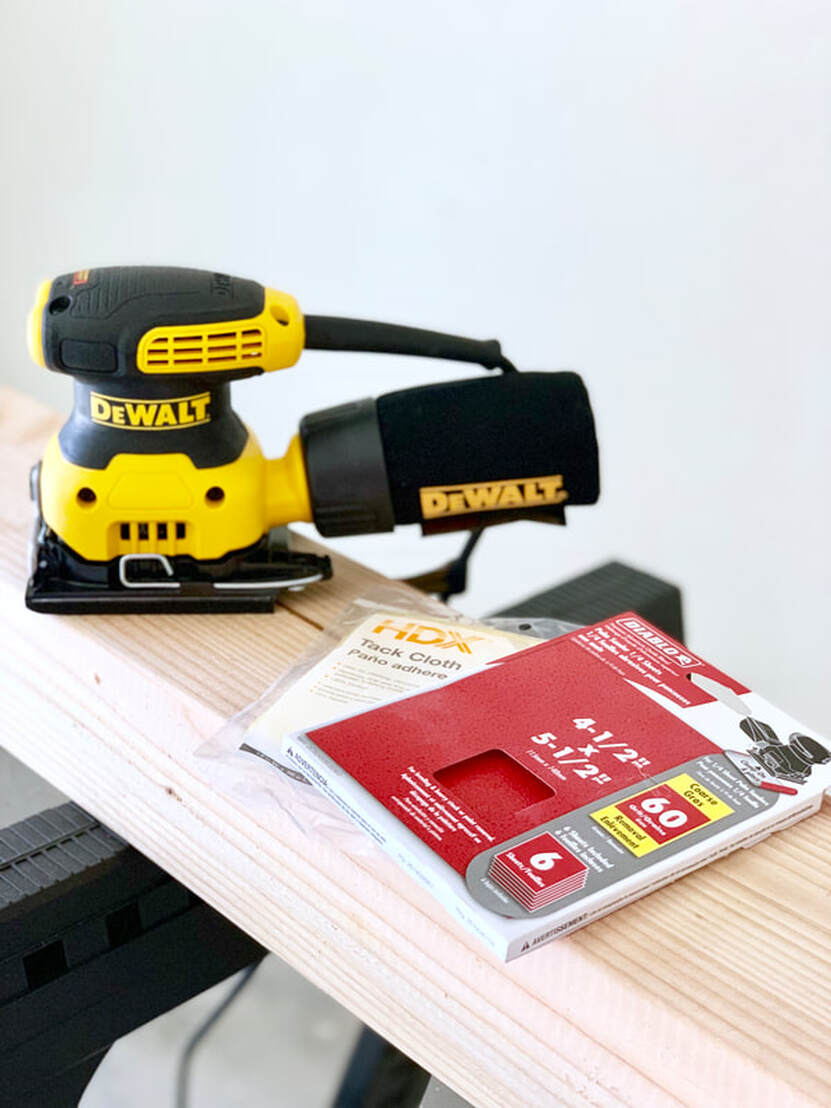
Picture


What You'll Need: ​
​

​Sander
​ Saw Horses
Tack Cloth
Stain Cloth
Sanding Sheets

Minwax Grey Stain

Step 1: Sanding

Using your saw horses, place your piece of wood balanced on the two, in a place where saw dust won't hurt anything (it's messy) and start your sanders! Make sure to sand down all sides of your raw wood, including the ends, until all of the rough spots and edges are smooth.
​This may take a couple of go's! 
Picture


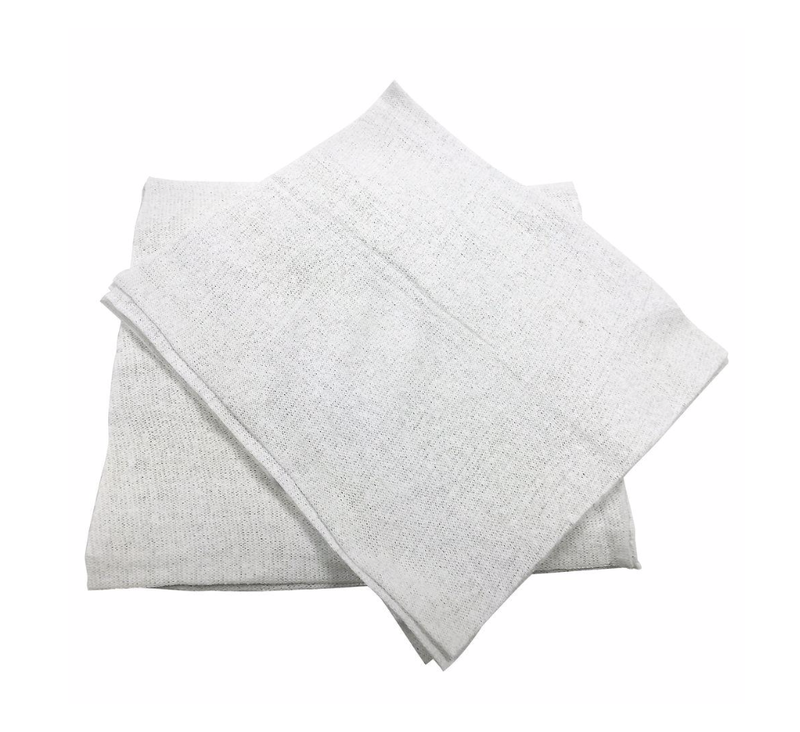
​Step 2: Saw Dust Removal

After sanding there will be lots of little wood particles hanging out on your mantel's surface, this is where your tack cloths come in handy! These little guys are SUPER sticky, annoying for your hands, but amazing at getting off all of the saw dust for a smooth surface. Run your tack cloth over every bit of your mantel to make sure no wood pieces get left behind. 

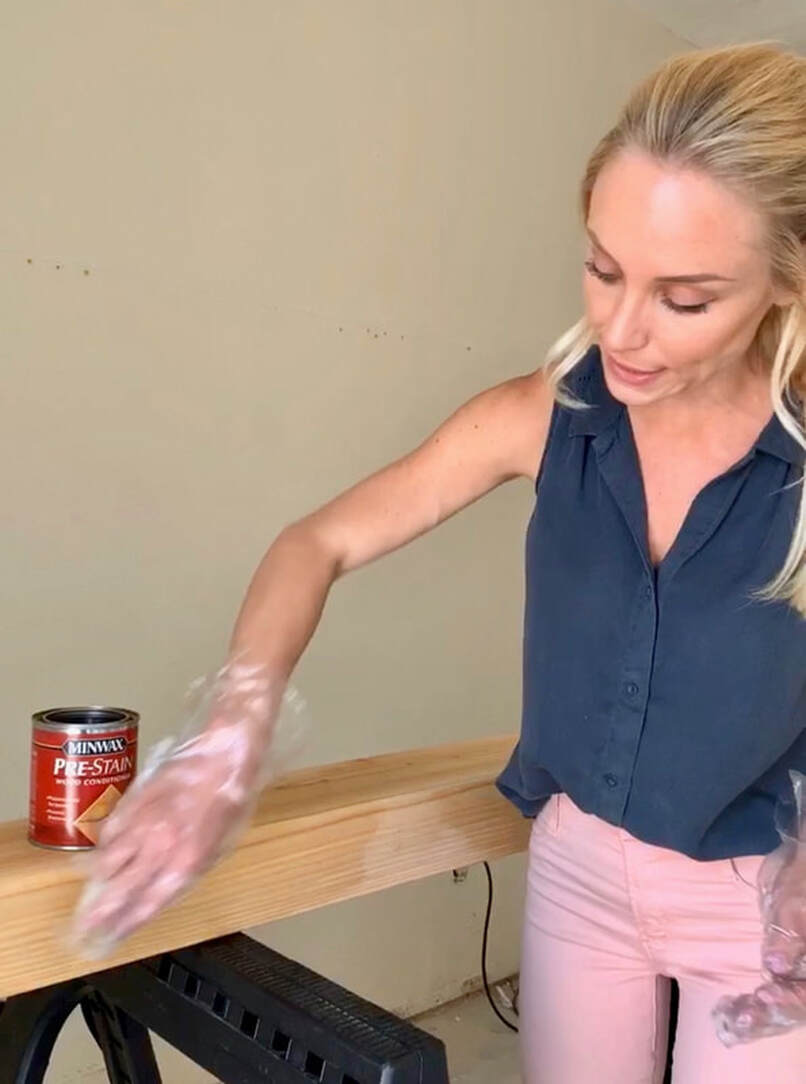
Step 3: Conditioning

I find that using a wood conditioner helps the stain adhere to the wood MUCH better than times I have not used a conditioner. Use one of your stain cloths and dip it into your pre-stain, (don't forget to wear gloves) and apply a generous coat to all sides of your mantel, again, don't forget the ends and edges.
This dries pretty quickly, so no waiting period necessary before step four.   
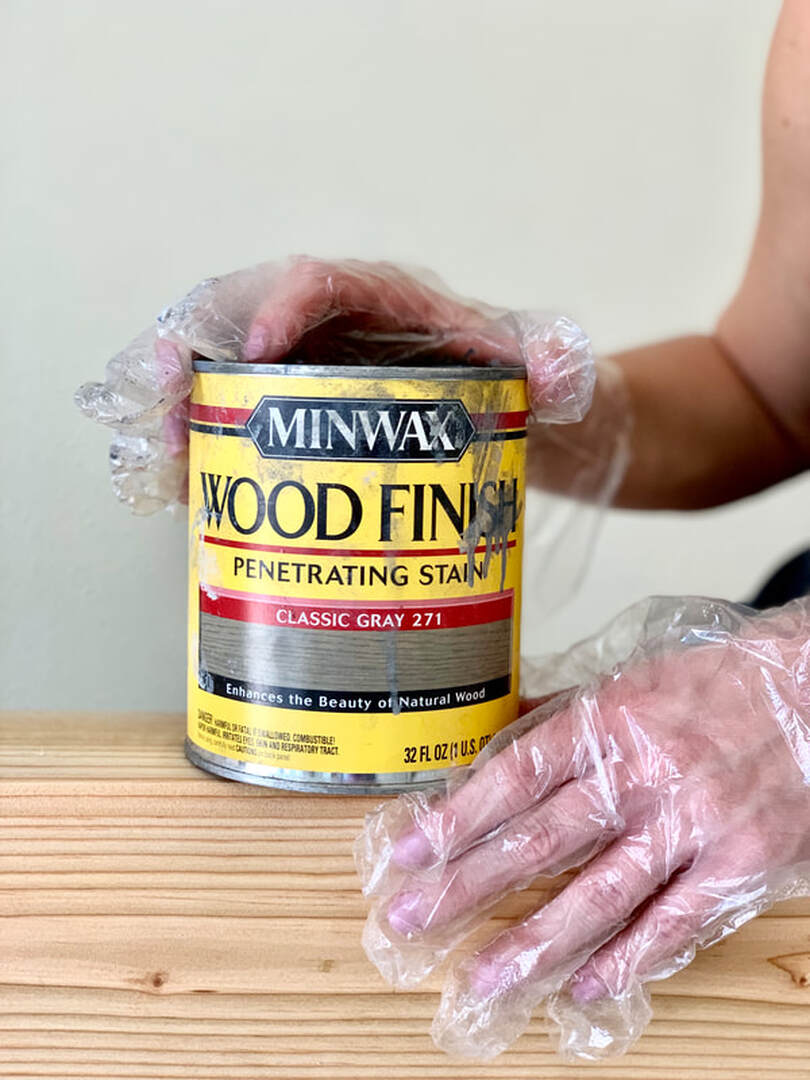
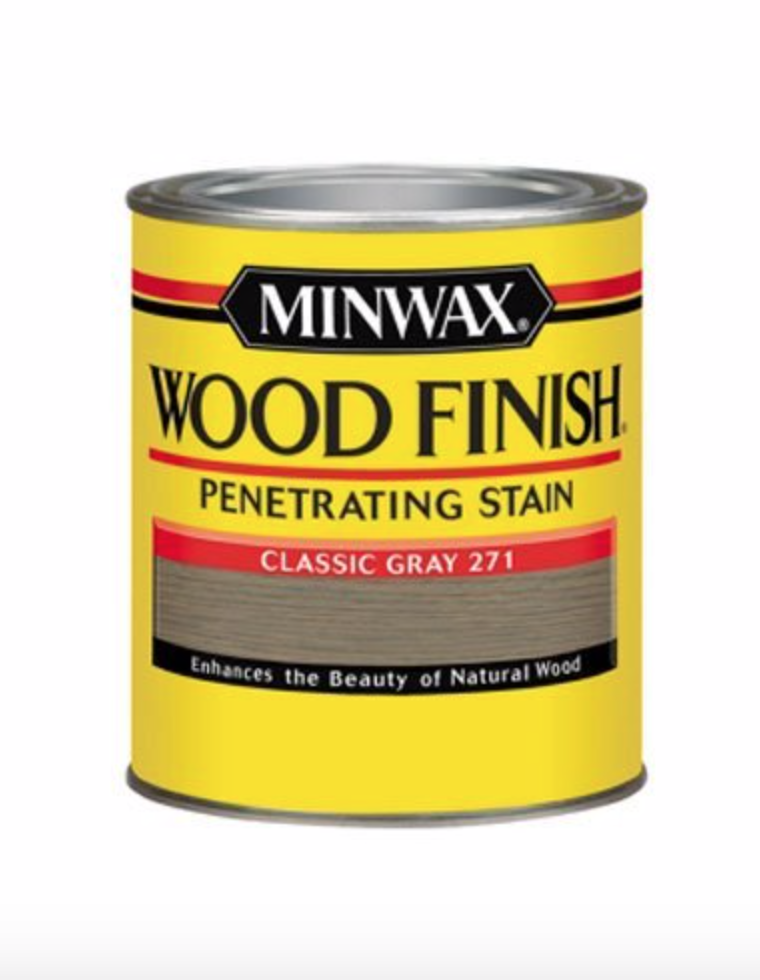
Picture

Step 4: Staining

 The last step to staining your mantel is of course, staining! Use a fresh stain cloth and dip it into your stain  (don't forget to stir it) completely covering the mantel one coat at a time. The more coats you apply, the darker your stain will be and the less natural wood grain will show. 
For this mantel, I only applied two coats of stain to maintain visibility of the wood grain, adding a very light grey tint. ​Wait at least 30 minutes between coats of stain to allow the wood to accept the stain and to see an accurate stain color.

Tip: After deciding what side of your mantel is going to be the back (touching the fireplace), test out your stain here first to make sure you love the color!
Picture
Picture

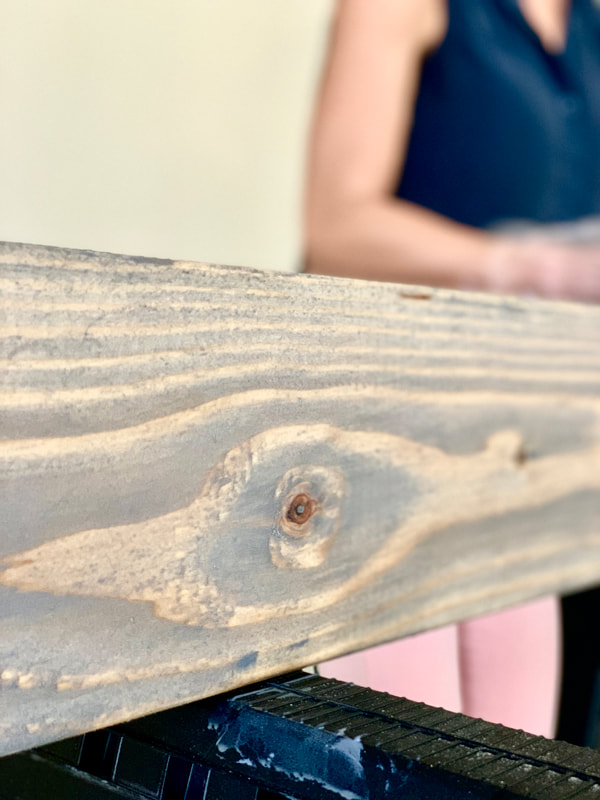
TA - DA ~  You have stained your own mantel!
​After allowing it to dry for several hours, you are ready to hang that beauty. This project is a great way to save money and create a one-of-a kind focal point for your home. Enjoy your custom addition to your fireplace friend, tag us on Instagram so we can see your take on this DIY mantel stain tutorial! 
​
Stay tuned to see the finished fireplace and how we stage our new mantel!
Picture
Picture
Picture


Picture
3 Comments

Shut the Front Door! Our Favorite Front Door Transformations

5/14/2019

4 Comments

 
Picture
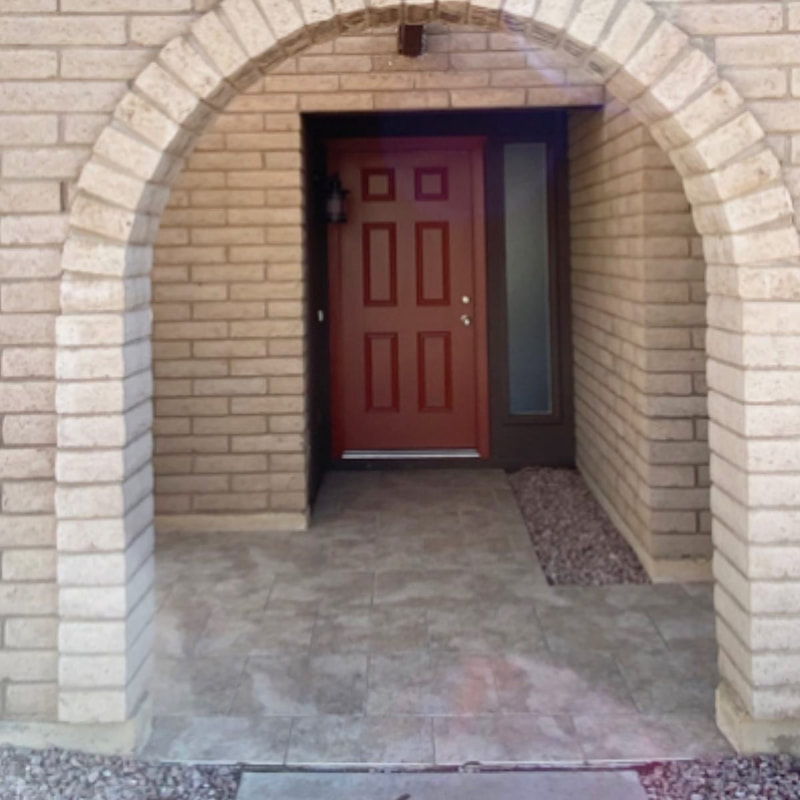
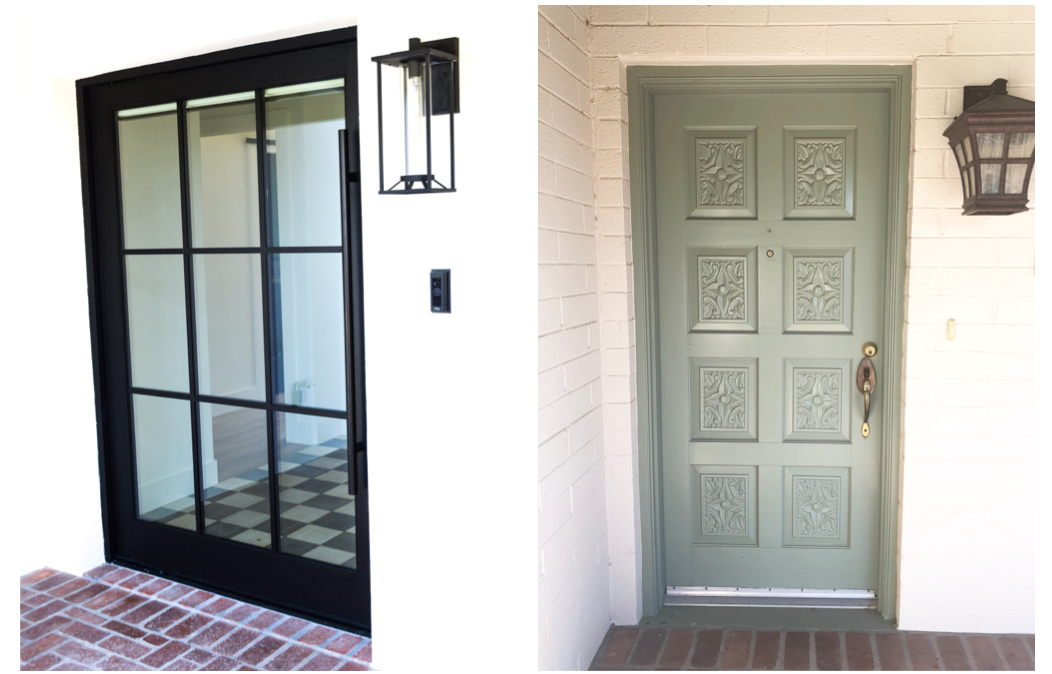
A front door should set the tone for the rest of your home before you walk in the door! Whether you choose to keep your existing door and add a pop of color, or change it out for a statement door, we have you covered. We are sharing a few of our favorite doors from our past remodels for a little exterior inspiration!

Picture
Picture
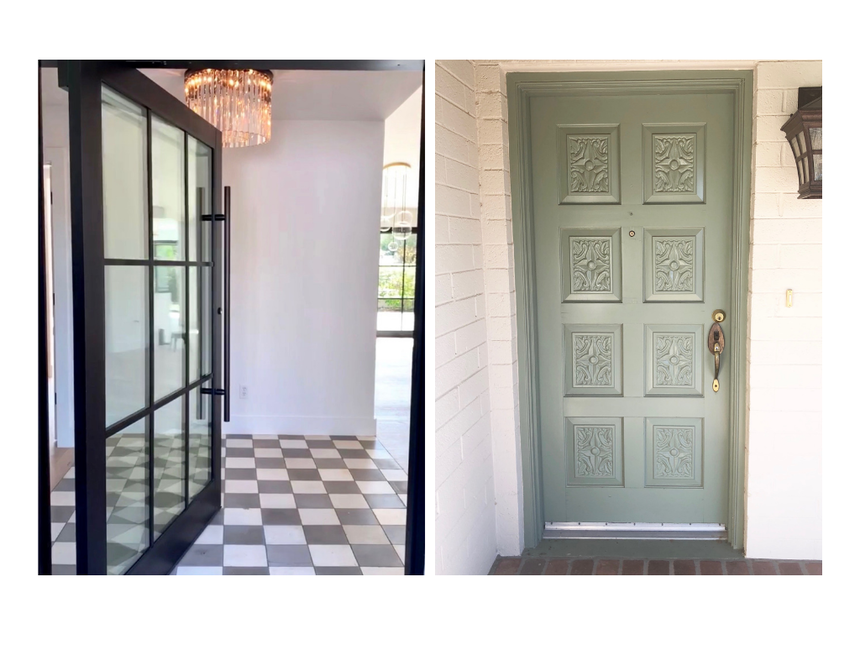
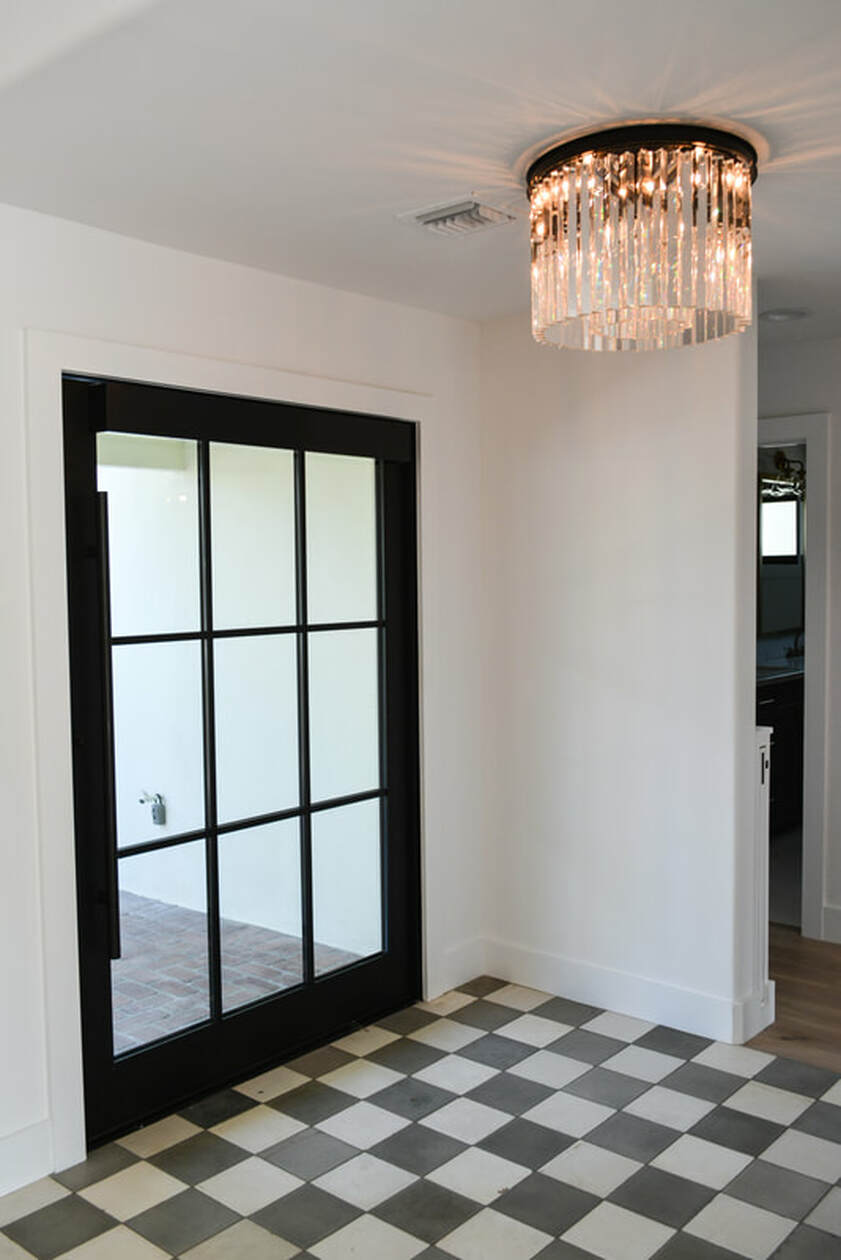
For the Modern French Remodel project, we chose a beautiful pivot door to really set the tone for the modern design elements also found within the home.  In addition to replacing the original green door, we widened the opening to accommodate for this new statement of a front door. We love that you can see the French reclaimed limestone floors in the Foyer and the glow of a modern crystal chandelier as soon as you walk up the porch. 
Picture

Picture
Picture
Picture
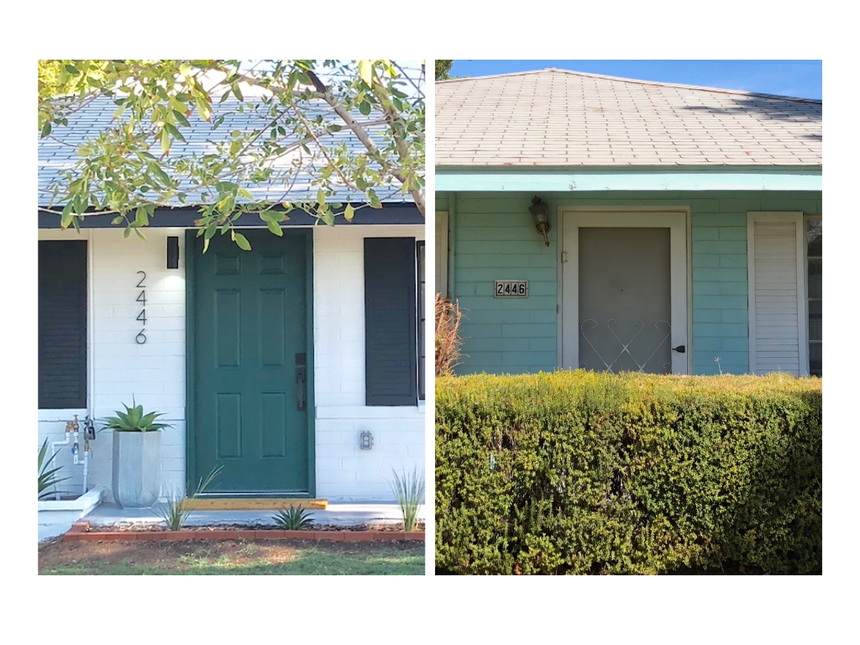
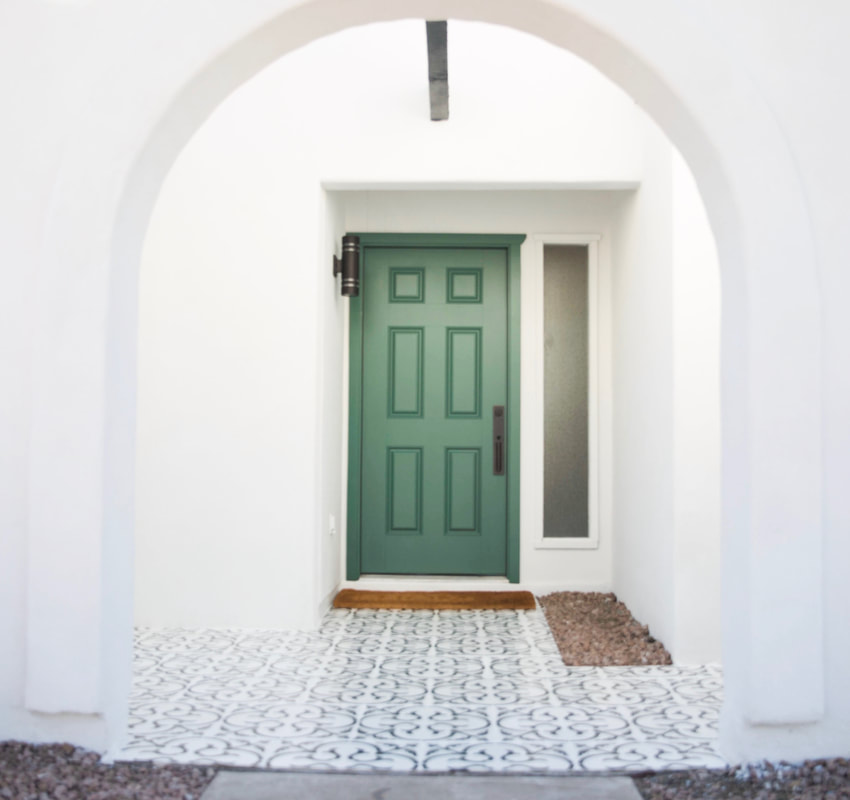
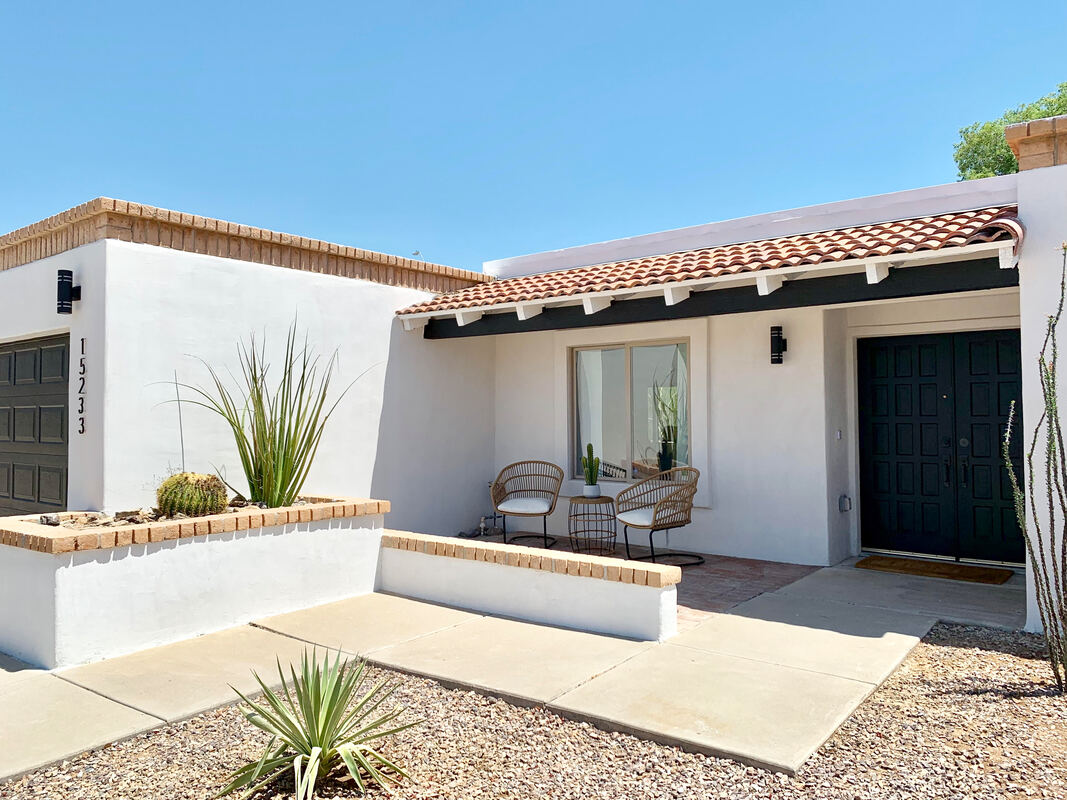
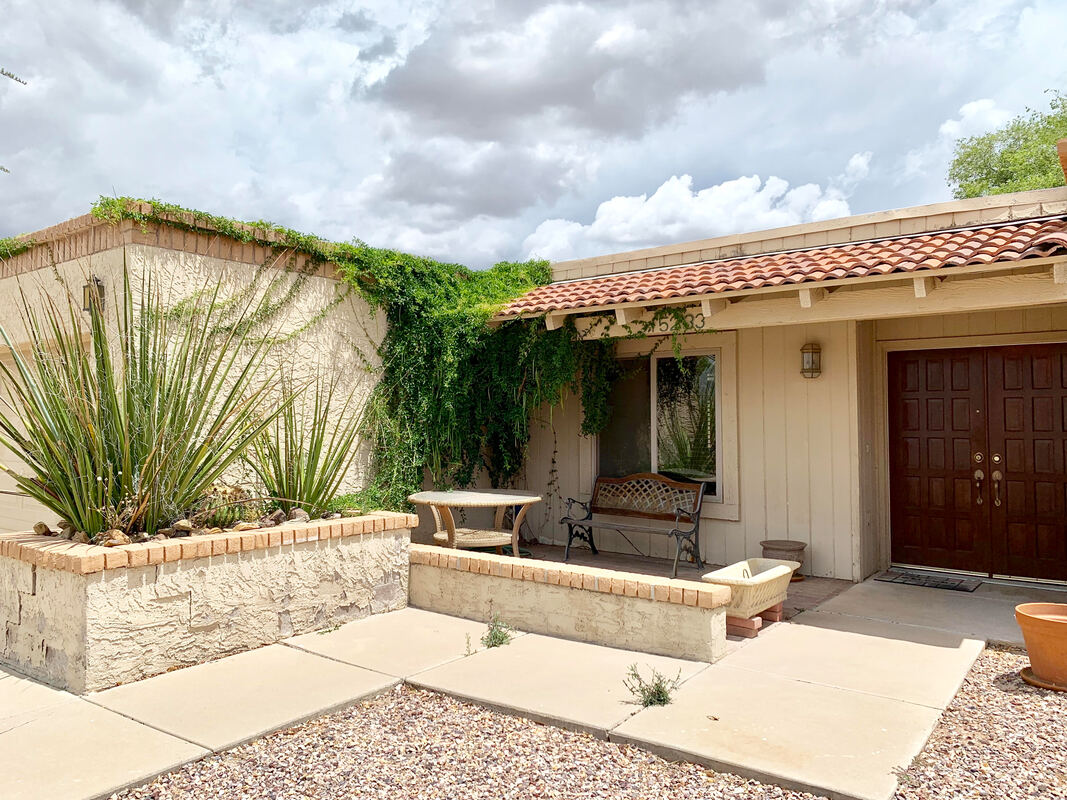
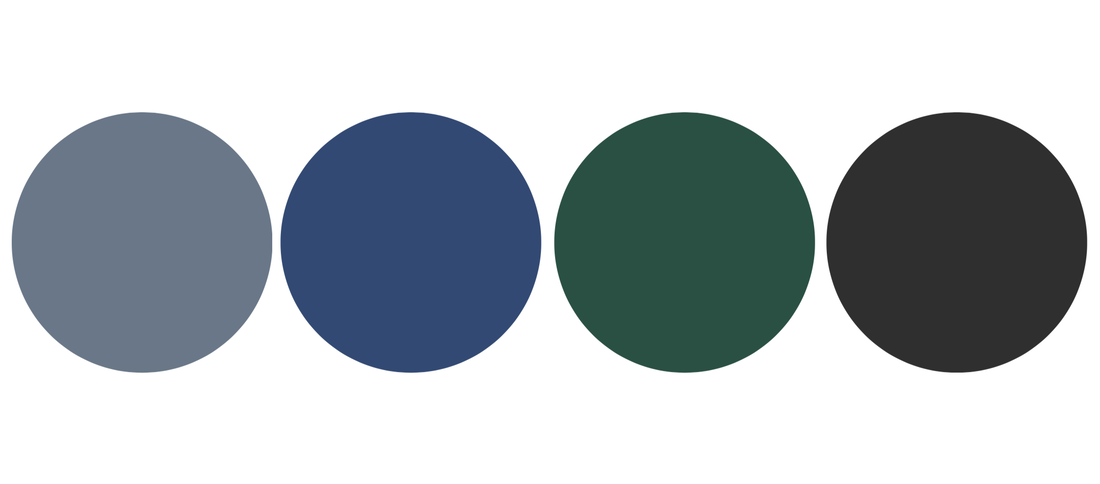
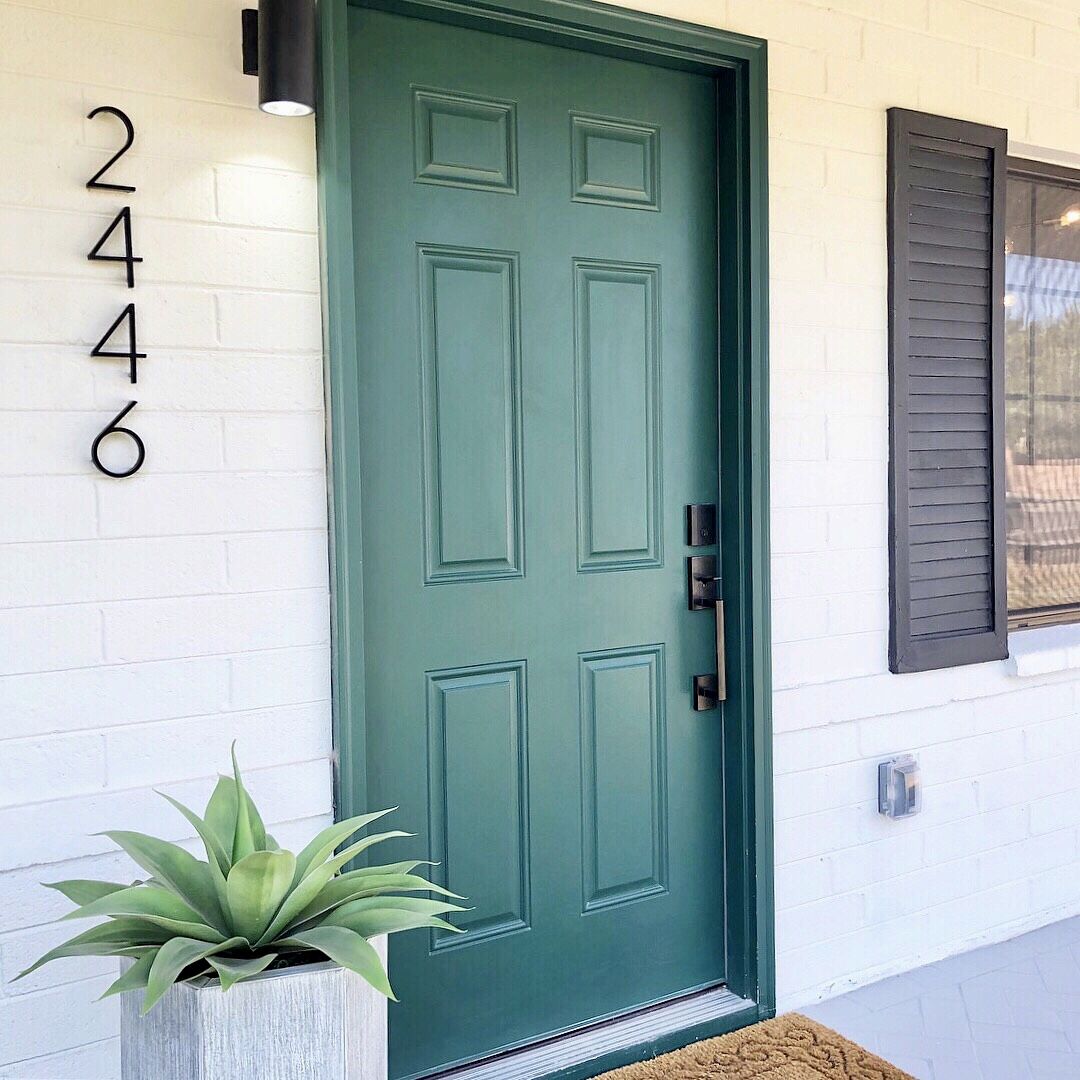
This completely original home from 1955 had a pop of color on everything but the front door ~ the whole house was turquoise! We fell in love with the charm of this old home but wanted to give it a modern update while keeping a little bit of color to honor the original home. This rich hunter green was the perfect choice to compliment the now white home with black trim!
​Definitely one of our most transformational projects to date.
Picture

Picture
Picture
Picture
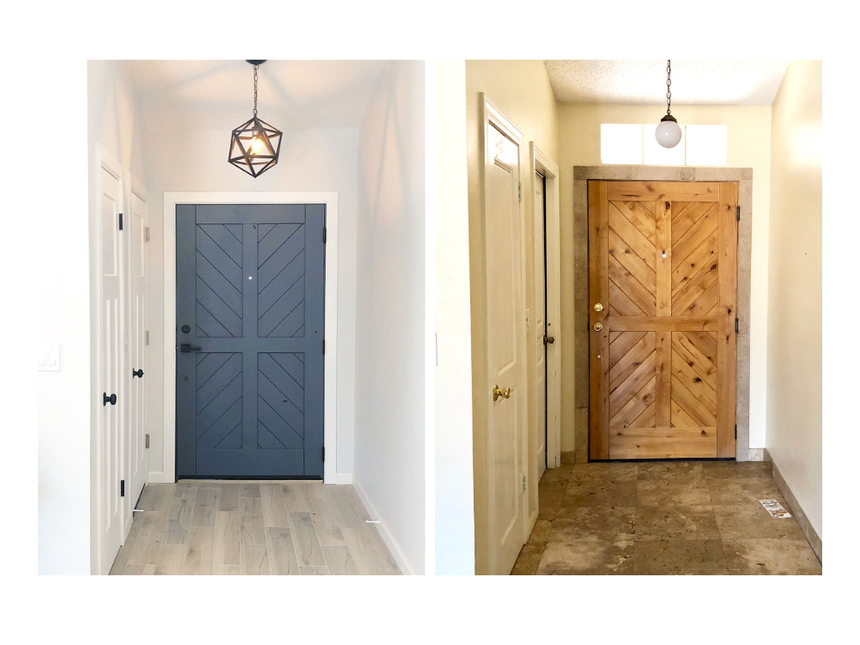
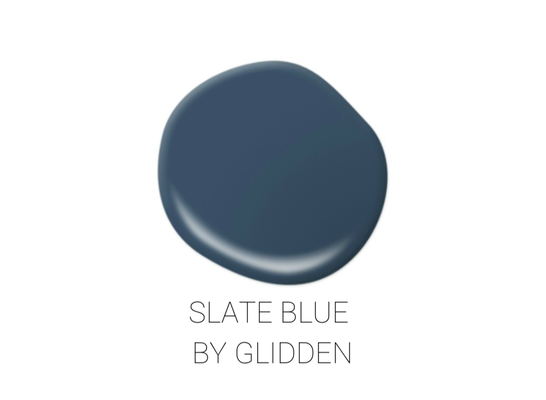
We loved this color so much, we brought it on the inside of the home too!  Typically we paint the inside of the front door a semi gloss white, but not this time. This is our favorite shade of blue. We jokingly refer to it as "Beckmann Blue" because we want to use it in every project, and would if we could! This blue is soft and makes for such a calming and inviting space, yet also adds a nice pop next to white walls. This is the perfect example of what the right choice of paint can do for a home, and how you can make something old look new again!

Picture
Picture
Picture
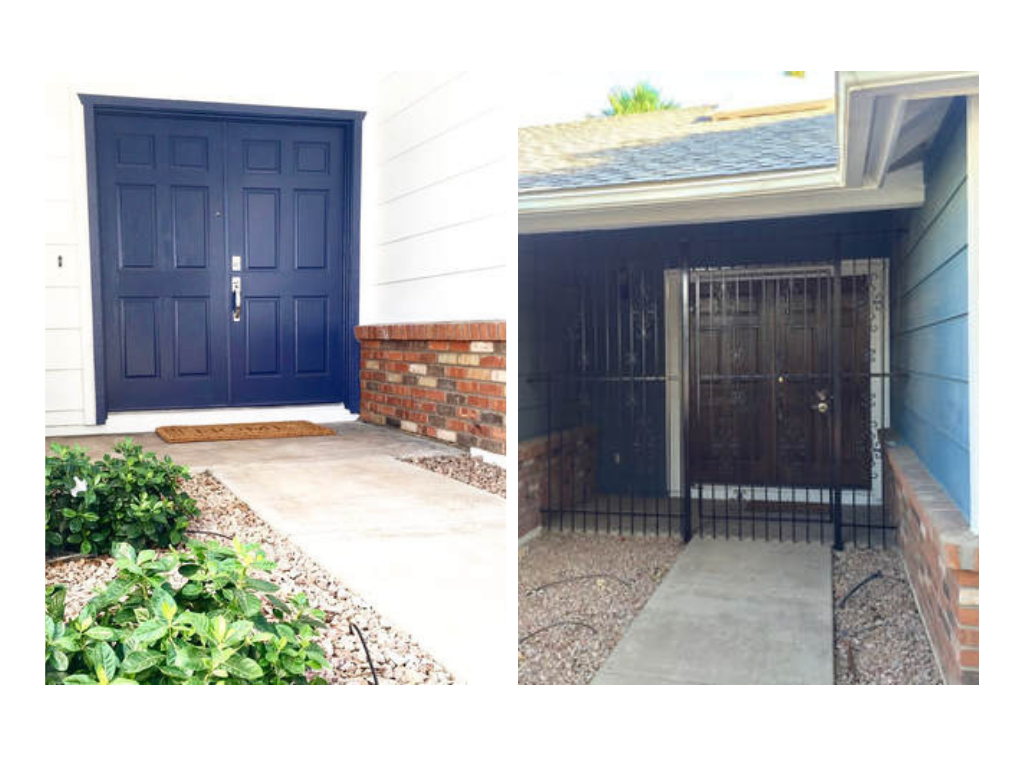
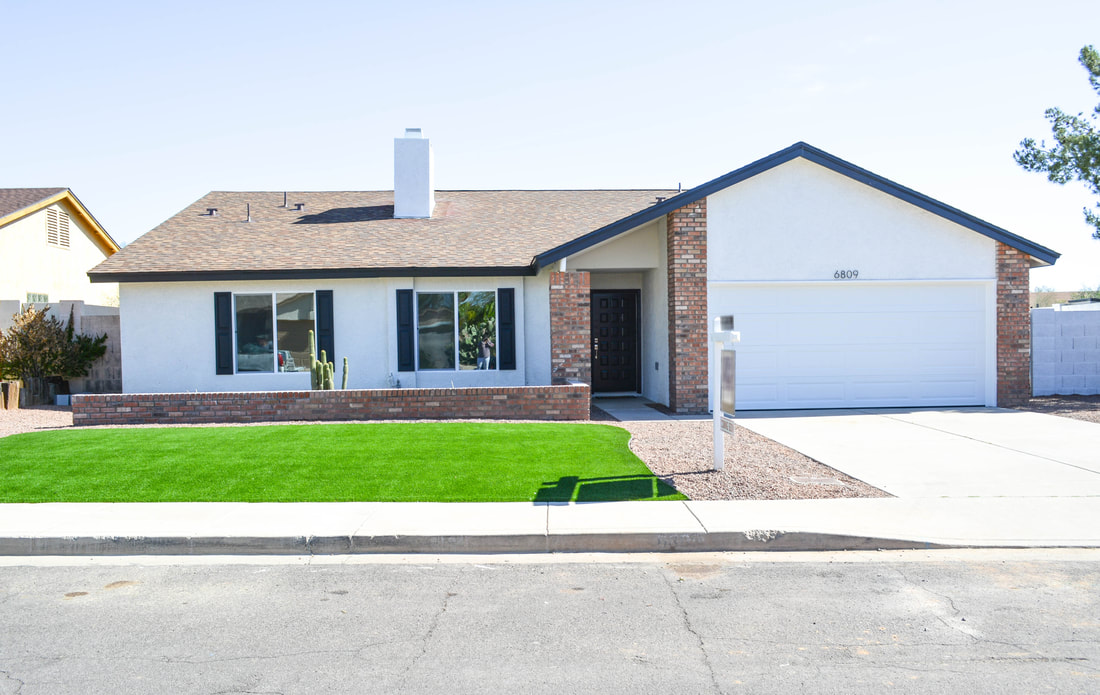
One of our first front door transformations was at our McLellan project. This entryway was dark, closed off, and very uninviting, so we set out to make it the opposite! The gate was the first thing to go, followed by painting the exterior of the home the perfect shade of white to brighten everything up. We kept the red brick border for contrast and chose a true navy blue  for a pop of color on the original double doors. It completely transformed before our eyes, and became a very inviting entryway! 


We hope this gives you inspiration for any upcoming projects! Don't be afraid of a little color in a world full of neutrals, it will only make your neutrals more beautiful. We are sure the pop of color will put a smile on your face every time you see it, it does for us!
Picture
Picture
4 Comments
<<Previous

    Categories

    KITCHEN
    BATHROOM
    ​ALL

    All

    Archives

    November 2020
    December 2019
    November 2019
    October 2019
    August 2019
    June 2019
    May 2019
    April 2019
    March 2019
    February 2019

    RSS Feed

Proudly powered by Weebly
  • HOME PAGE
  • STAY WITH US
    • The Desert Beauty Airbnb
  • PROJECTS
    • WORK WITH US >
      • FAQ's
    • INVESTMENTS
    • CLIENT PROJECTS
  • ABOUT US
  • Free Business Expense Tracker