
 Still not over subway tile? Good, we aren't either! Here are three different ways to lay a classic 3 x 6 subway tile that will give your a space a whole new look! Straight Herringbone
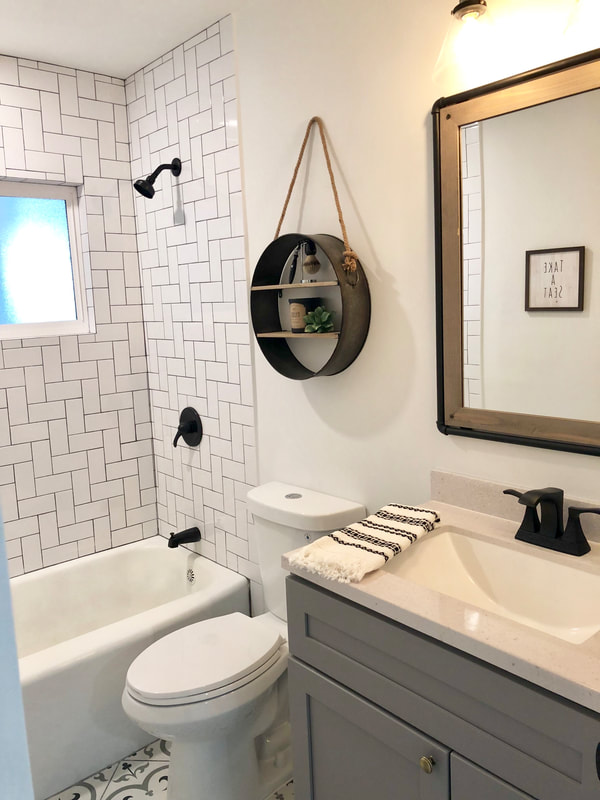
This is a fun twist on how to lay subway tile. It's called straight herringbone and we loved it so much we did it twice! Both of these guest bathrooms had pattern floors that we didn't want to compete with so we gave the showers a fun pattern with all white subway tile that complimented the space. Stack Bond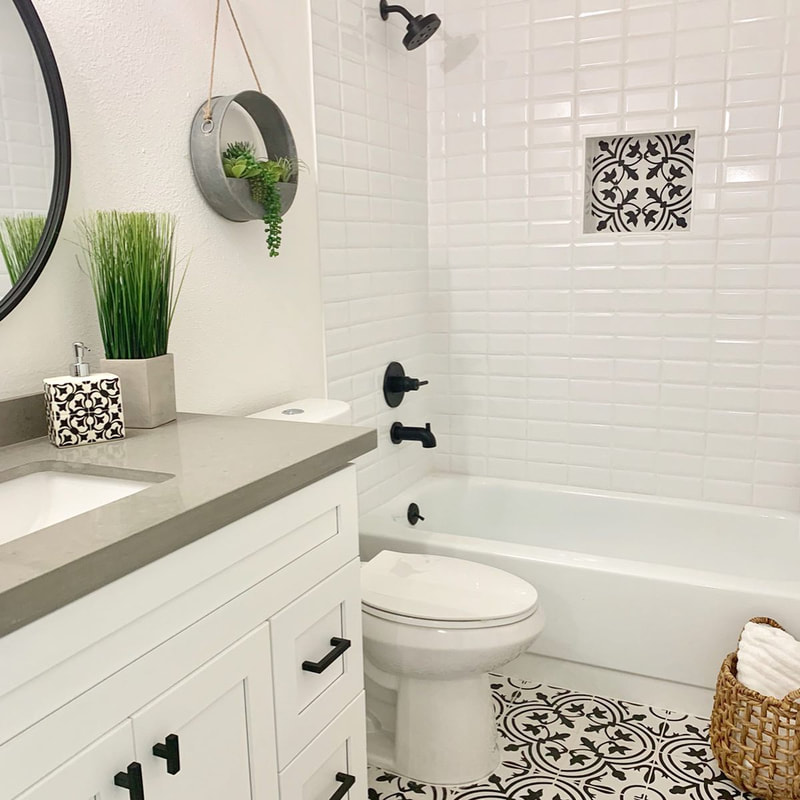 A little more of a modern feel with clean lines in both directions. This pattern is called stack bond. We went with a beveled 3x6 subway tile for this design to give more dimension between each tile. Brick Lay & Herringbone
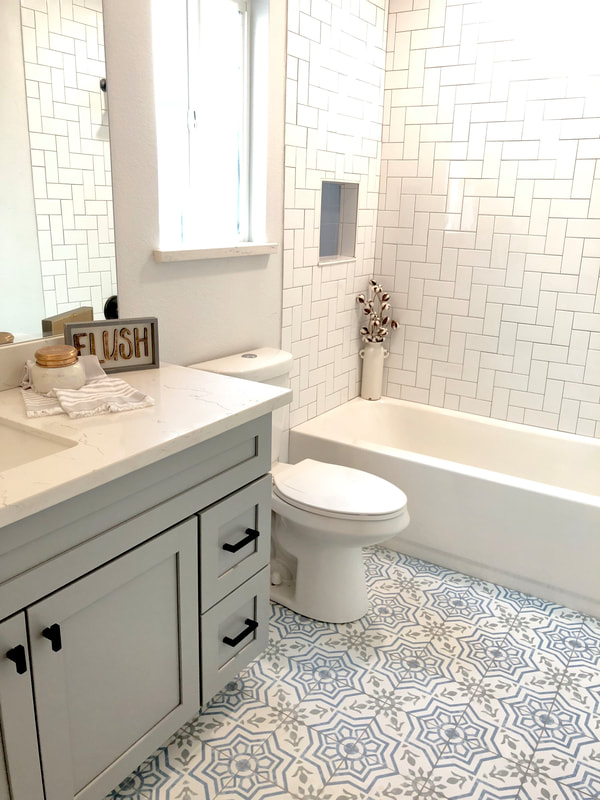
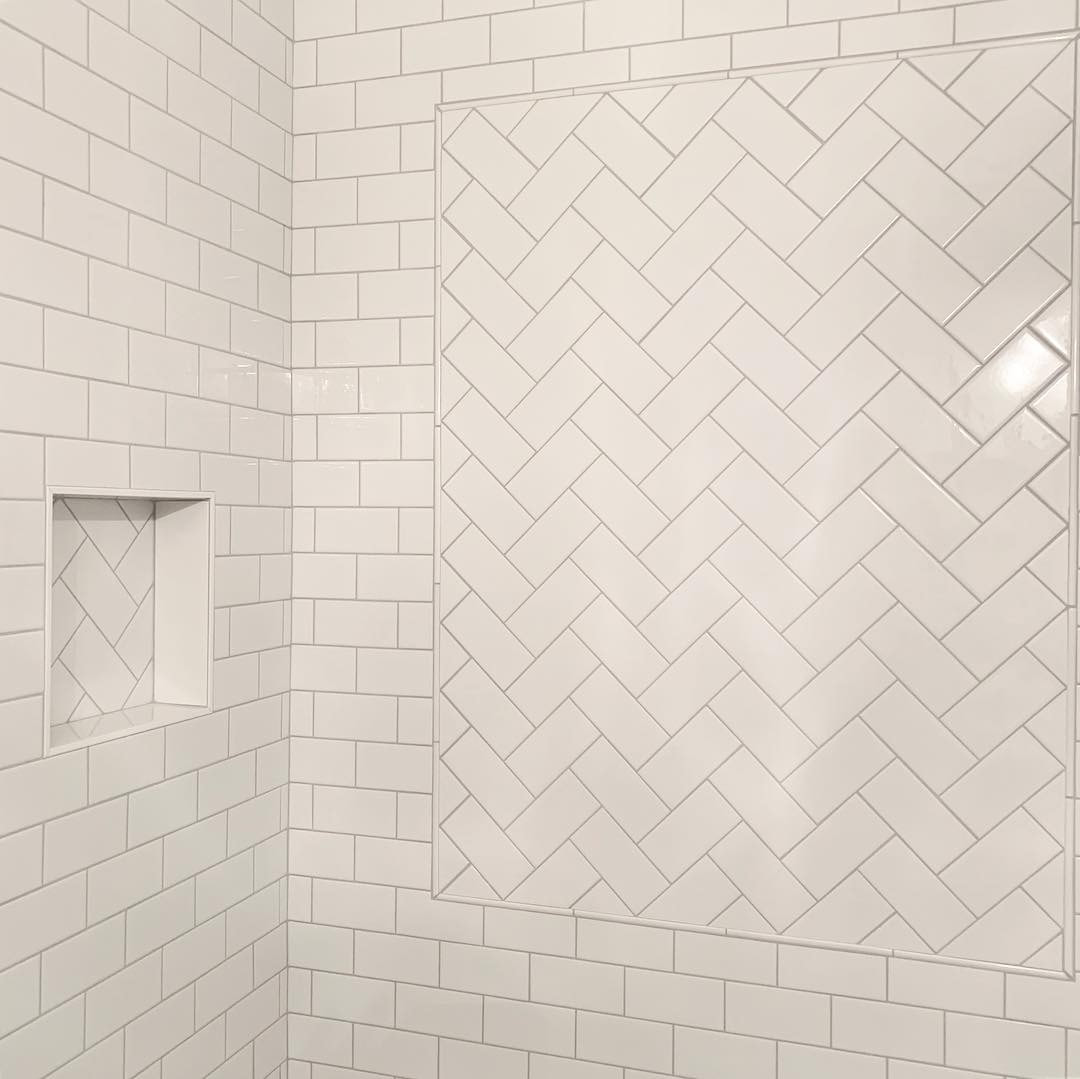
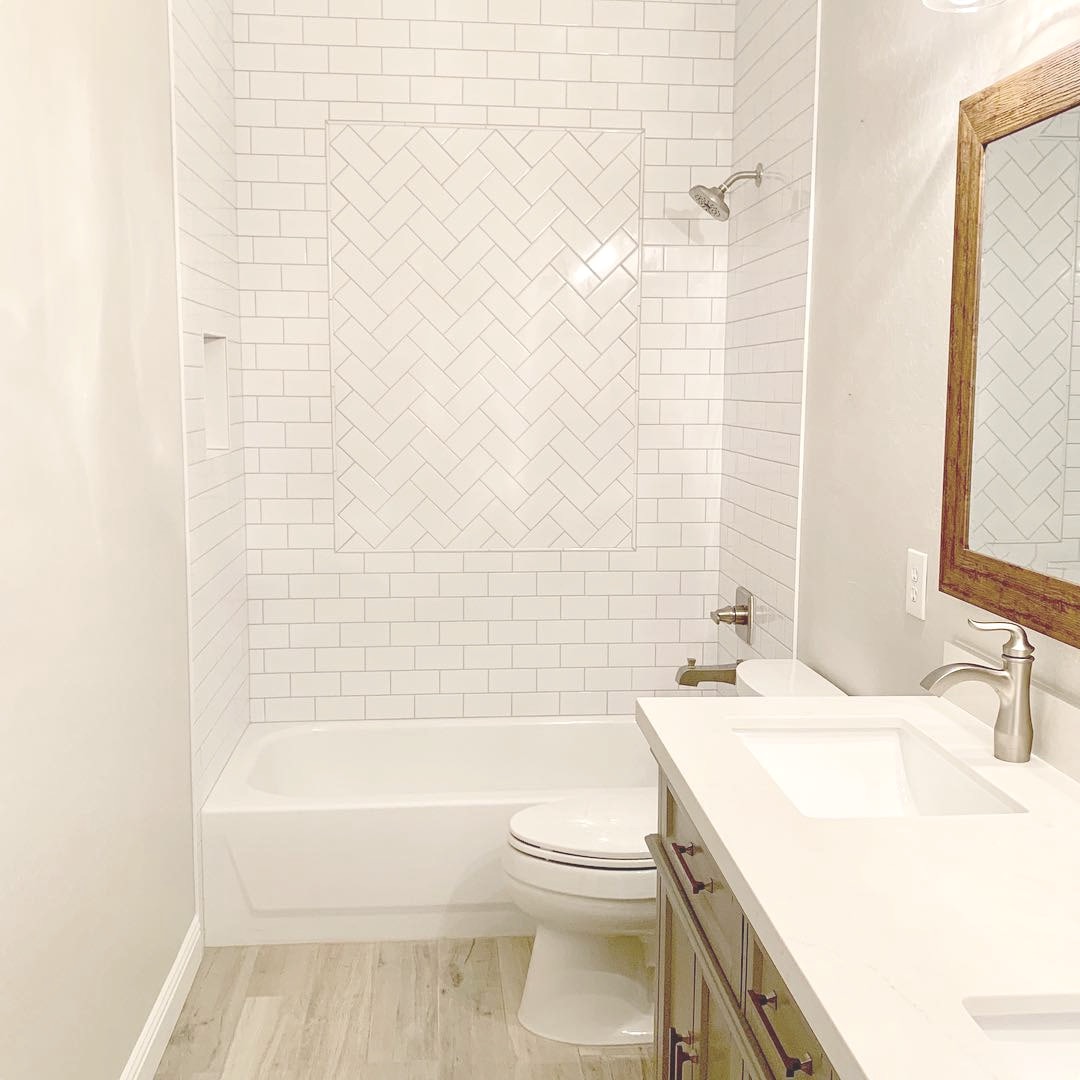
In this guest bathroom we combined two patterns to create a unique look. We laid the tile in a classic brick lay pattern for the shower surround and added a large focal point of subway tiles laid in a herringbone pattern. This is a great way to add a fun design to an all white shower. We also took the herringbone pattern into the shampoo niche... because it's all of the small details that matter! As you can see, each of the projects above feature simple, white subway tiles that made a big impact in these showers.
Subway tiles also come in a variety of colors so don't limit yourself to white. Whether you change up the pattern, tile color, or even grout color, there are multiple ways to make a simple tile POP.
6 Comments
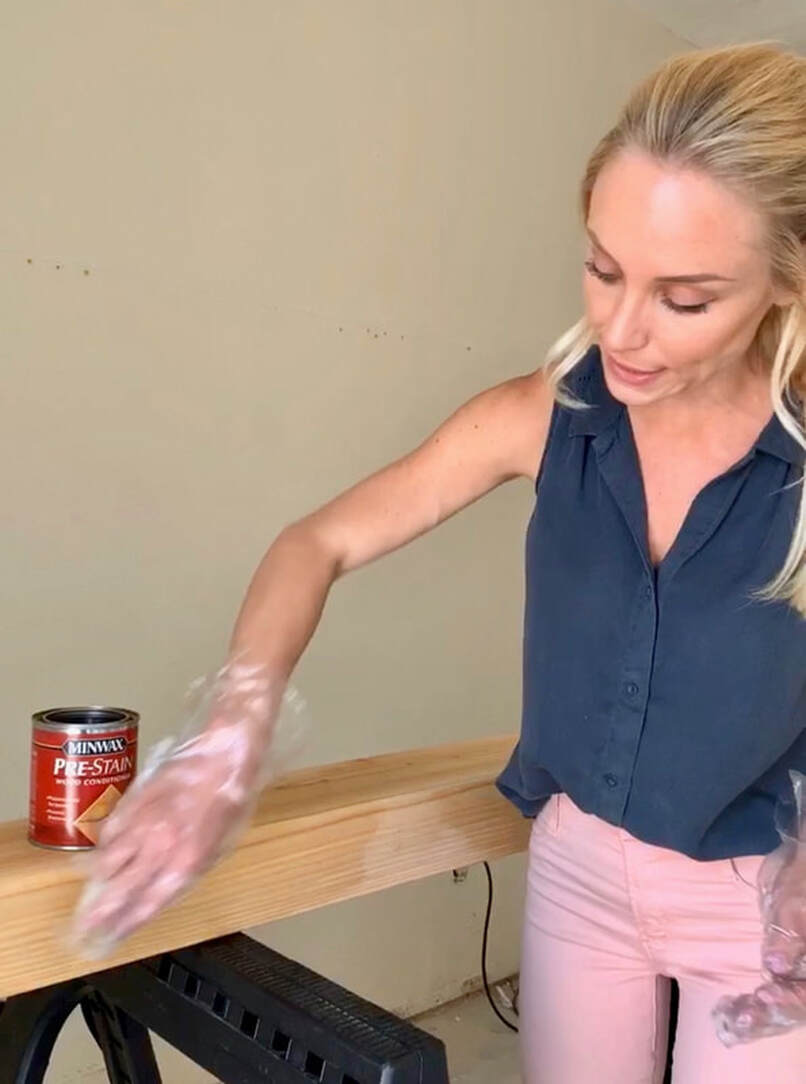
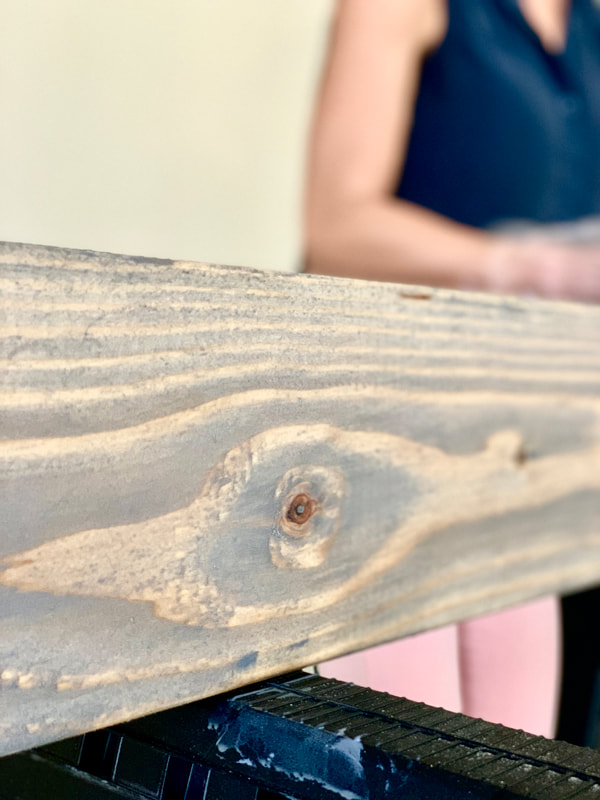
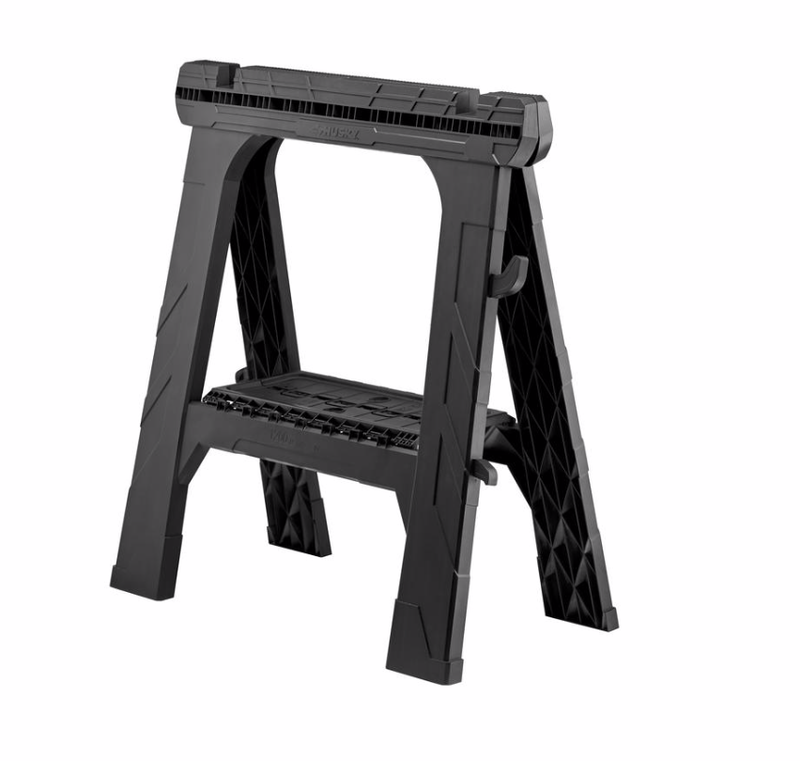
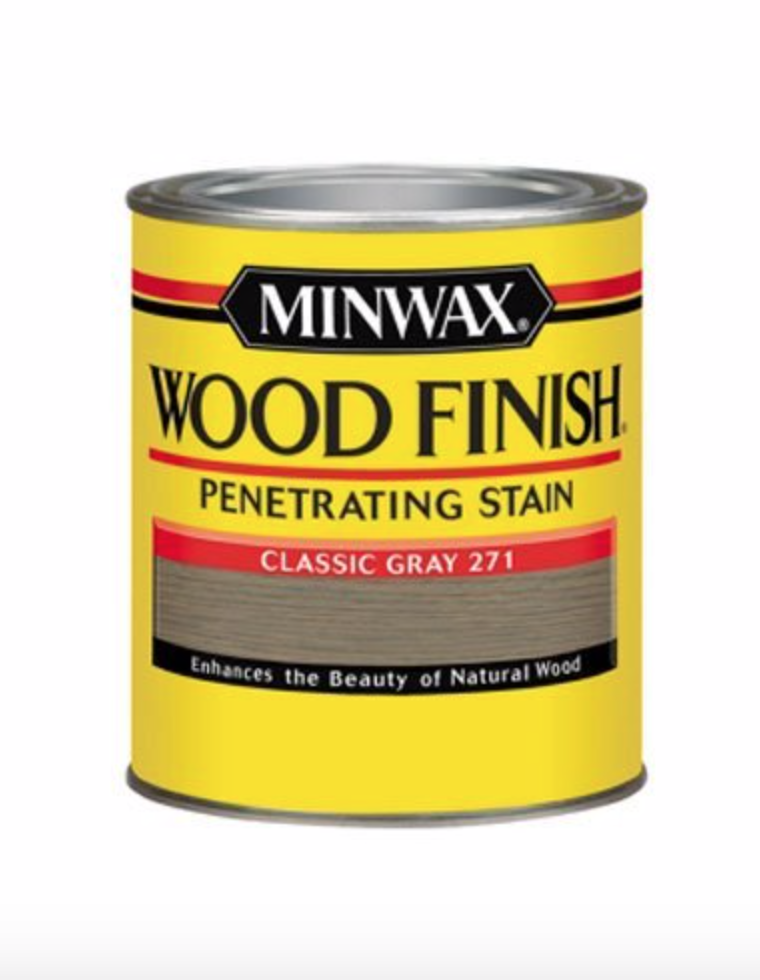
 Sometimes no matter how hard we look, we just cannot find that perfect something to add to our home! Price, finish, and size are always factors that can keep us from finding our vision, so why not just MAKE exactly what you dreamt up? With our latest project, that is exactly what we did. We were looking for a 7' long wood mantel that was the perfect grey but also wasn't over stained. Those were our non-negotiables and it made a lot more sense to just do it ourselves! Below are four easy steps to follow to create your dream mantel. 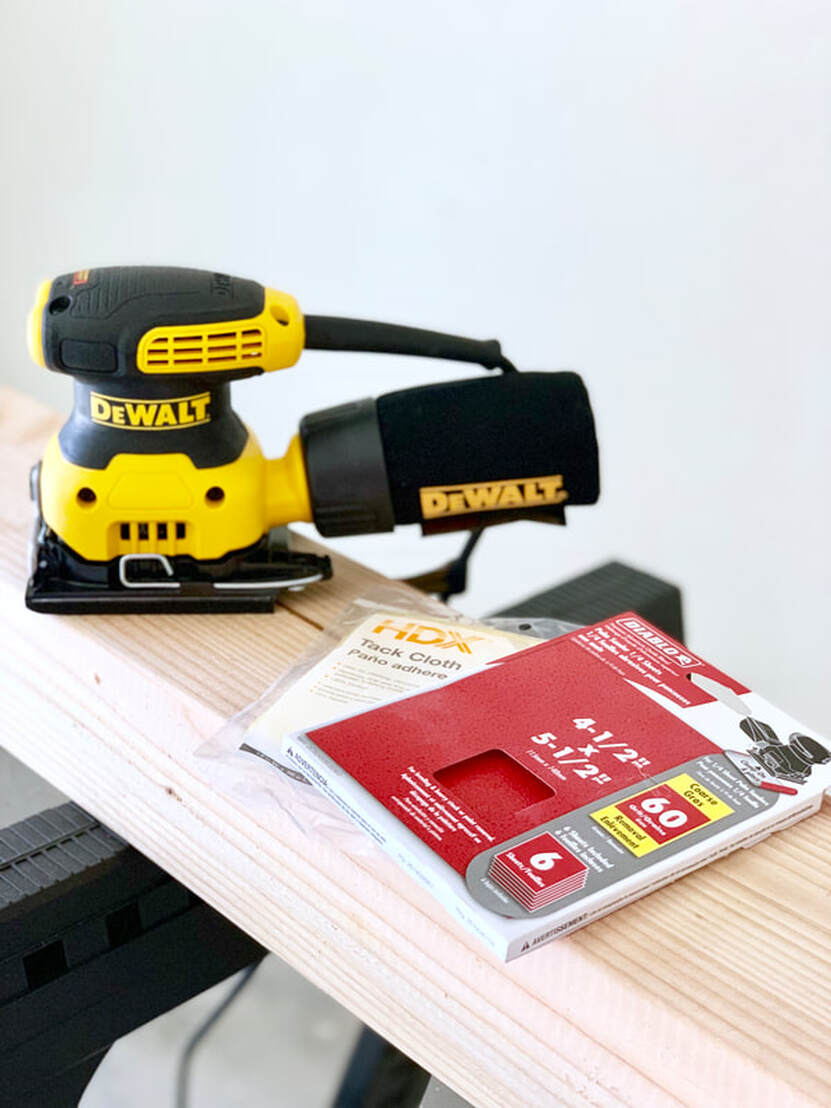 What You'll Need: |

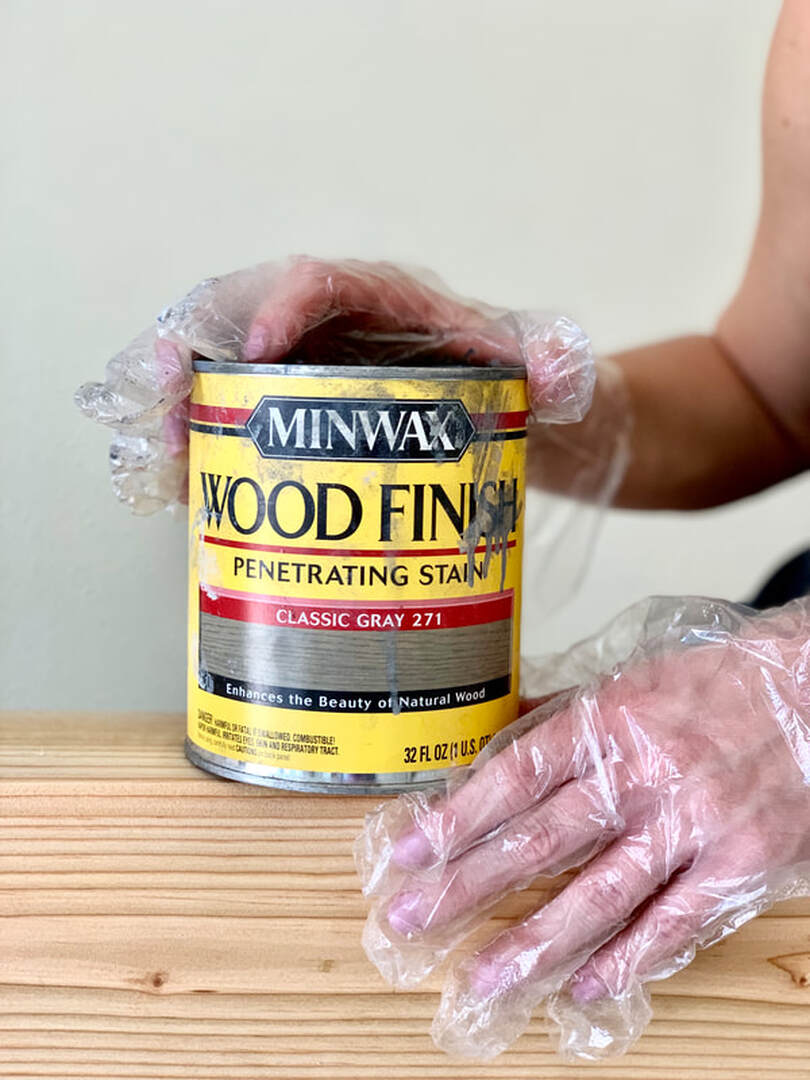 |  |
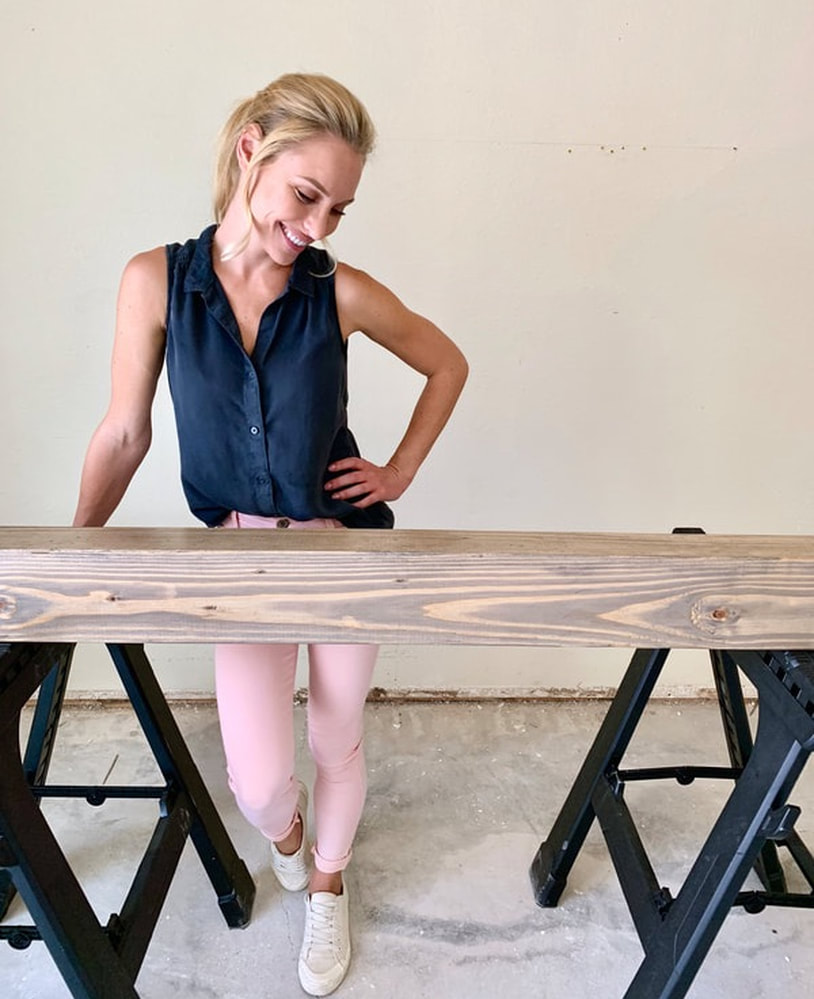
TA - DA ~ You have stained your own mantel!
After allowing it to dry for several hours, you are ready to hang that beauty. This project is a great way to save money and create a one-of-a kind focal point for your home. Enjoy your custom addition to your fireplace friend, tag us on Instagram so we can see your take on this DIY mantel stain tutorial!
Stay tuned to see the finished fireplace and how we stage our new mantel!


Categories
KITCHEN
BATHROOM
ALL
Archives
November 2020
December 2019
November 2019
October 2019
August 2019
June 2019
May 2019
April 2019
March 2019
February 2019
 RSS Feed